You've got a student who shuts down the second a worksheet hits their desk, and you're running out of ideas. Special education resource room examples aren't just theory—they're the difference between a kid melting down and that same kid finally raising their hand. Look, I've been in enough resource rooms to know that most "examples" you find online are either too vague to use or so rigid they'd never work with real human beings.
Here's the thing: right now, your caseload is probably a mix of reading gaps, attention struggles, and executive function chaos. And you're supposed to serve all of them in one 45-minute block with a budget that makes you want to cry. That's why this topic matters today—not next month, not when you "have time." Because when you see a real, working example of a resource room station that actually de-escalates a dysregulated kid while pushing another kid ahead on IEP goals, you can steal it and adapt it by tomorrow morning.
I'm not going to give you a list of Pinterest-perfect setups. Honestly, those are usually staged photos that fall apart in real conditions. What I will show you are messy, functional, teacher-tested examples that survived actual school years—including that one where the copier broke for six weeks. You'll get the specific routines, the materials that don't break the bank, and the subtle tweaks that turn a chaotic room into a space where kids actually make progress. Keep reading—I promise you'll find at least one idea you can use Monday.
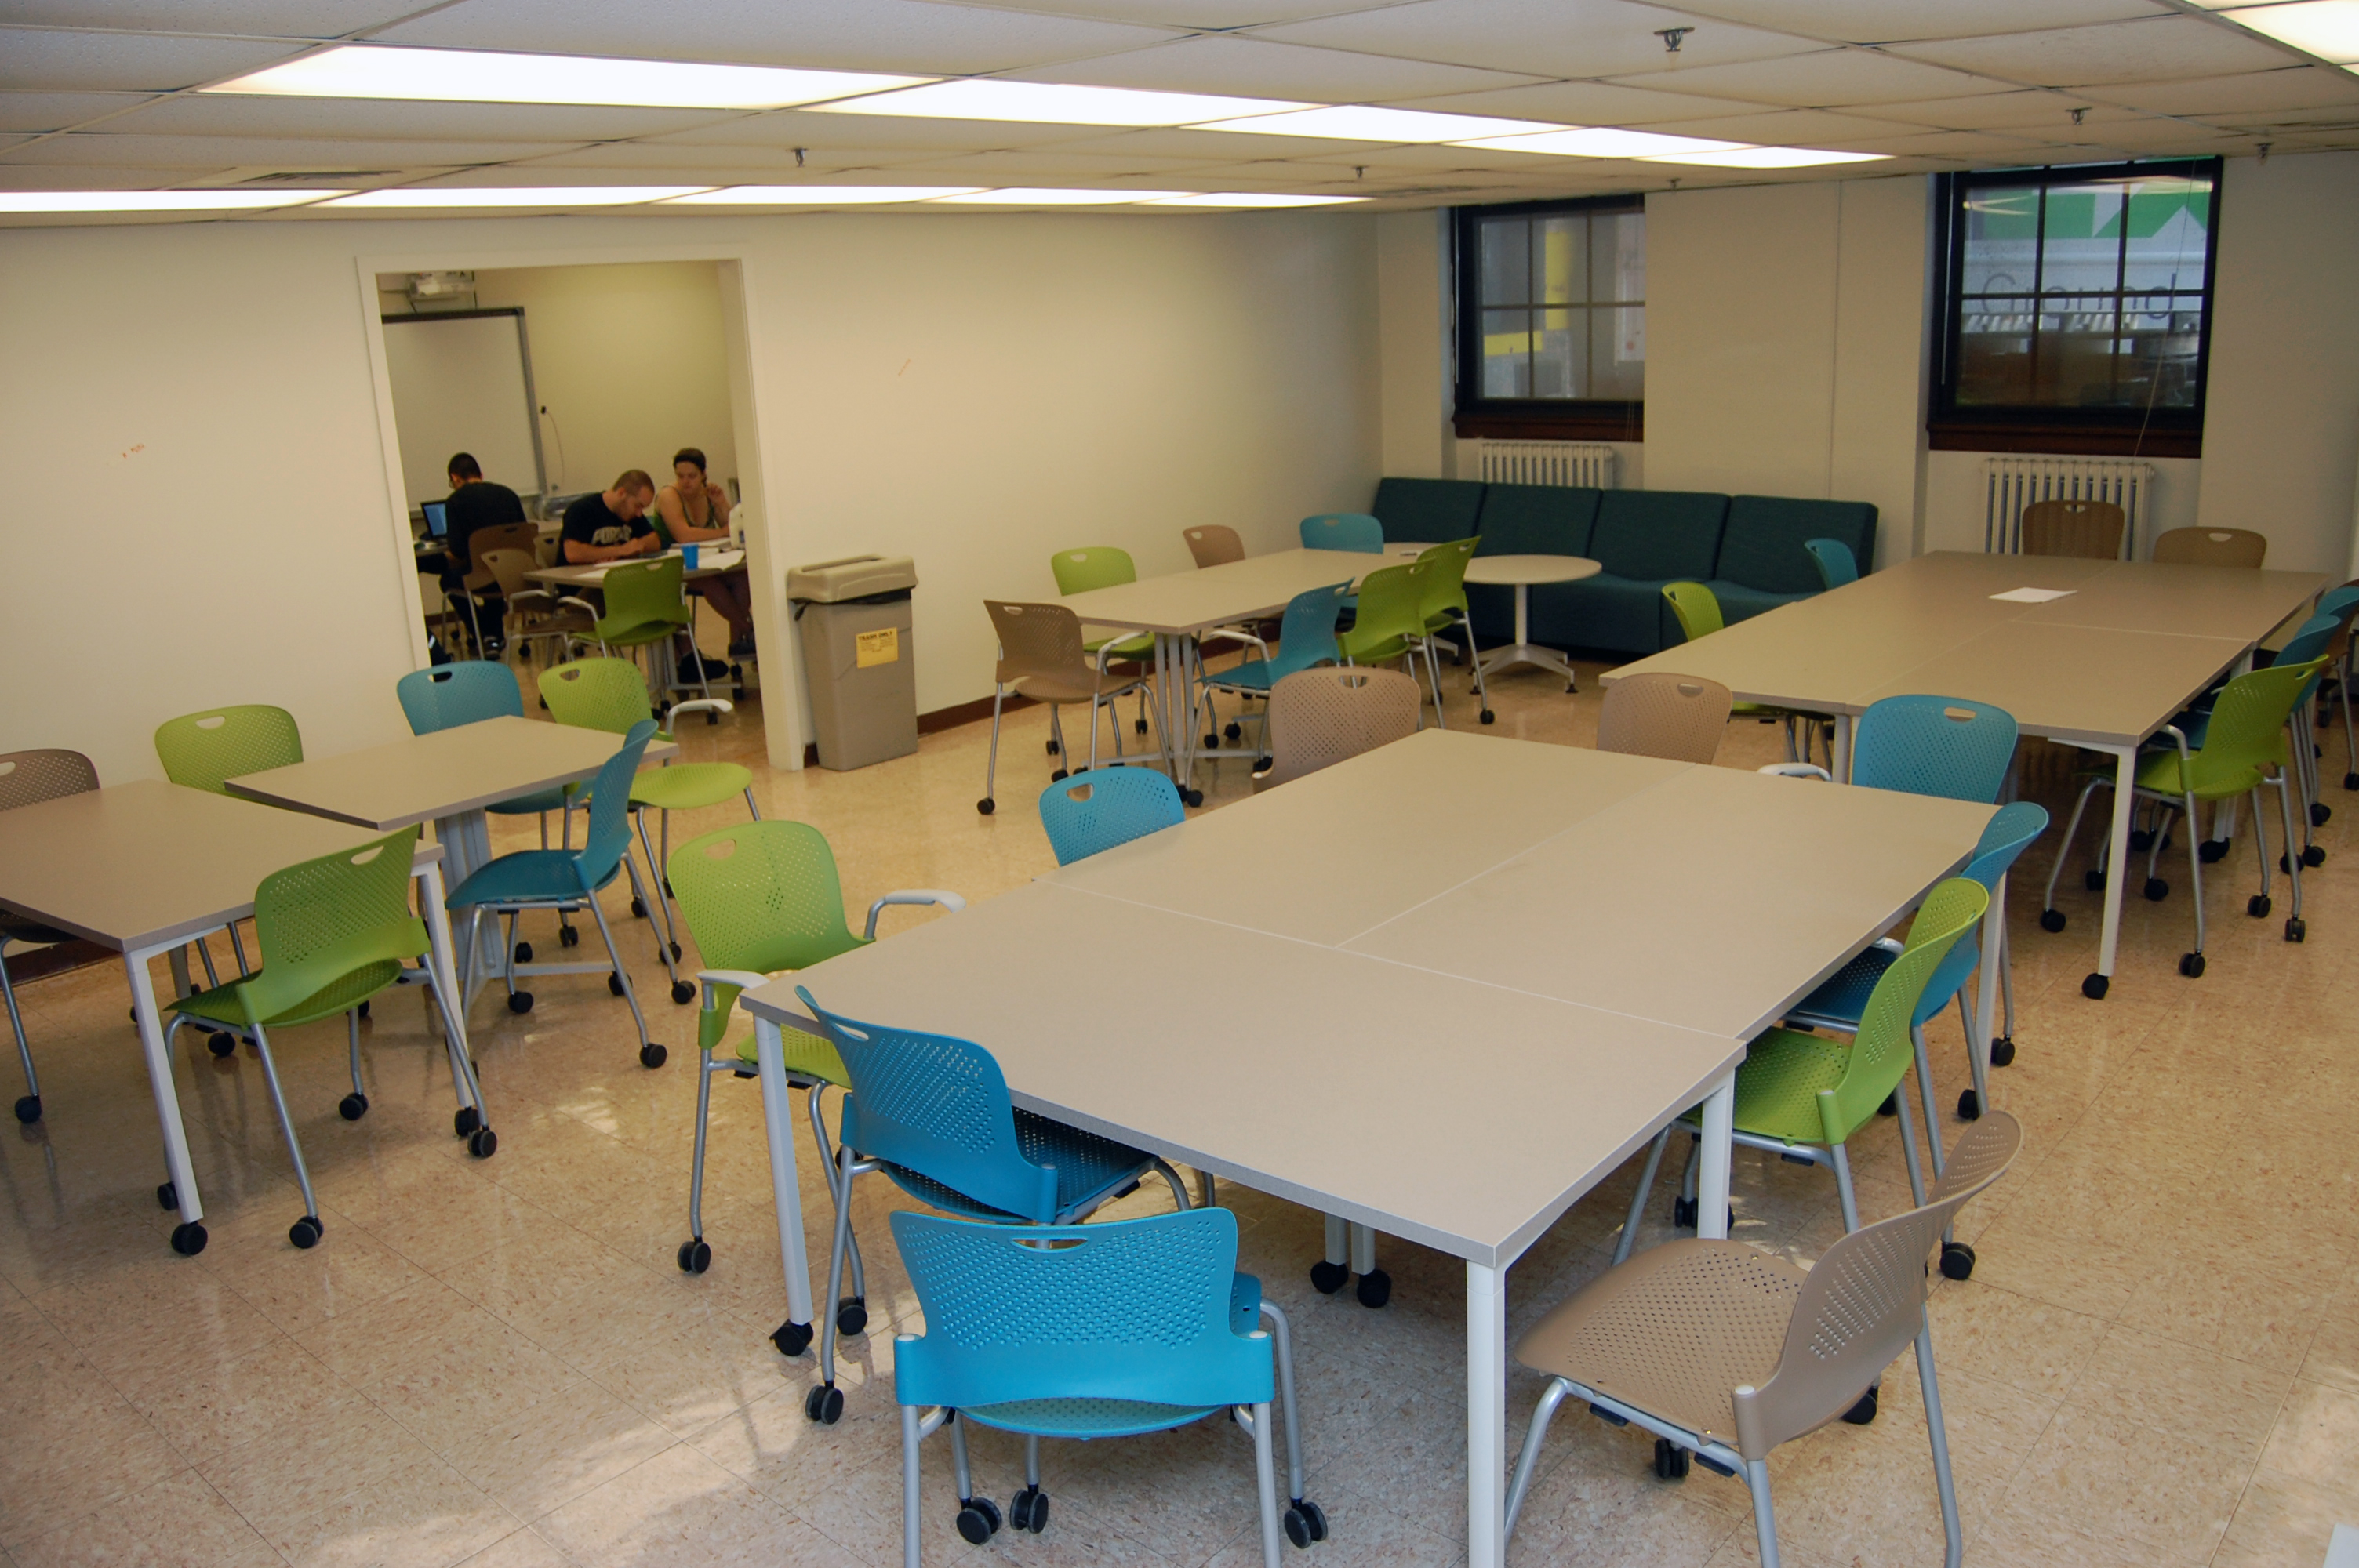
Walk into a resource room during a real school day, and you will likely see controlled chaos. Not the bad kind—the productive kind where four different things are happening at once and somehow it all works. I have spent years in these rooms, and the biggest mistake I see new teachers make is trying to replicate a general education classroom but with fewer students. That is a recipe for burnout. A resource room is not a quieter version of the mainstream class; it is a completely different animal. It is a space for targeted intervention, executive function coaching, and academic triage. The best resource rooms feel less like a classroom and more like a workshop.
What Actually Happens in a High-Functioning Resource Room
The most effective resource rooms operate on a simple truth: every student needs something different, and pretending otherwise wastes everyone's time. A common setup I have seen work brilliantly involves three distinct stations running simultaneously. At one table, a small group works on decoding multisyllabic words using color-coded cards—this is direct, explicit instruction with zero fluff. At another station, two students are using a modified graphic organizer to outline a science report, with the teacher checking in every seven minutes. Meanwhile, a third student wears noise-canceling headphones and practices a math fluency app on a tablet. That is the reality of a well-run room, not a quiet row of desks. The key is that the teacher is not the only person delivering instruction; the structure itself does the heavy lifting.
Station Rotations That Actually Work
Here is what nobody tells you about station rotations in a resource setting: they fail if you try to make them last longer than 15 minutes. Attention spans are real, and fatigue is a factor. I have seen a teacher set up a "reading comprehension station" where students use highlighters to code a short passage for main ideas and supporting details. That works. But if the passage goes beyond a page, you lose them. Pair that with a "math facts fluency station" using a simple timer and a whiteboard, and a "teacher-led station" for explicit instruction on a skill from the previous day. Rotate every 12 minutes. The timer is your best friend. One specific example: a fifth grader who struggled with fractions for months finally got it after three rotations where he first saw the concept visually with fraction tiles, then practiced with a partner, then explained it back to the teacher. That sequence—see it, do it, teach it—is gold.
The Role of the Paraeducator in Station-Based Models
Too many resource rooms underutilize their paraeducators. I have watched a para sit in the corner taking notes while the teacher runs ragged. That is a waste of human potential. In a strong station rotation model, the para runs one station independently. For example, during a writing block, the para might lead a "sentence expansion station" where students take a simple sentence like "The dog ran" and add a where, when, and why. This builds stamina for written expression without overwhelming the student. The para is not an assistant; the para is a co-instructor with clearly defined tasks. This allows the special education teacher to focus on the students with the most acute needs during the teacher-led station. It also builds consistency; students know what to expect from each adult in the room.
The Part About Scheduling That Most People Get Wrong
Here is a painful truth: resource room time is precious, and it gets eaten by transition. I have seen schedules where a student comes for 45 minutes but spends the first ten unpacking their bag, sharpening a pencil, and settling in. That is 22% of the session gone before any instruction starts. The best resource rooms treat transition like enemy number one. One strategy that works is a "start now" board right by the door. As students walk in, they see a simple prompt: "Read this paragraph and circle two facts." No waiting. No chit-chat. They sit and start immediately. This builds momentum and signals that this is a working space. Another scheduling hack: batch similar needs together. Do not schedule a student working on phonics back-to-back with a student working on algebra. Group by skill type, not by grade level. This allows you to pull out one set of materials and use it for a full block, reducing setup and cleanup time by half. The result is more actual teaching and less administrative overhead.
Data Collection That Does Not Make You Want to Quit
Let me be blunt: most data collection systems in resource rooms are designed by people who have not taught in one recently. Clipboards with checklists that require a color-coded key? No thanks. The most practical system I have seen uses a simple weekly grid taped to a clipboard. Each student has a row, and each day has a column. The teacher makes a single tally mark for "skill observed" and a quick note like "needs reteach" or "independent." That is it. Do not track 15 data points for one student; track one or two critical skills per week. For example, if a student is working on using context clues, you only need to note whether they attempted the strategy, used it correctly, or ignored it. Over a month, that simple grid tells you more than a binder full of forms. The goal is to make the data tell a story you can actually read, not to impress an administrator with your filing system.
| Station Type | Typical Duration | Adult Role | Student Task Example |
|---|---|---|---|
| Teacher-Led Direct Instruction | 12-15 minutes | Explicit teaching, modeling, error correction | Sound blending with letter tiles |
| Independent Practice Station | 10-12 minutes | Monitor from a distance, intervene only if stuck | Solve 4 multiplication problems on a whiteboard |
| Collaborative Partner Work | 10-12 minutes | Paraeducator facilitates, keeps pair on task | Read a paragraph aloud together, then summarize |
| Technology or Fluency Station | 8-10 minutes | None active; timer and headphones manage it | Typing practice or math fact app |
One Last Thing Before You Go
Every classroom you step into carries the weight of untold potential. The strategies and special education resource room examples you just explored aren’t just logistics—they’re the scaffolding that lets a student believe in their own ability to learn. When you design a space that adapts, you’re not managing behavior or checking compliance boxes. You’re telling a child, You belong here exactly as you are, and we will find a way together. That message ripples far beyond the four walls of your room. It shapes how that student shows up in the world for the rest of their life.
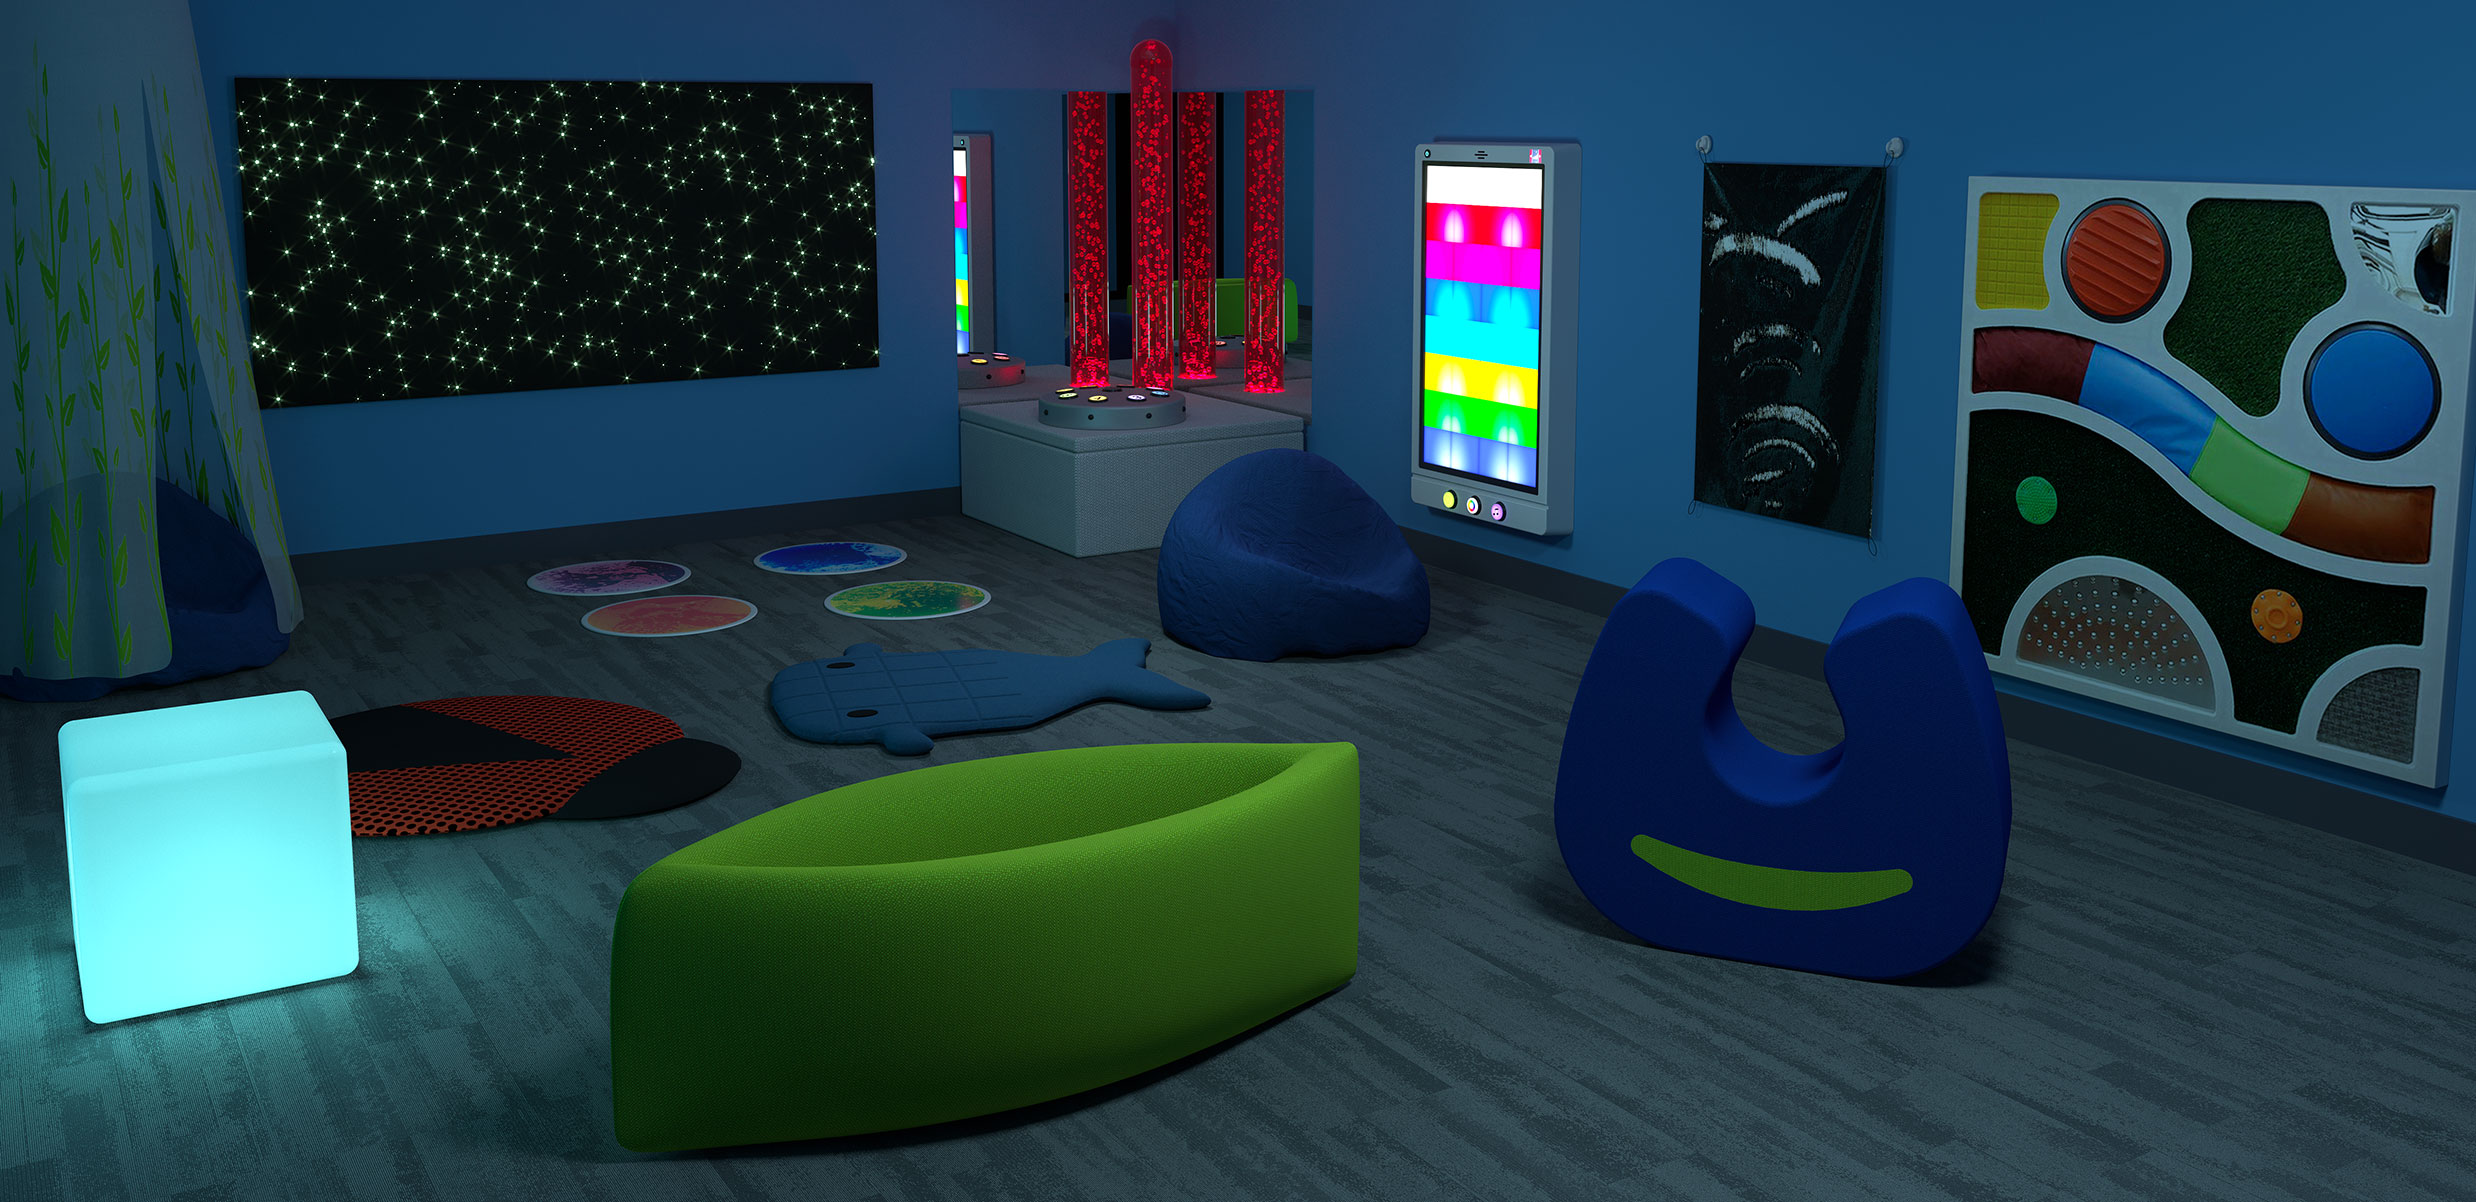
I know what you might be thinking: "This sounds great, but I don’t have a dedicated room, or my budget is already stretched thin." That hesitation is real, and it’s fair. But here’s the truth—most of these ideas start with intention, not inventory. A calm-down corner can be a beanbag and a pair of noise-canceling headphones you found on clearance. A structured work station can be a cardboard study carrel you painted yourself. The most powerful resource you have is your willingness to look at a space and ask, "What does this child need right now?" Start with that question, and the solution will follow.
So here’s my ask: take one idea from what you’ve read—just one—and try it this week. Then, when you see the difference it makes, bookmark this page or send it to a colleague who’s drowning in paperwork and wondering where to begin. The more we share real, working special education resource room examples, the less isolated we feel in this work. You don’t have to reinvent everything at once. Just take the next small step, and trust that it matters more than you know.