If your child can say "light" but it comes out sounding like "wight," you already know the frustration. That stubborn /l/ sound is one of the trickiest for little mouths to master, and honestly, generic speech therapy advice just doesn't cut it when you're stuck in the same loop. That's exactly why targeted speech therapy l sound worksheets aren't just busywork—they're the difference between random practice and actual progress.
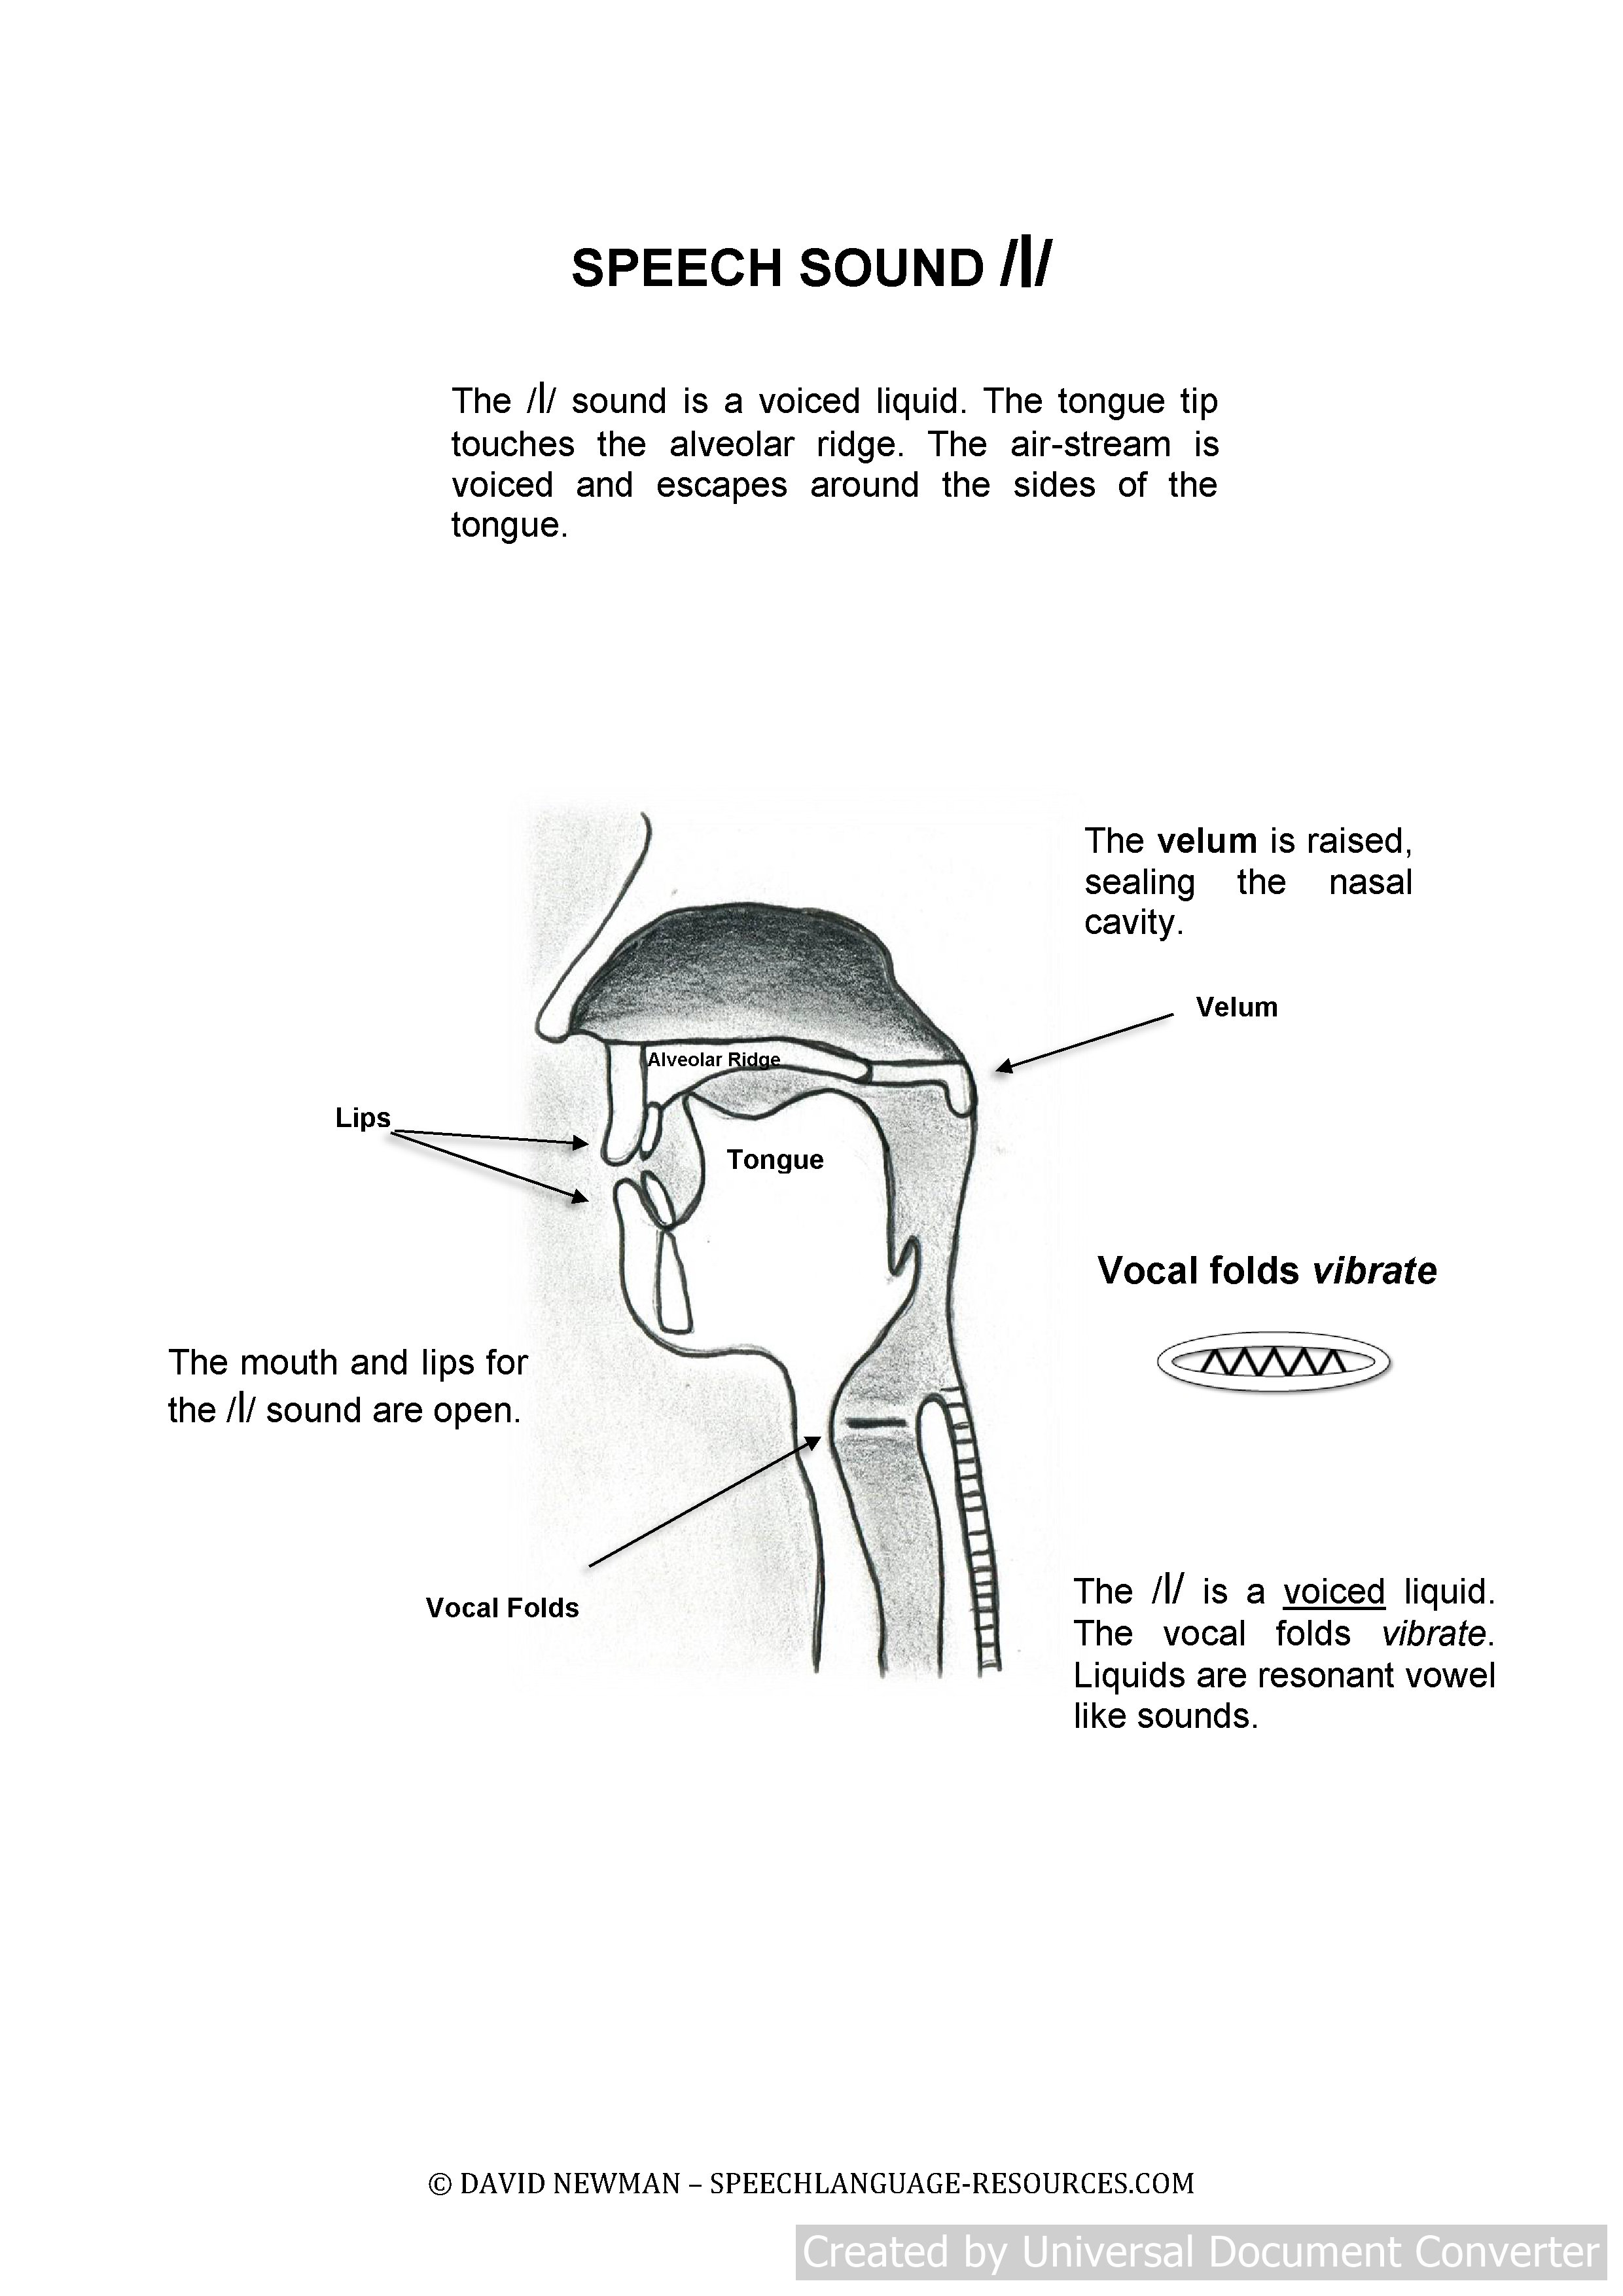
Here's the thing: most parents and SLPs I've worked with waste weeks on activities that don't isolate the specific tongue placement and airflow needed for /l/. The truth is, if you're not drilling the sound in the right position—tip of the tongue on the alveolar ridge, air escaping over the sides—you're basically teaching the wrong muscle memory. And that gets harder to unlearn the longer it goes. Right now, you need something that works for your kid's exact struggle, whether it's initial, medial, or final /l/.
What I'm about to share isn't another generic PDF dump. These worksheets are built around the actual phonological patterns that trip kids up—think minimal pairs, coarticulation tricks, and visual cues that actually stick. Look—you'll walk away with printable activities that target the sound where it counts, not just random coloring pages. No fluff, no theory lectures. Just the stuff that gets that /l/ clicking in real conversations.
Let’s be honest: teaching the /l/ sound can feel like you’re stuck in a loop of tongue placement drills and frustrated sighs. I’ve seen kids who can nail a complicated word like "yellow" but then stumble on a simple "ball." The problem isn't effort—it's that the /l/ sound requires two completely different tongue positions depending on where it falls in a word. Initial /l/ (like "lamp") demands the tongue tip presses firmly against the alveolar ridge behind the upper teeth. Final /l/ (like "tell") requires the tongue to stay up while the back of the tongue relaxes. That subtle shift is where most children get stuck, and generic articulation cards rarely address this distinction.
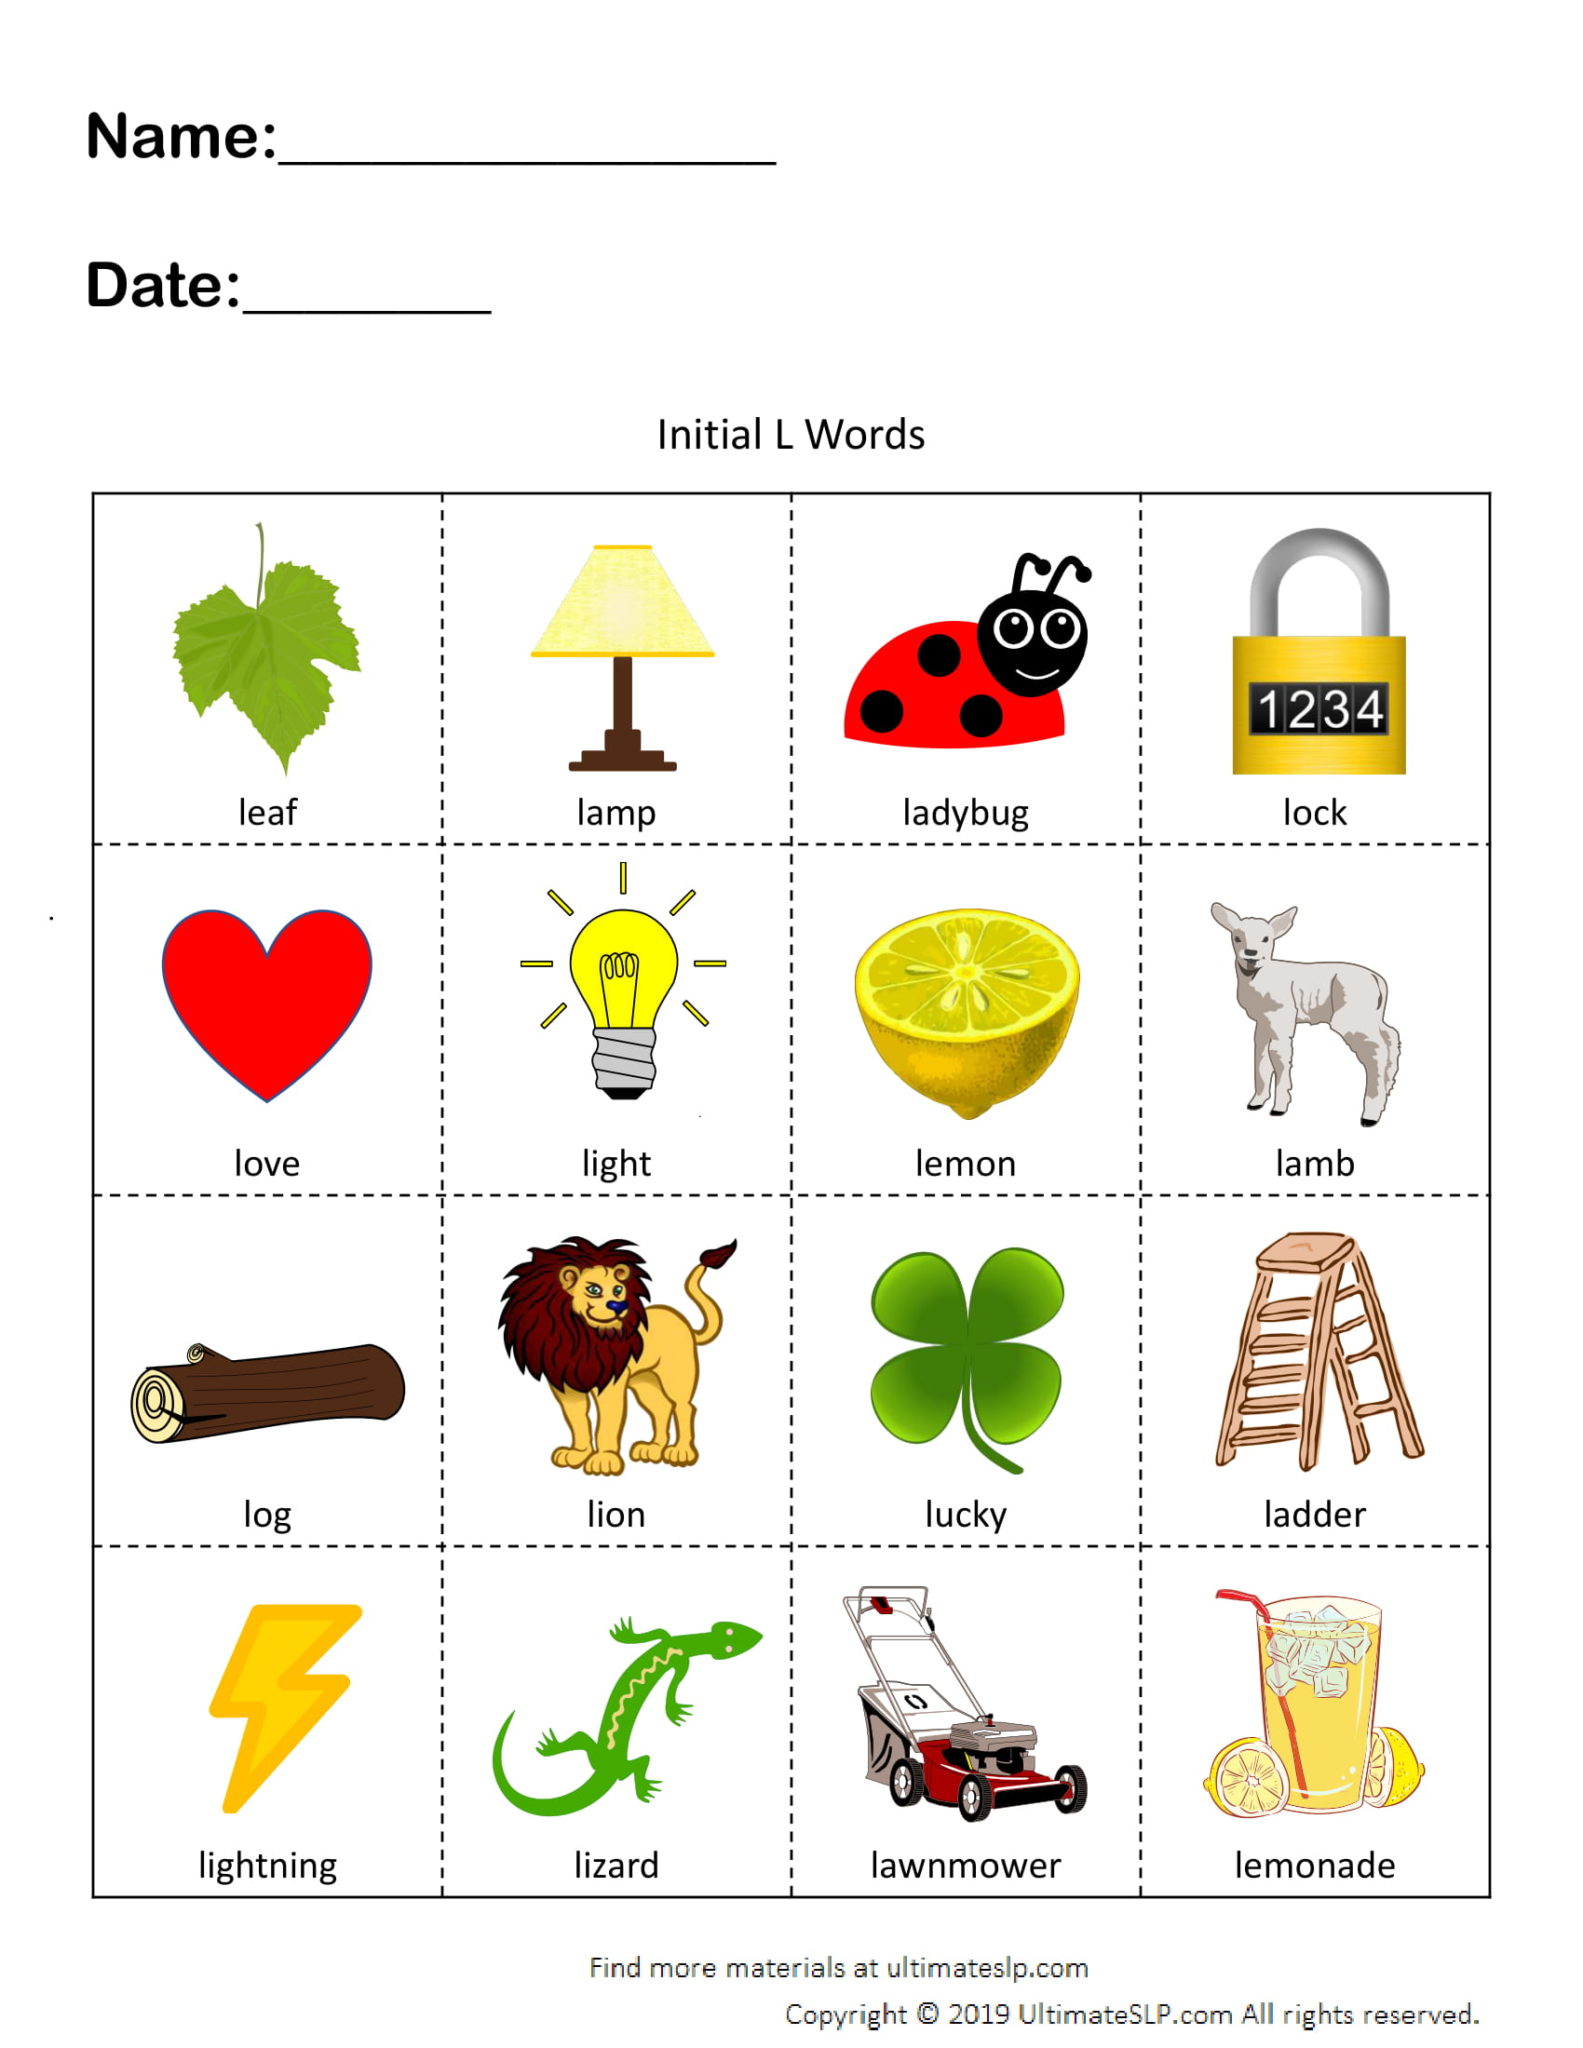
Here’s what nobody tells you: the best practice materials force the child to feel the tongue position, not just see it. That’s where structured, targeted activities become non-negotiable. A good set of drills will isolate initial, medial, and final positions separately before mixing them. I’ve found that pairing a tactile cue—like touching the alveolar ridge with a clean fingertip—with a visual worksheet creates a memory anchor that verbal instructions alone cannot match. Try this exact sequence: have the child say "la-la-la" while holding a small mirror, then immediately switch to "all-all-all" while watching the tongue curl back. The contrast is jarring at first, but that’s the point. Your speech therapy l sound worksheets should include these positional contrasts, not just random pictures of lions and ladders.
Why Most /l/ Worksheets Fail (And How to Fix It)
The typical worksheet you find online is a disaster. It’s a page of 20 clip-art images—leaf, ladder, balloon, apple—all thrown together without any phonetic logic. The child practices "leaf" correctly, then immediately hits "balloon," which requires a completely different tongue shape. That cognitive flip-flop teaches nothing. Real progress happens when you separate the positions with brutal clarity. I recommend a three-phase approach: start with initial /l/ only (lamp, lemon, lizard), then move to final /l/ only (bell, hill, pool), and only after both are stable do you introduce medial /l/ (pillow, yellow, balloon). This isn’t slow—it’s efficient. The table below shows a realistic progression I use with my own clients, based on 80% accuracy before moving forward.
| Phase | Target Position | Example Words | Minimum Sessions |
|---|---|---|---|
| 1 | Initial /l/ | lamp, leaf, lock, lip | 3–4 |
| 2 | Final /l/ | ball, hill, doll, seal | 3–4 |
| 3 | Medial /l/ | pillow, yellow, follow | 4–6 |
| 4 | Mixed positions | lollipop, lily, label | 2–3 (maintenance) |
The Hidden Problem with "L-Blends"
Blends like "bl," "fl," and "gl" are a completely different animal. Parents often ask, "Why can he say 'blue' but not 'lamp'?" That’s because in a blend, the /l/ is co-articulated—the tongue starts pre-positioned for the preceding consonant. Never mix blends with singleton /l/ in the same worksheet session. I’ve seen therapists throw "flower" and "lamp" on the same page, and it confuses the motor plan. Isolate blends into their own practice block, and only after the child demonstrates stable singleton /l/ in all positions. Your speech therapy l sound worksheets should have a clear "no blends" section at the beginning. One actionable tip: for blends, have the child hold the first consonant sound ("b-b-b") and then slide into the /l/ without stopping the airflow. It feels forced, but it works.
How to Make the Worksheets Work Harder
Here’s a specific, real-world example that changed my approach. I had a 6-year-old who could produce a perfect /l/ in isolation but dropped it in conversation. I switched to worksheets that required a verbal response before any writing—say the word three times, then color the picture. That tiny behavioral requirement doubled his accuracy in two weeks. The physical act of saying the word aloud before engaging the hands creates a feedback loop that silent worksheets never achieve. Also, use a highlighter to mark the letter "L" on the worksheet before starting. That visual cue primes the brain for the target sound. Most commercial materials skip this step, which is why they gather dust after two uses.
When to Ditch the Worksheet Altogether
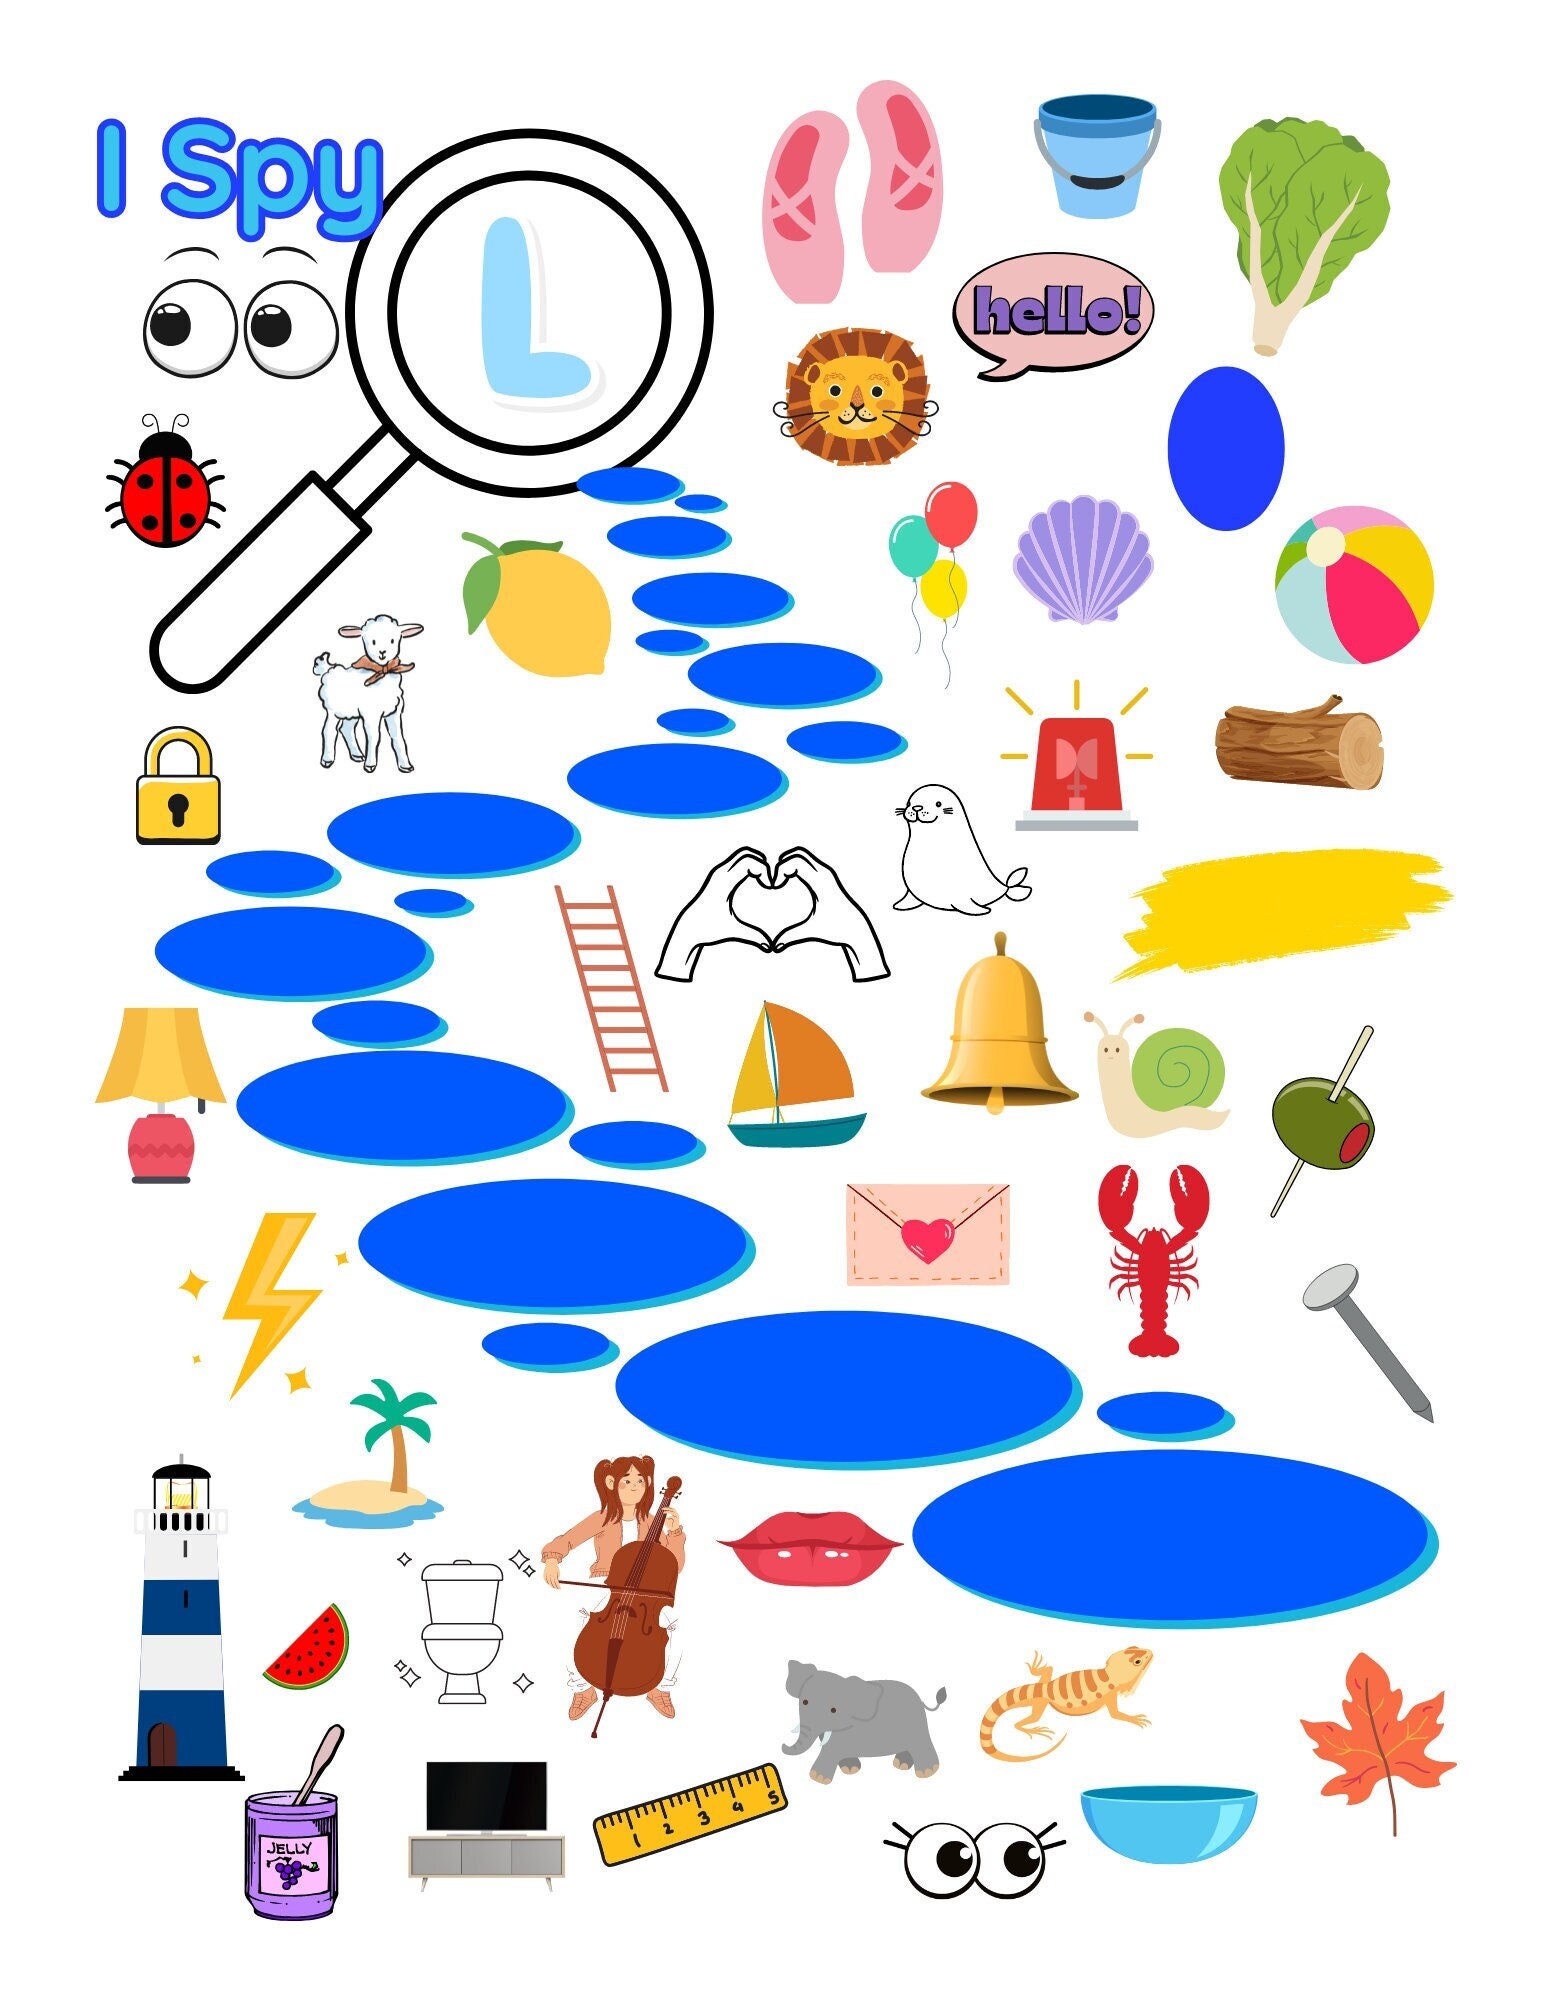
Worksheets are tools, not cures. If a child is stimulable for /l/ but cannot generalize, the problem isn’t the paper—it’s the lack of carryover activities. I use worksheets for structured drill (the "learning" phase) but switch to real-world tasks for the "living" phase. Have the child read a menu and order a "lemonade" or "lunch." Play "I Spy" with /l/ items in the room. Your speech therapy l sound worksheets are the warm-up, not the main event. If you’ve spent more than 10 minutes on a single worksheet without a break, stop. The child’s tongue is fatigued, and their attention is gone. Short, intense bursts—five minutes of targeted practice, then a movement break—produce better long-term retention than thirty minutes of frustrated coloring.
One Last Thing Before You Go
Every sound your child masters is a small victory that ripples far beyond the therapy table. When a child finally nails that tricky /l/ sound, it’s not just about clearer speech—it’s about the confidence to raise their hand in class, the joy of telling a joke without stumbling, and the pride of being understood the first time. You’re not just drilling a sound; you’re handing them a key that unlocks conversations, friendships, and self-expression. This work matters because communication is the thread that ties every human connection together, and you are the one weaving it stronger, one word at a time.
Maybe you’re wondering if you have enough patience, or if those speech therapy l sound worksheets will really make a difference on a tired Tuesday afternoon. Let me ease that worry: you don’t need to be perfect. You just need to show up, even for five minutes. The worksheets are the scaffold, but your presence is the magic. What if the only thing standing between your child and a breakthrough is simply starting today? That small doubt you feel is just the echo of your high standards—set it aside, and trust that every little repetition builds a bridge.
Now that you’ve got the road map, take the next step while the momentum is fresh. Bookmark this page so you can return to the speech therapy l sound worksheets whenever you need a quick, no-prep activity. Better yet, share this with a fellow parent, teacher, or therapist who might be searching for the same lightbulb moment. Your voice is the one that can turn a frustrating practice session into a game. Go ahead—print a worksheet, grab a mirror, and watch what happens when you make it fun. The next “I did it!” is closer than you think.