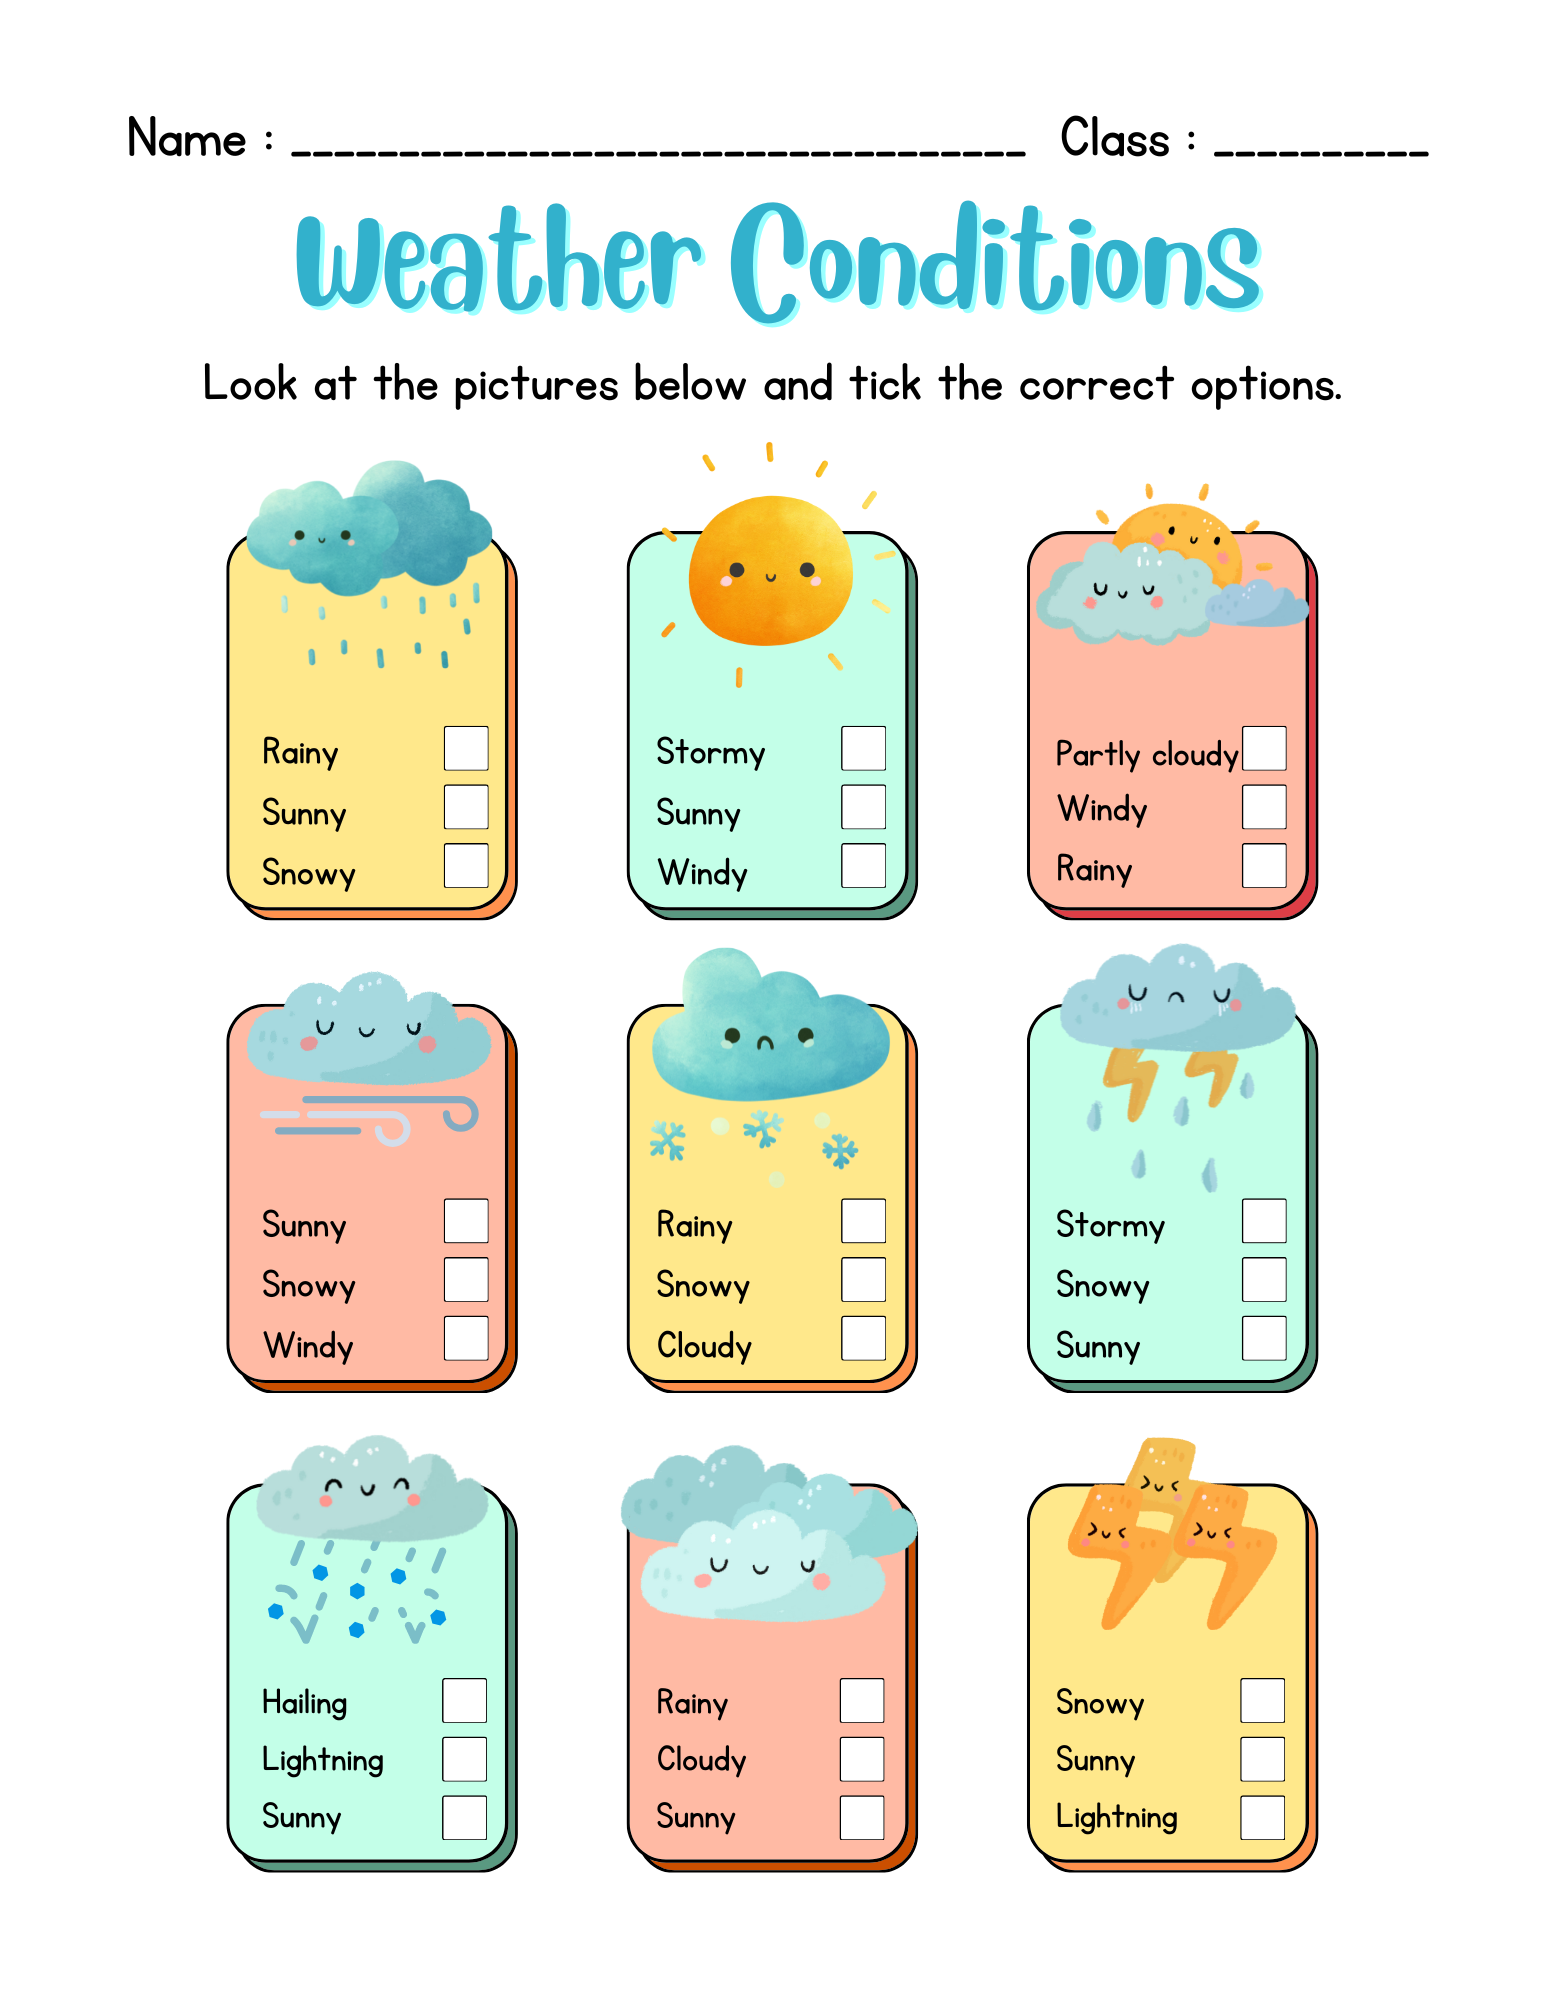
You know that moment when you hand a kid a weather worksheet and their eyes glaze over like you just asked them to file your taxes? Yeah, that's the problem. Most science worksheets weather content is so painfully dull it actually makes kids forget what rain is. Honestly, I've seen fourth graders perk up more for a pop quiz on lunch menus. But here's the thing — weather is literally the most dynamic, in-your-face science experiment happening outside their window every single day. And we're wasting it on fill-in-the-blank boredom.
Look — right now, your kid or student is probably glued to a screen watching someone unbox toys or explain why slime is satisfying. Meanwhile, a thunderstorm could be rolling in and they wouldn't even glance up. That's not their fault. It's ours. We've stripped the chaos and drama out of weather education and replaced it with vocabulary lists. Real talk: if you don't make science feel urgent and unpredictable, you've already lost them. Weather is the perfect hook because it's never the same twice.
I'm going to show you how to flip that script — using the same worksheets you already have, just with a few tweaks that make kids actually argue about whether it's "partly cloudy" or "mostly sunny." You'll get strategies that turn a boring Tuesday into a mini meteorology lab. No expensive kits, no complicated prep. Just smarter ways to use what you've got. Stick with me — this is the part where weather finally becomes the subject kids fight over, not zone out on.
Most teachers and parents grab a weather worksheet, hand it to a kid, and expect learning to magically happen. It doesn't work that way. The real value of a solid weather lesson isn't in the pretty cloud diagrams or the fill-in-the-blank questions about precipitation types. It's in how you use the material to make a kid stop, look outside, and actually wonder why the sky does what it does. That's the part most people get wrong.
The Part of Weather Lessons Most People Get Wrong
Here's what nobody tells you: a static worksheet about the water cycle is almost useless if it sits on a desk in isolation. I've watched kids glaze over when asked to label evaporation and condensation on a static image. They don't connect the dots. The trick is to pair that paper with something real. Go outside. Splash some water on the pavement. Watch it disappear. That moment of observation turns a worksheet into a tool for discovery, not just a chore to finish. If you're using science worksheets weather resources, don't let them be the main event. Make them the follow-up to a five-minute outdoor observation. The difference in retention is staggering. One teacher I know started every weather unit by having students record the actual temperature and cloud cover for three days before touching any printed material. The engagement doubled. It's not about more worksheets. It's about better timing and context.
Why Matching Activities to Age Groups Matters More Than You Think
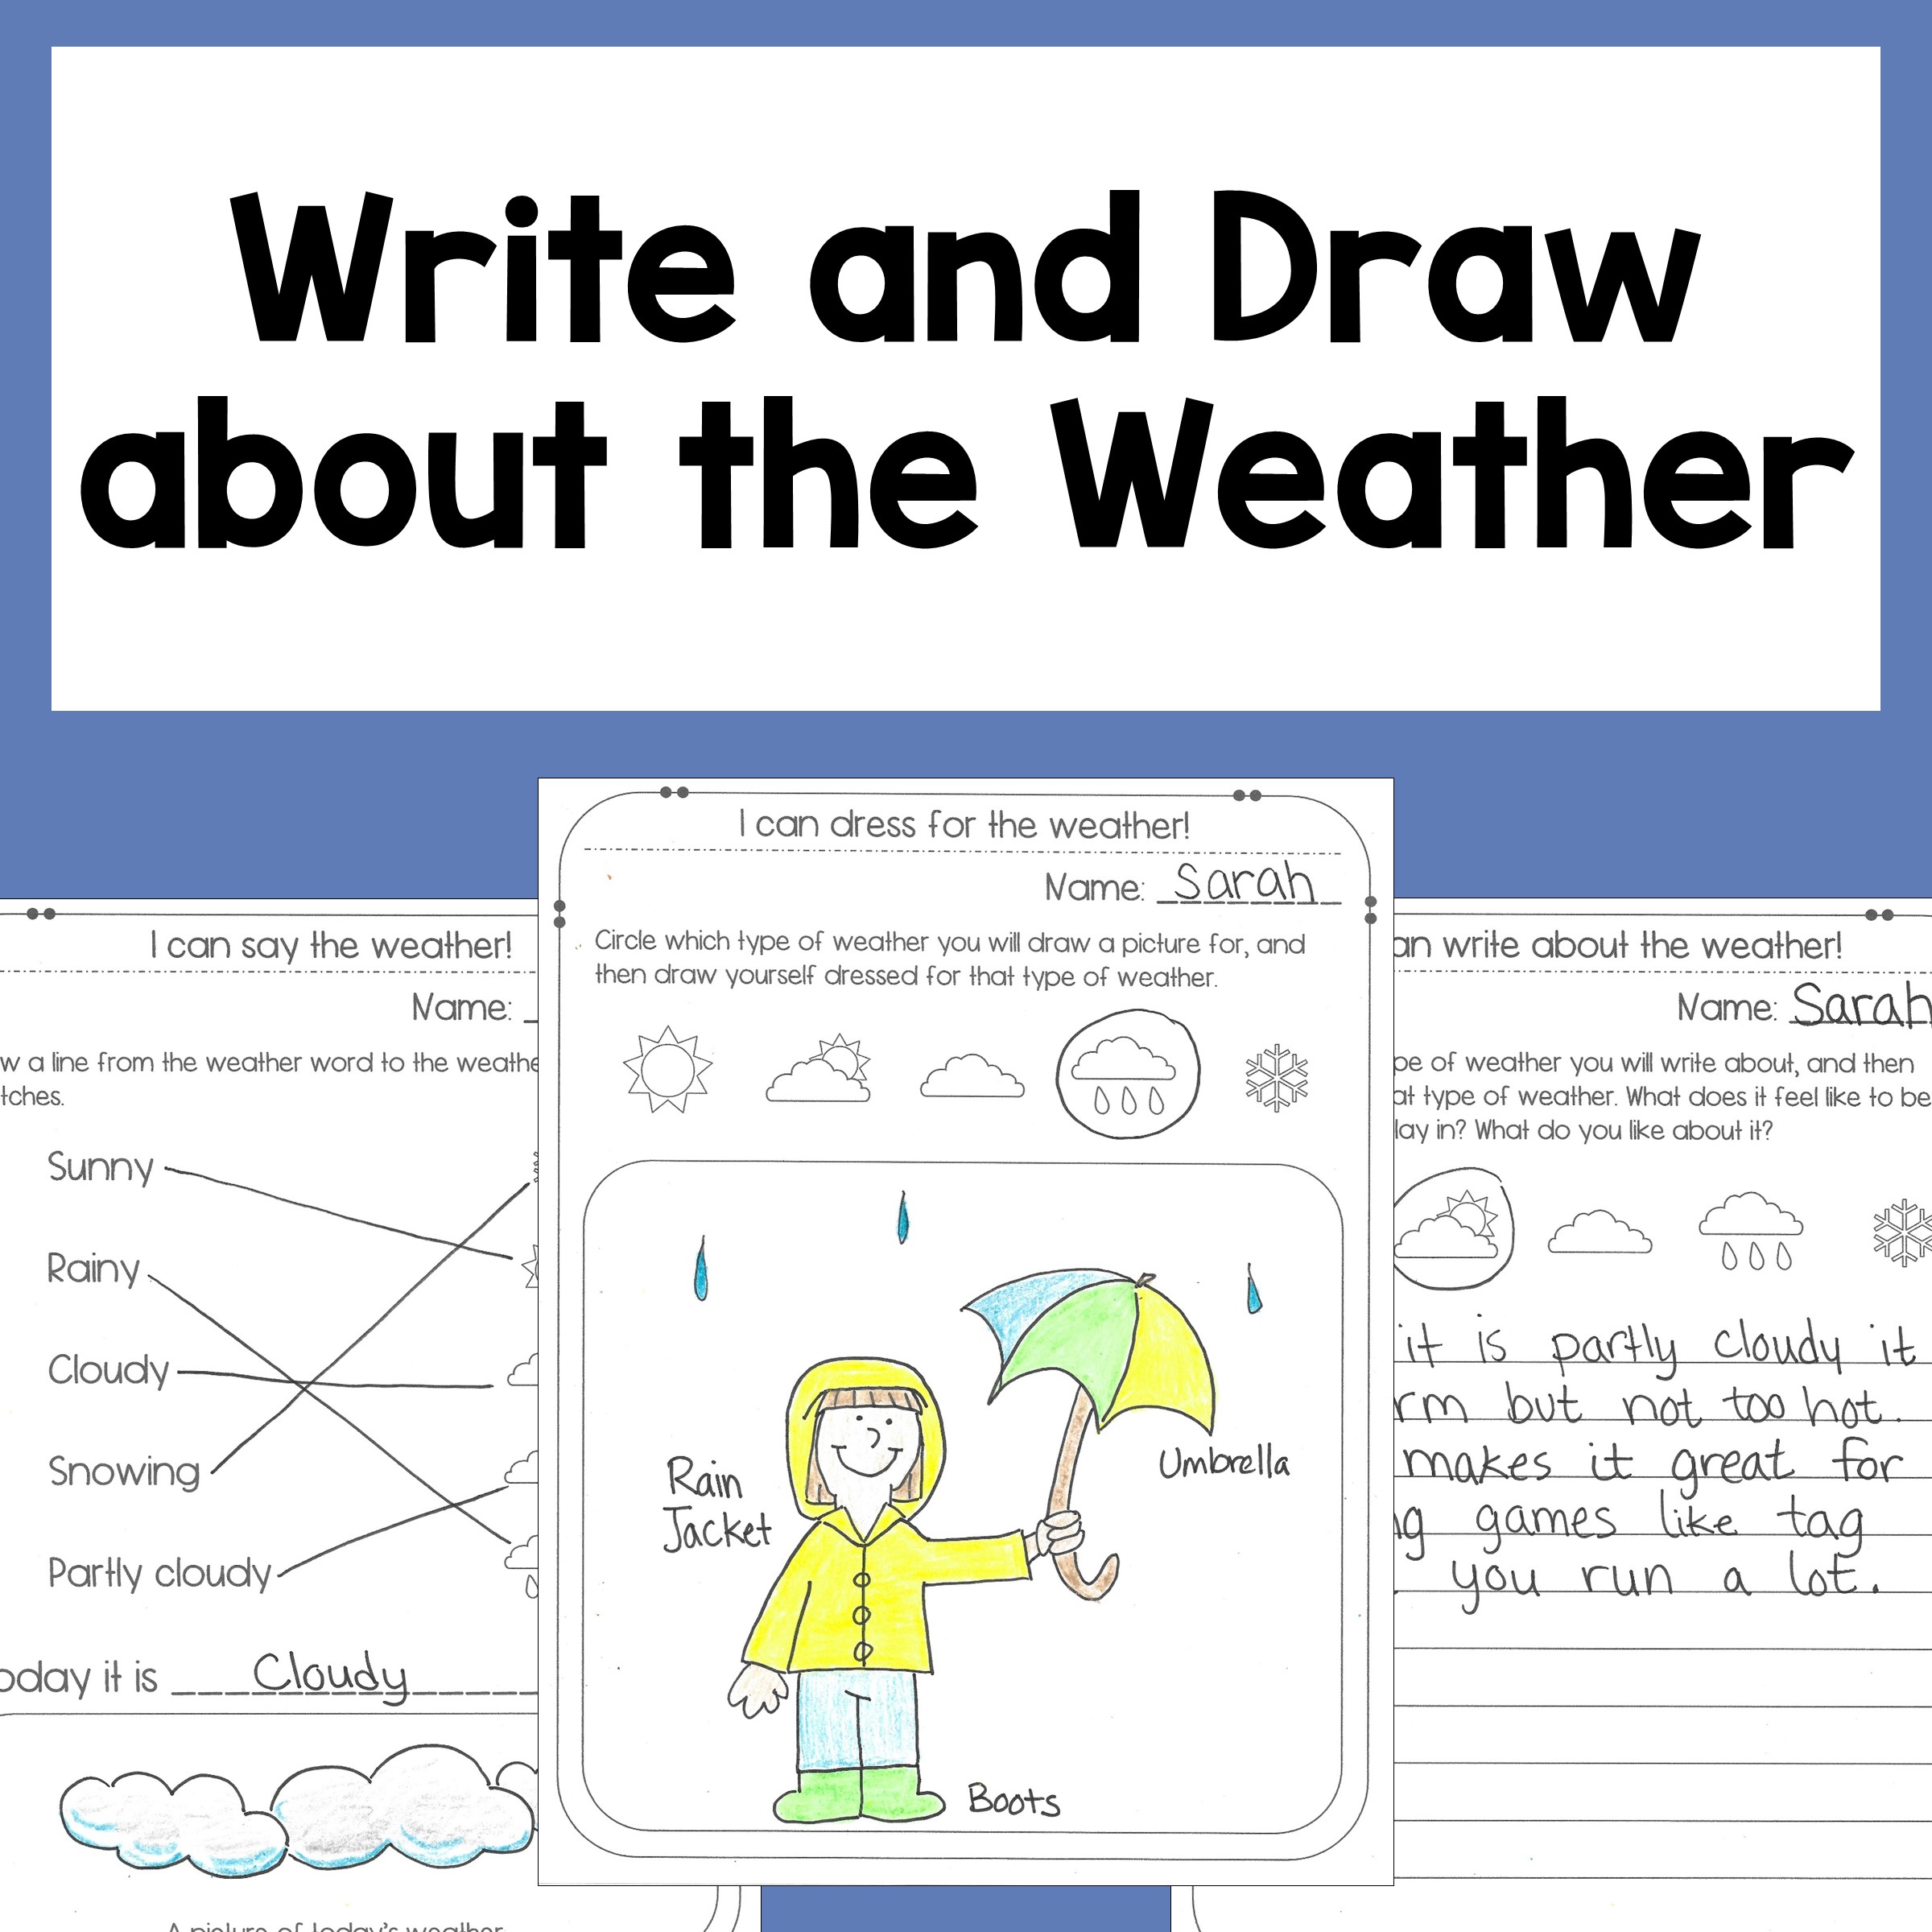
A second grader and a seventh grader live in completely different worlds when it comes to understanding weather. The younger crowd needs concrete, tactile stuff. They need to feel the condensation on a cold glass, draw a simple picture of a rainbow, or match basic symbols to sunny, rainy, and snowy days. Older students can handle the abstraction. They can graph temperature trends, argue about the limitations of a barometer reading, or analyze how geography influences local microclimates. Using a worksheet designed for a ten-year-old with a twelve-year-old is a recipe for boredom or frustration. I see this mistake constantly in classrooms and homeschool setups. The activity needs to stretch their thinking, not just fill time. For younger learners, keep it visual and hands-on. For older ones, demand reasoning. Ask them to defend their weather predictions. That's where the real learning lives.
How to Build a Mini Weather Unit That Actually Works
Stop trying to cover everything at once. Pick one concept. Maybe it's wind direction. Maybe it's why clouds look different before a storm. Build a short sequence around that single idea. Start with a brief outdoor observation. Then introduce a simple data collection sheet where they record wind speed (using the Beaufort scale) and direction using a homemade windsock. Finally, bring in a printed activity that asks them to interpret that data. This three-step rhythm beats any single worksheet approach. Here's a realistic breakdown of what that looks like for a week:
| Day | Activity | Purpose |
|---|---|---|
| Monday | 5-minute outdoor wind observation | Build real-world context |
| Tuesday | Build a simple anemometer from cups and straws | Hands-on engineering connection |
| Wednesday | Record wind speed and direction data | Introduce measurement and notation |
| Thursday | Complete a data interpretation worksheet | Apply learned concepts to recorded numbers |
| Friday | Predict the next day's weather based on data | Synthesize and defend a hypothesis |
Notice the worksheet comes on Thursday, not Monday. That's the sequence that sticks. You can adapt this rhythm for temperature, cloud types, or barometric pressure. The core principle stays the same: observe first, record second, analyze third. Don't reverse the order.
One Specific Tip That Changes Everything
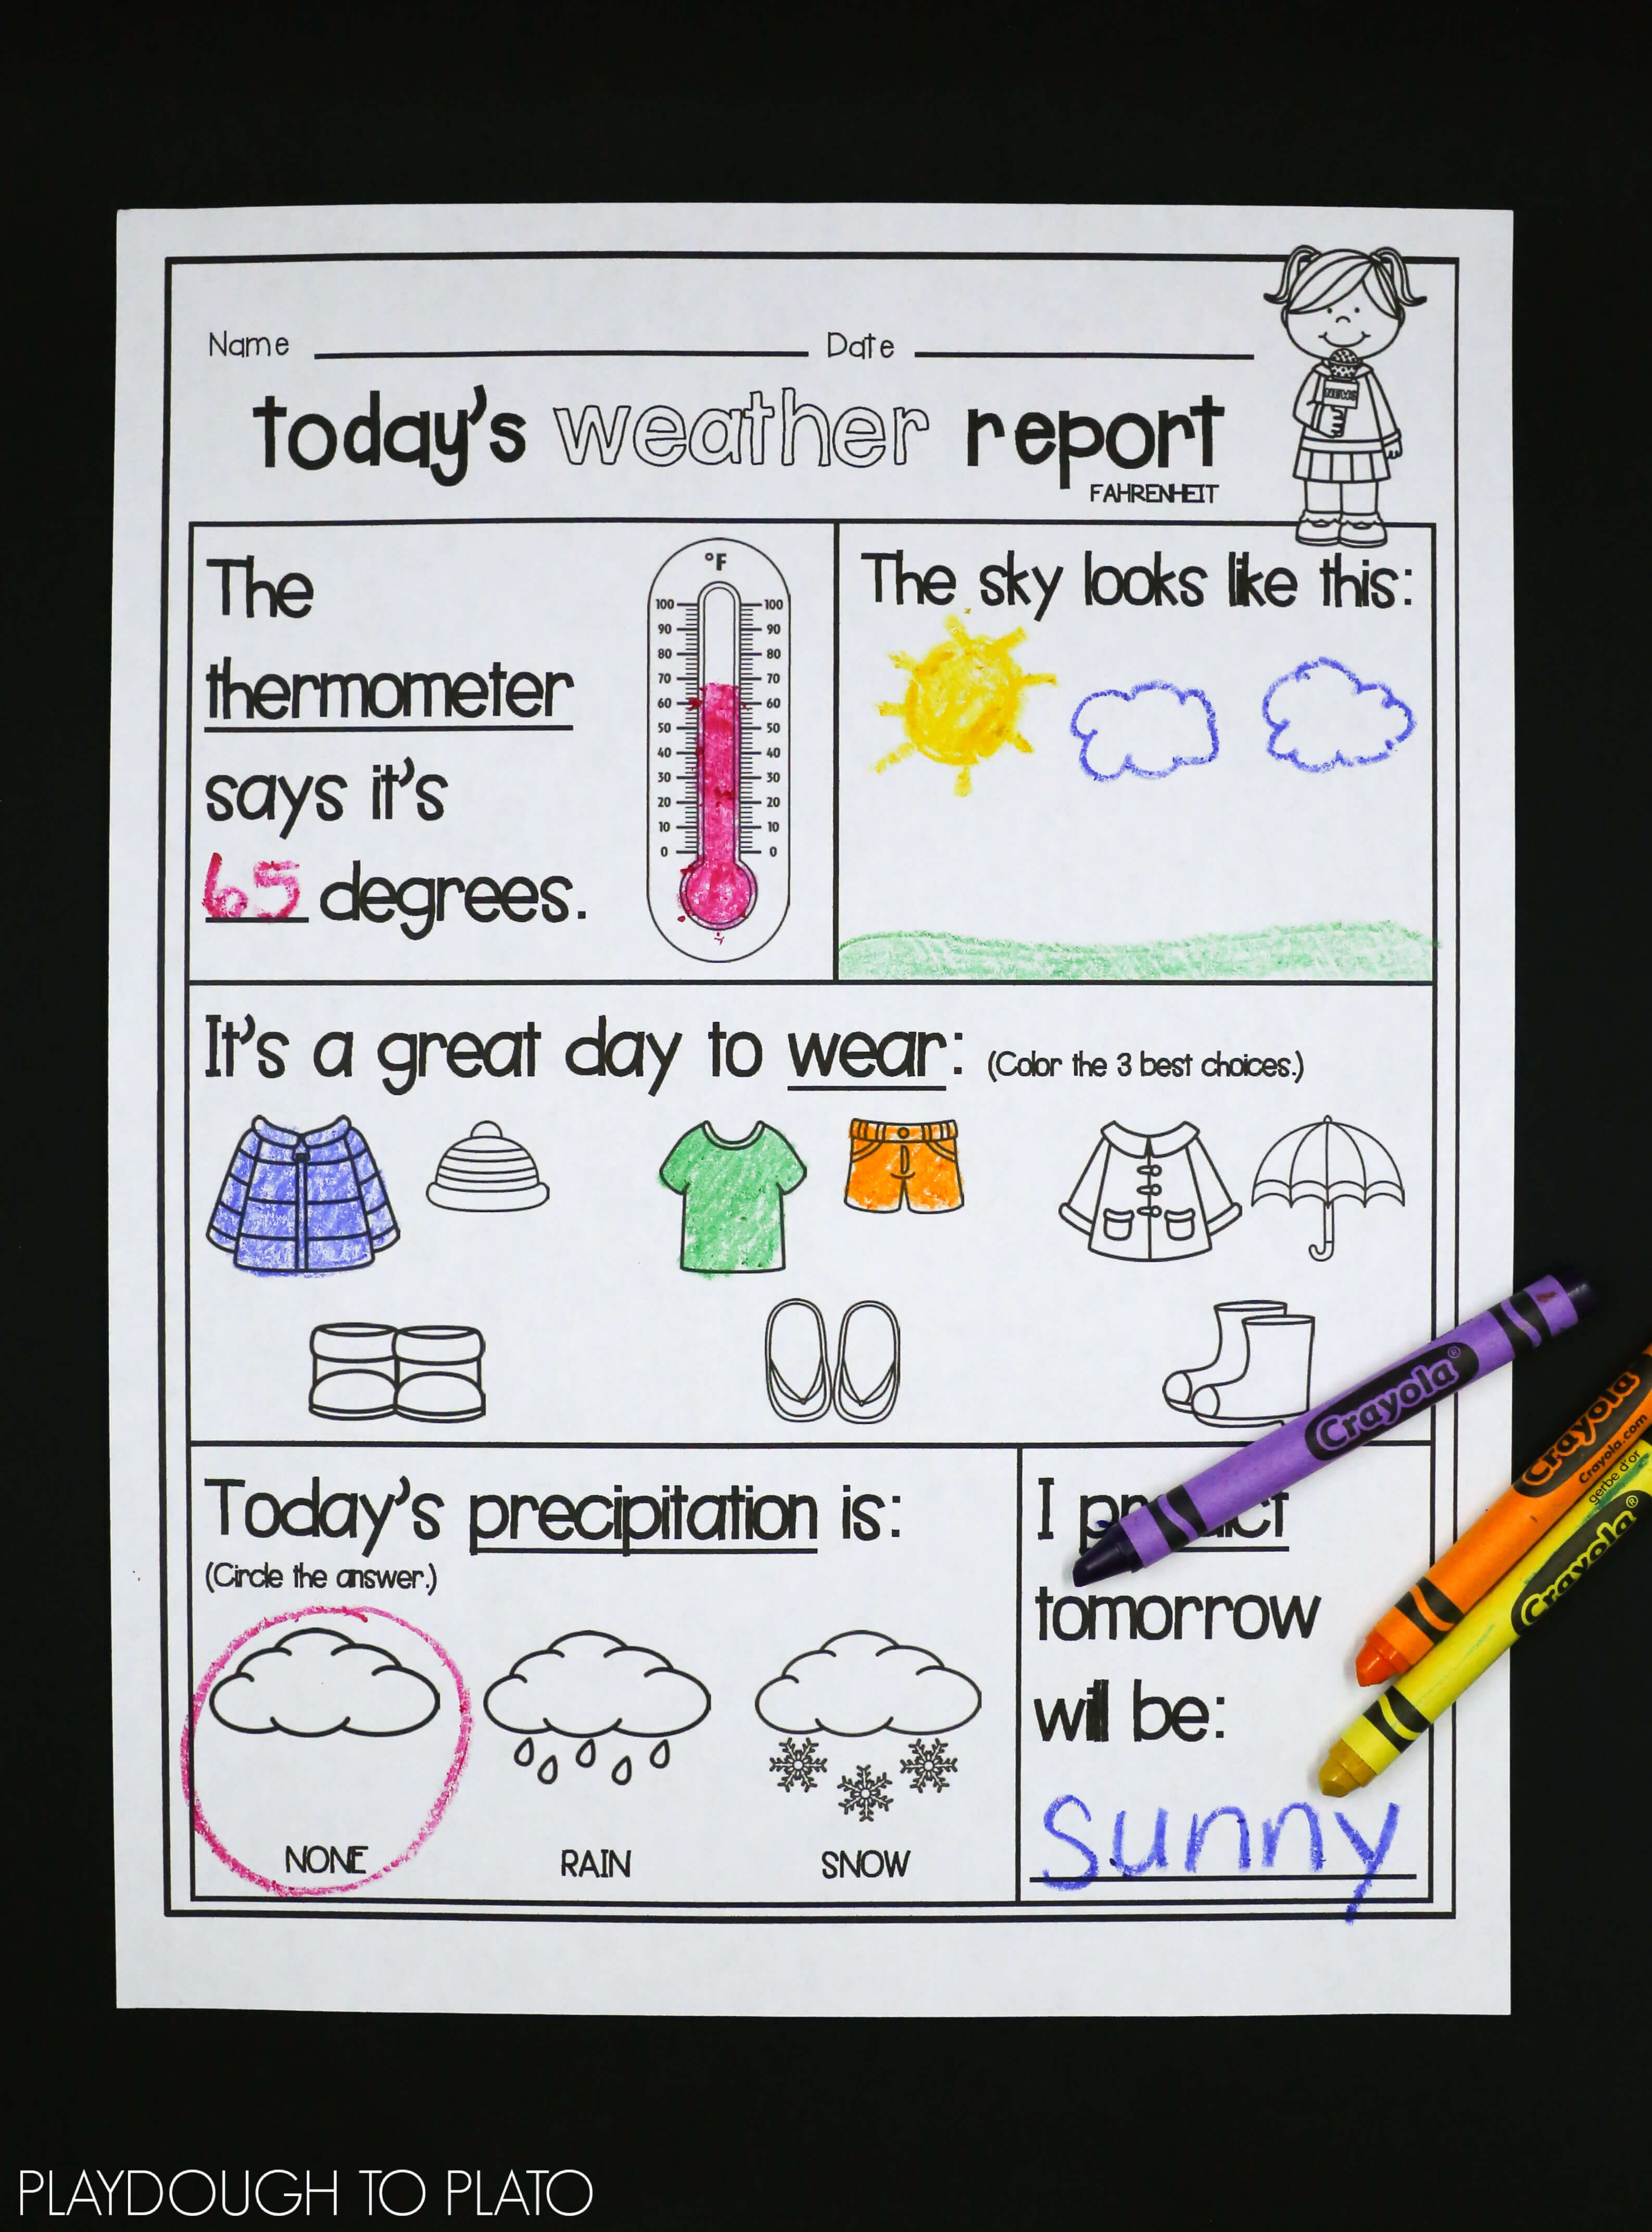
Here's a concrete action you can take tomorrow. Instead of printing a generic weather chart, make your own. Take a piece of graph paper. Draw five columns. Label them: Time, Sky Color, Temperature Guess, Actual Temp, and Feeling. Have the student fill it out three times a day for a week. No pre-printed boxes. No cute clip art. Just raw data collection. The act of drawing the columns and deciding what to record forces them to think about what matters in weather observation. That little act of creation is worth more than ten pre-made pages. When they finally do encounter a more formal science worksheets weather activity later, they'll have the background to understand why those questions exist. They'll see the connection between their own data and the broader concepts. That's the difference between busywork and actual learning.
The Part Most People Skip
You’ve walked through the how and the why, but here’s the truth that changes everything: knowing this stuff only matters if it actually lands in your hands—or your classroom. Every lesson you save, every printout you prep, is a small stone in the foundation of a child’s curiosity. What kind of world are we building if we let that curiosity go unarmed? The weather isn’t just a topic on a science test; it’s the rhythm of their mornings, the reason they grab a jacket, the force that shapes the planet they’ll inherit. When you take the time to teach it well—with structure, with wonder, with the right tools—you’re not just filling a worksheet. You’re handing them a lens to see the world more clearly.
Maybe a little voice in your head is whispering, “But I’m not a science expert,” or “Will they even stay engaged?” Let that doubt go. You don’t need a meteorology degree to spark a love for clouds and seasons. You just need one solid resource that does the heavy lifting for you. That’s exactly what science worksheets weather resources are built for—they turn your good intentions into a ready-to-go moment of discovery. The hesitation you feel is just the gap between “I should” and “I will,” and that gap closes the second you click print.
So here’s your next step: don’t let this sit in a browser tab. Bookmark this page, save the gallery, or—even better—share the link with a fellow teacher, a homeschool parent, or a friend who’s always asking how to make learning stick. When you share science worksheets weather tools, you’re not just passing along a file; you’re passing along a spark. Go ahead—make that small move right now. Your future self, and the curious kid in your life, will thank you for it.