You know that moment when your kid stares at a science worksheet hard enough to bore a hole through it, and you're both pretending you know what "endothermic reaction" actually means? Yeah. That moment is a lie we've all told ourselves — that the worksheet is the problem. Look — it's not. The real issue is that most "challenging" science worksheets aren't hard because they're deep. They're hard because they're poorly designed, crammed with jargon, and somehow manage to make photosynthesis feel like tax law.
Here's the thing: right now, your student (or you, if you're brave enough to admit it) is hitting a wall where the material shifts from memorizing facts to actually applying concepts. That's where the panic sets in. But the truth is, a genuinely hard science worksheet isn't supposed to break you — it's supposed to stretch you. The worksheets that actually work are the ones that make you think sideways, not just harder. Honestly, most of the "hard" ones out there are just busywork dressed up in big vocabulary.
What I'm going to show you isn't a magic fix. No shortcuts. But by the time you finish reading, you'll know exactly what separates a worksheet that builds real understanding from one that just builds frustration. You'll also see why the hardest-looking questions are often the ones worth wrestling with. Stay with me — this is where it gets actually interesting. Not the kind of interesting that makes you yawn, but the kind that makes you go "oh, that's why."
If you've ever searched for a science worksheet hard enough to actually challenge a bright student, you already know the problem. Most of what's out there is either too easy or absurdly tedious. You get pages of fill-in-the-blank fluff that a kid could finish in five minutes without thinking, or you get a massive data table that feels more like punishment than learning. Neither approach builds real scientific thinking.
The Part of "Hard" Science Worksheets That Most People Get Wrong
The common mistake is equating "hard" with "more work." A worksheet that asks a student to copy definitions for twenty vocabulary words isn't hard — it's just boring. Real difficulty comes from cognitive load that requires synthesis, not repetition. A genuinely challenging worksheet forces a student to apply a concept in a new context, interpret conflicting data, or defend a prediction with evidence. I've seen too many teachers and parents default to massive problem sets when what they really need is one well-designed question that takes twenty minutes to unpack.
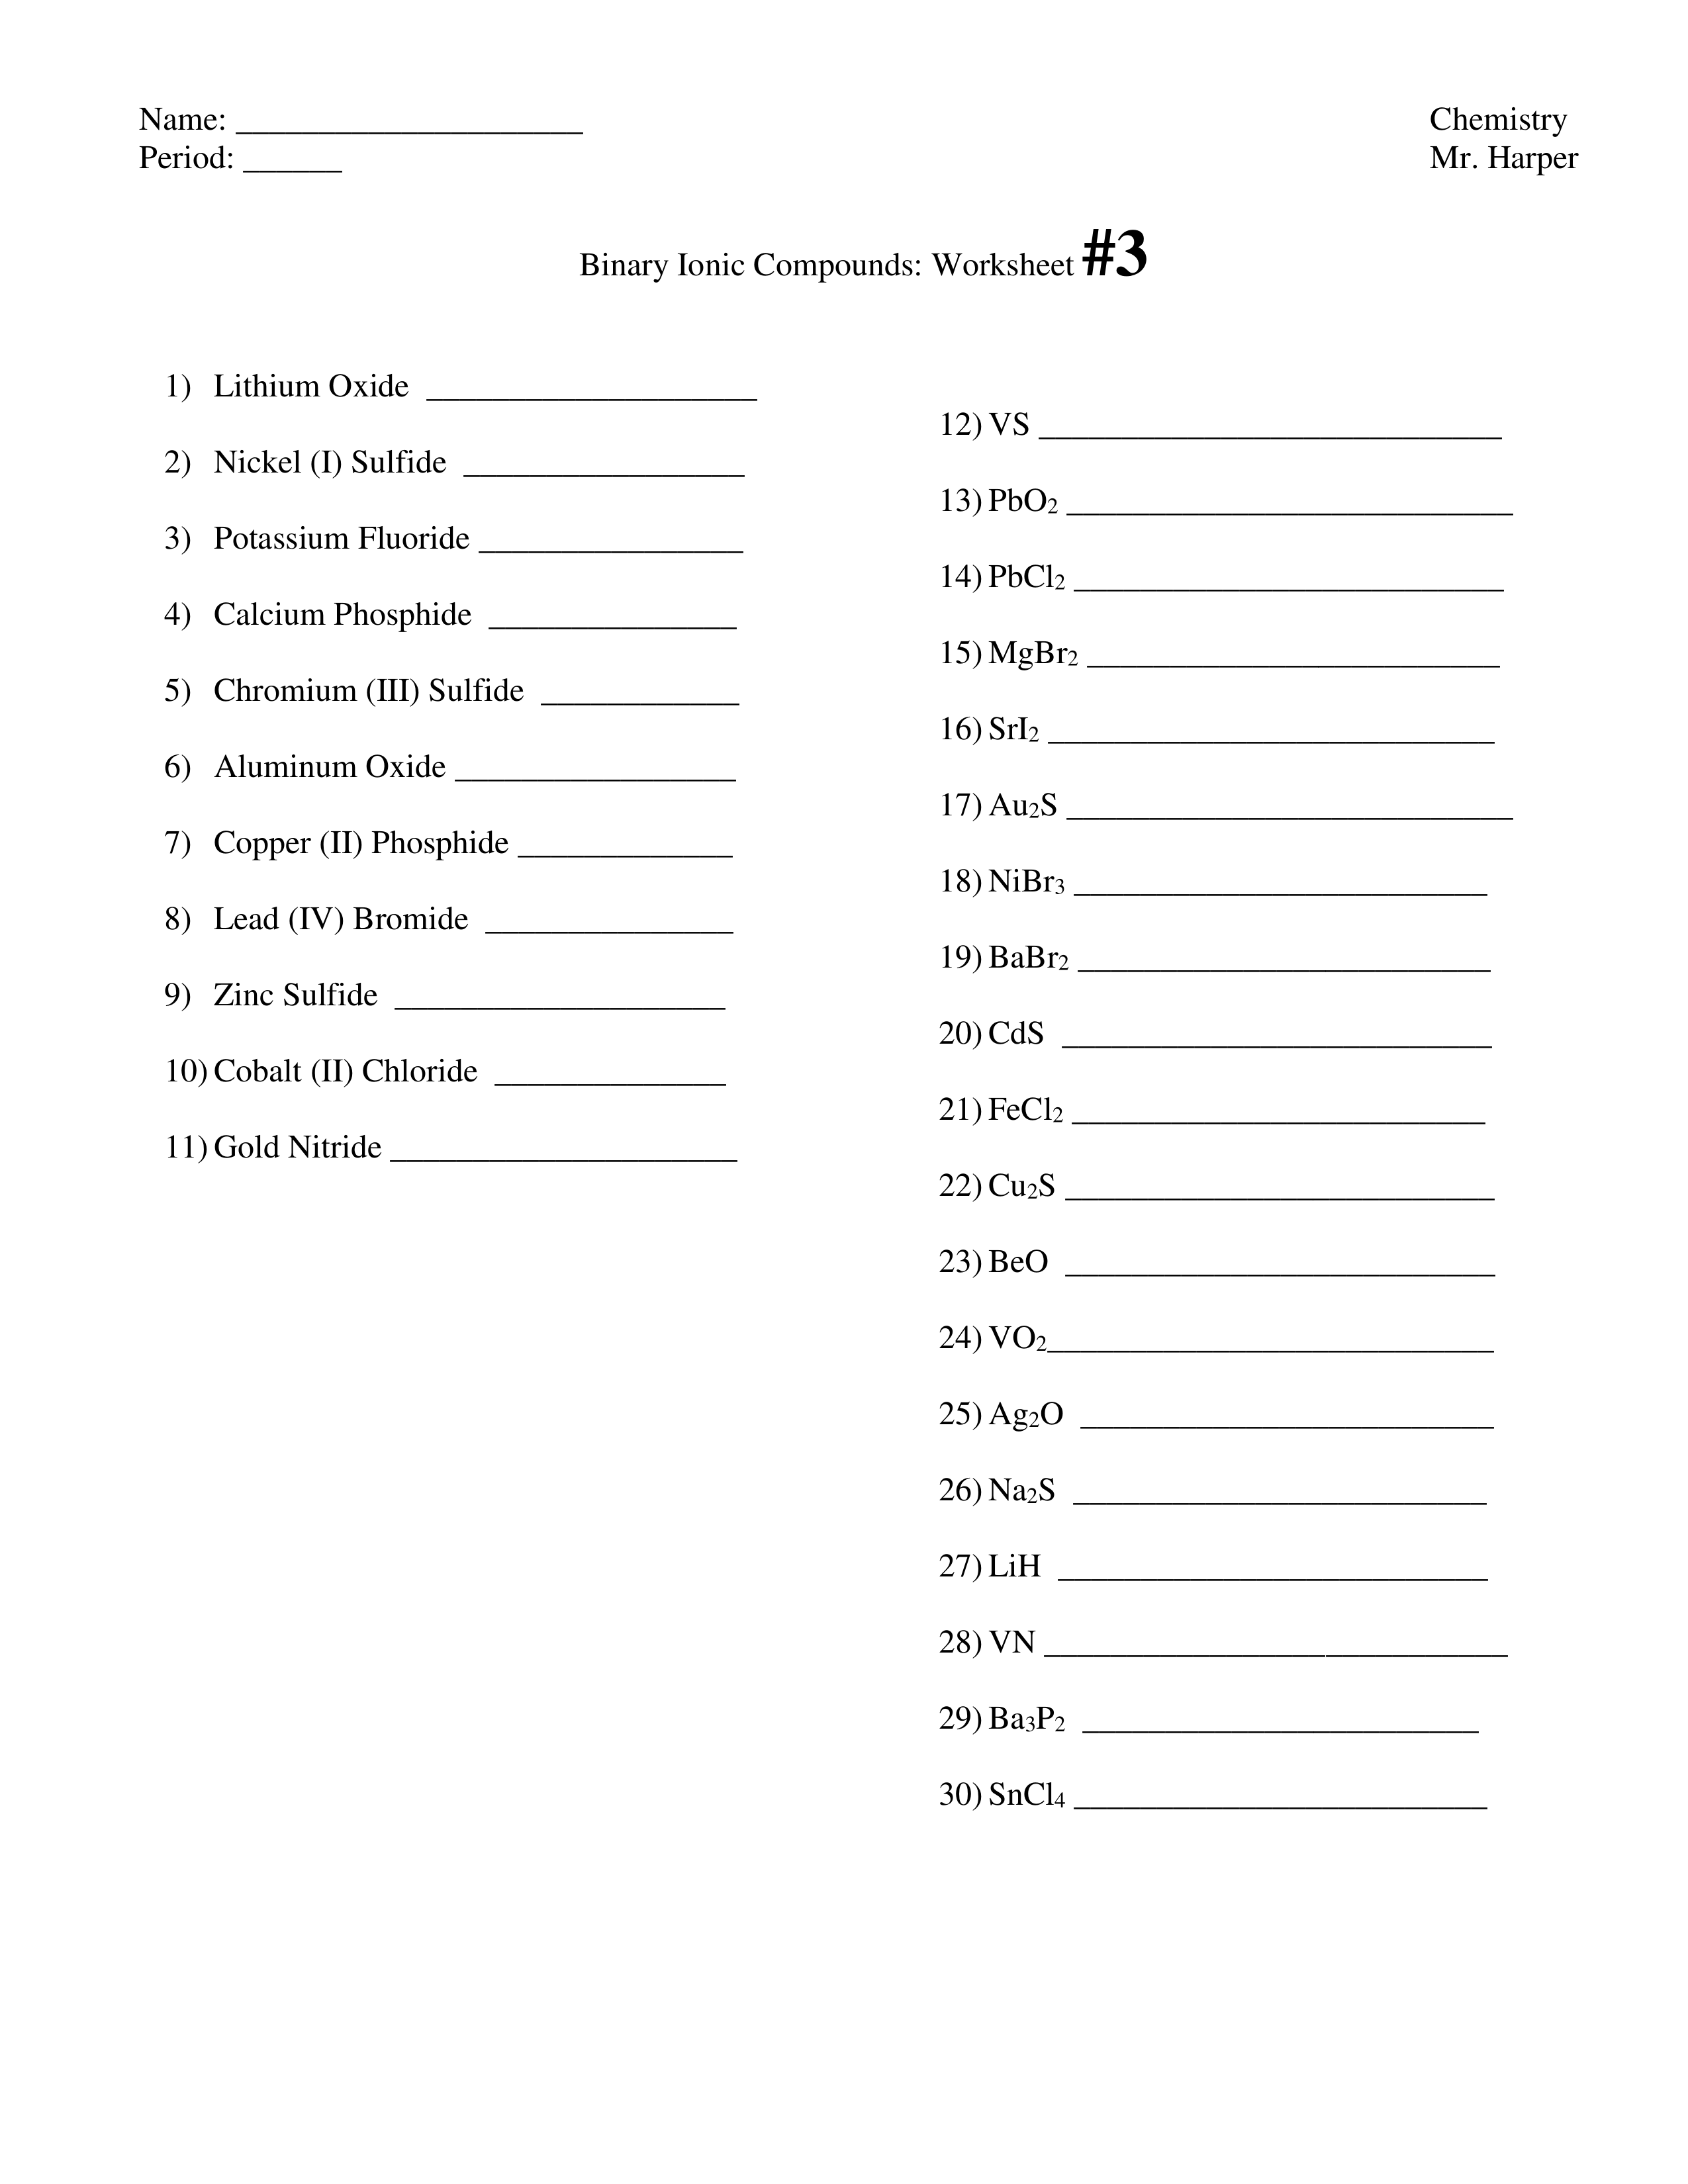
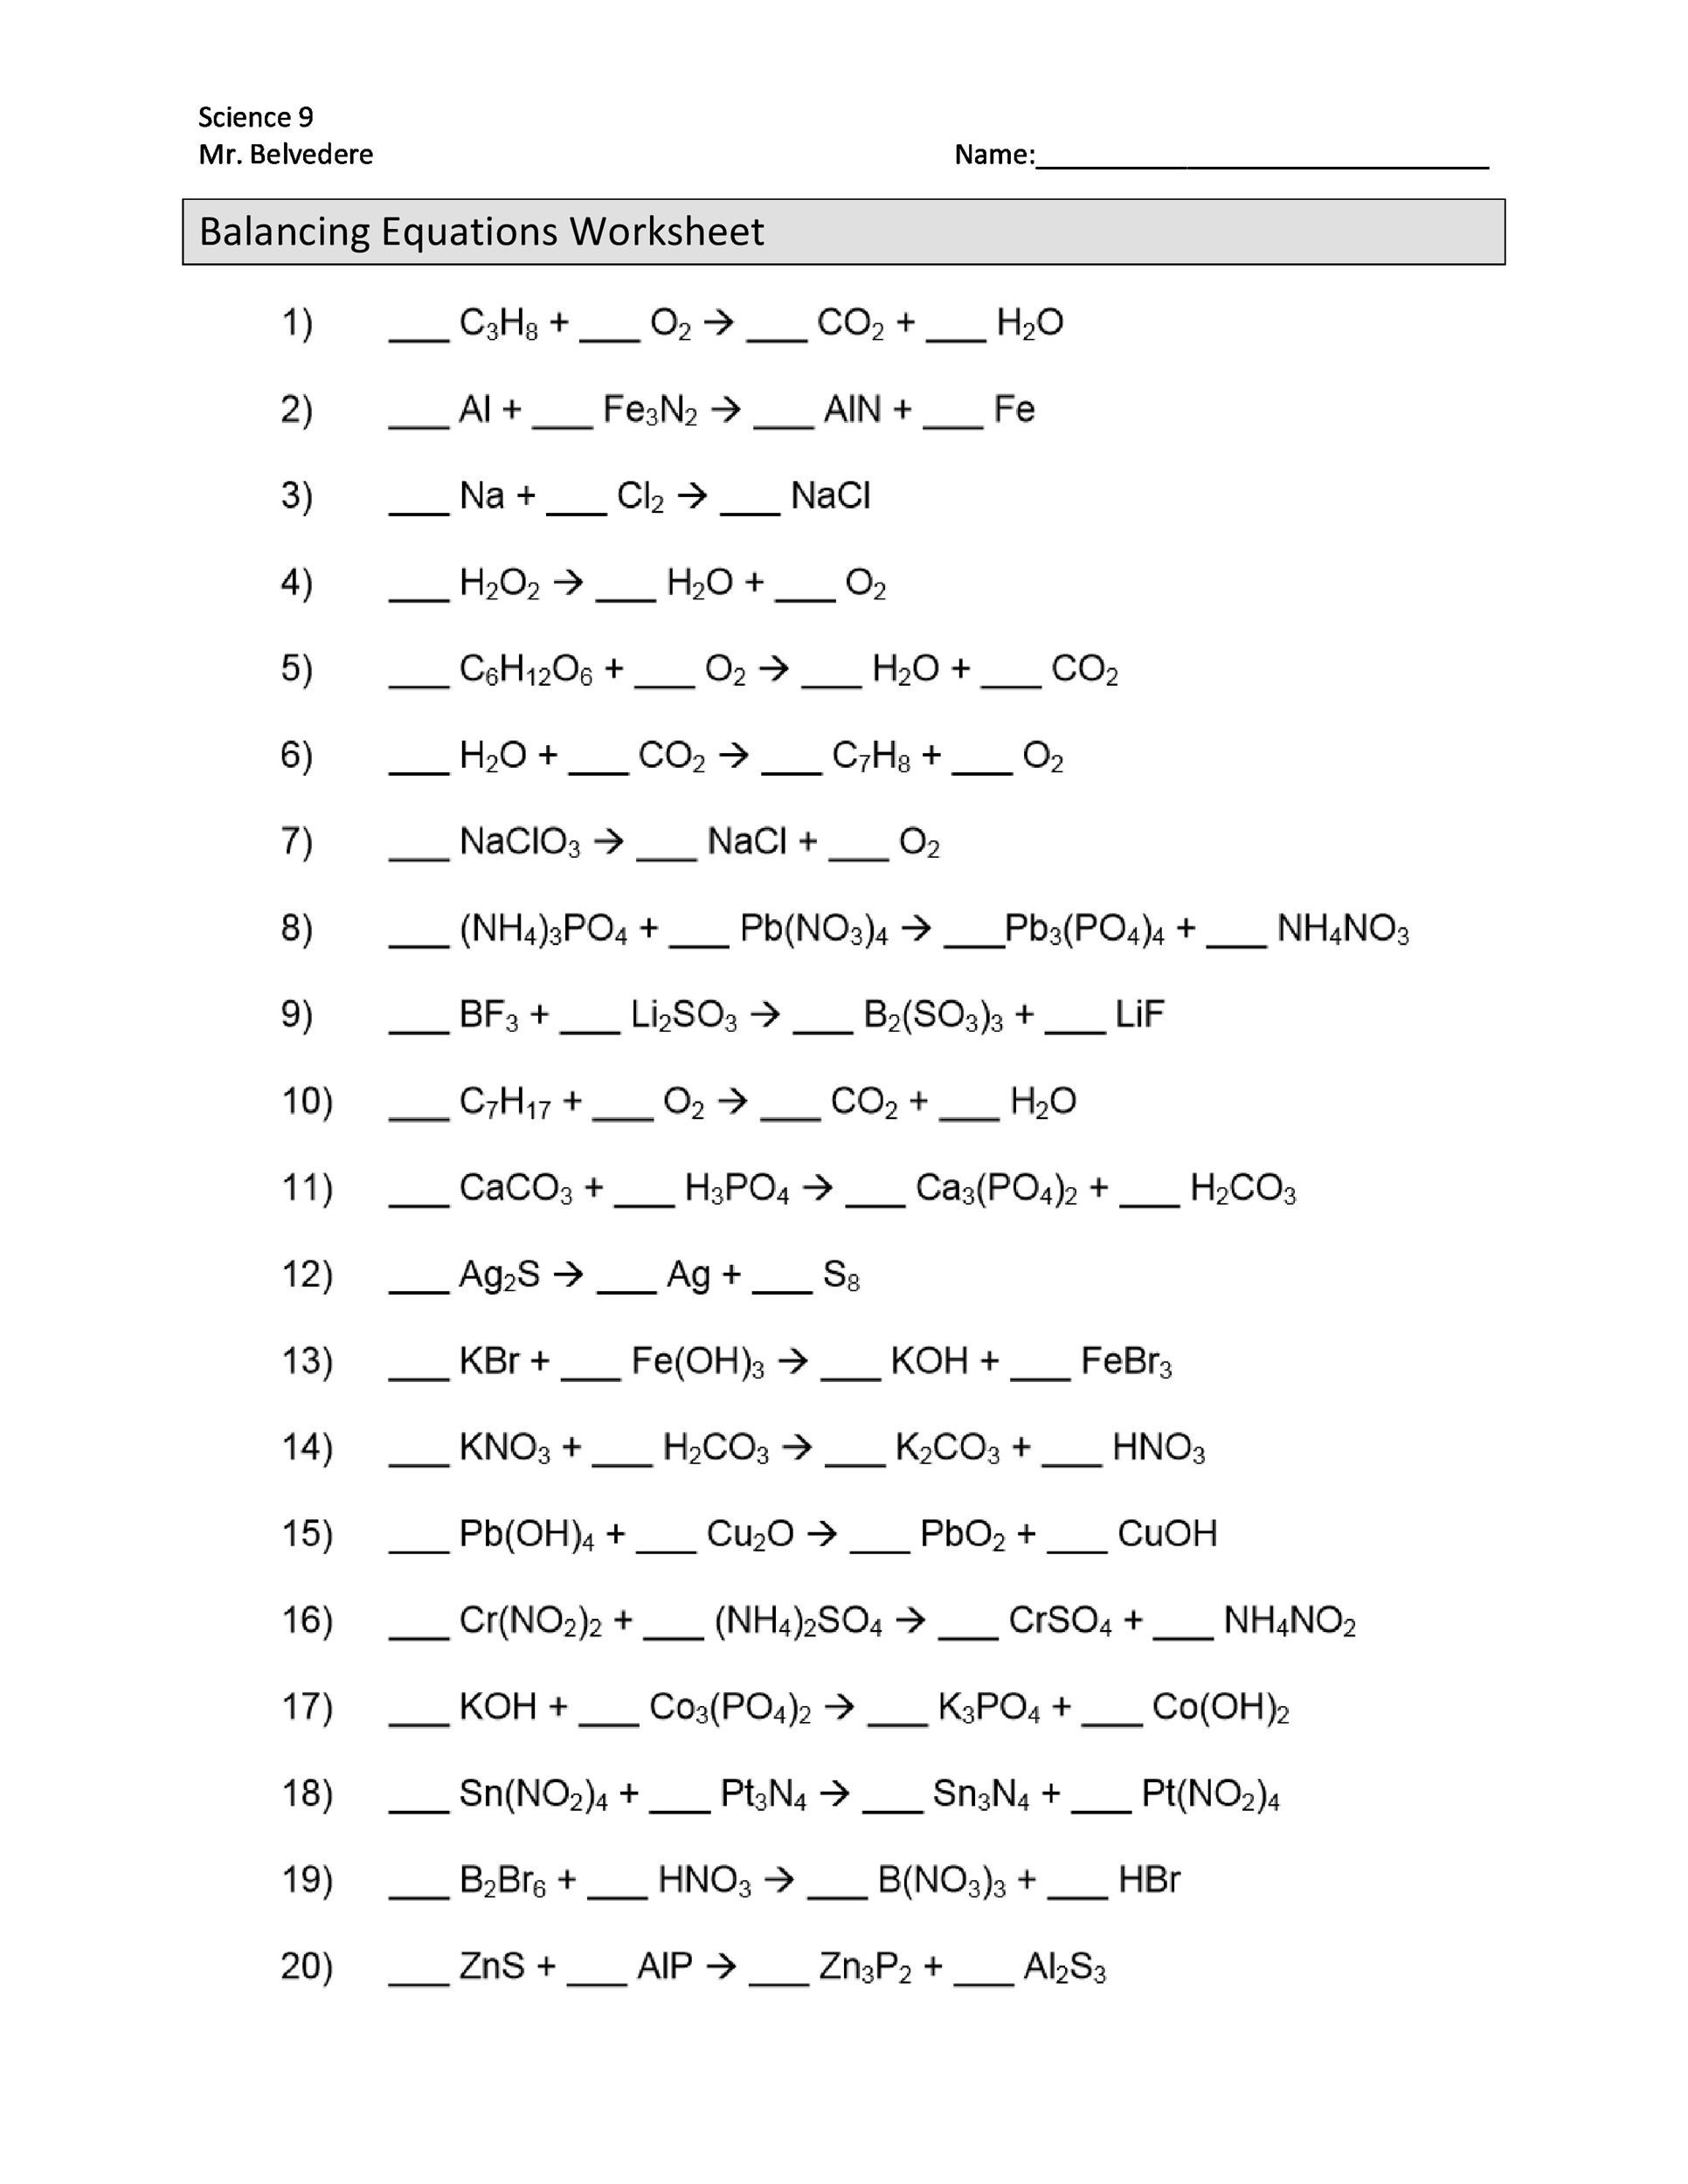
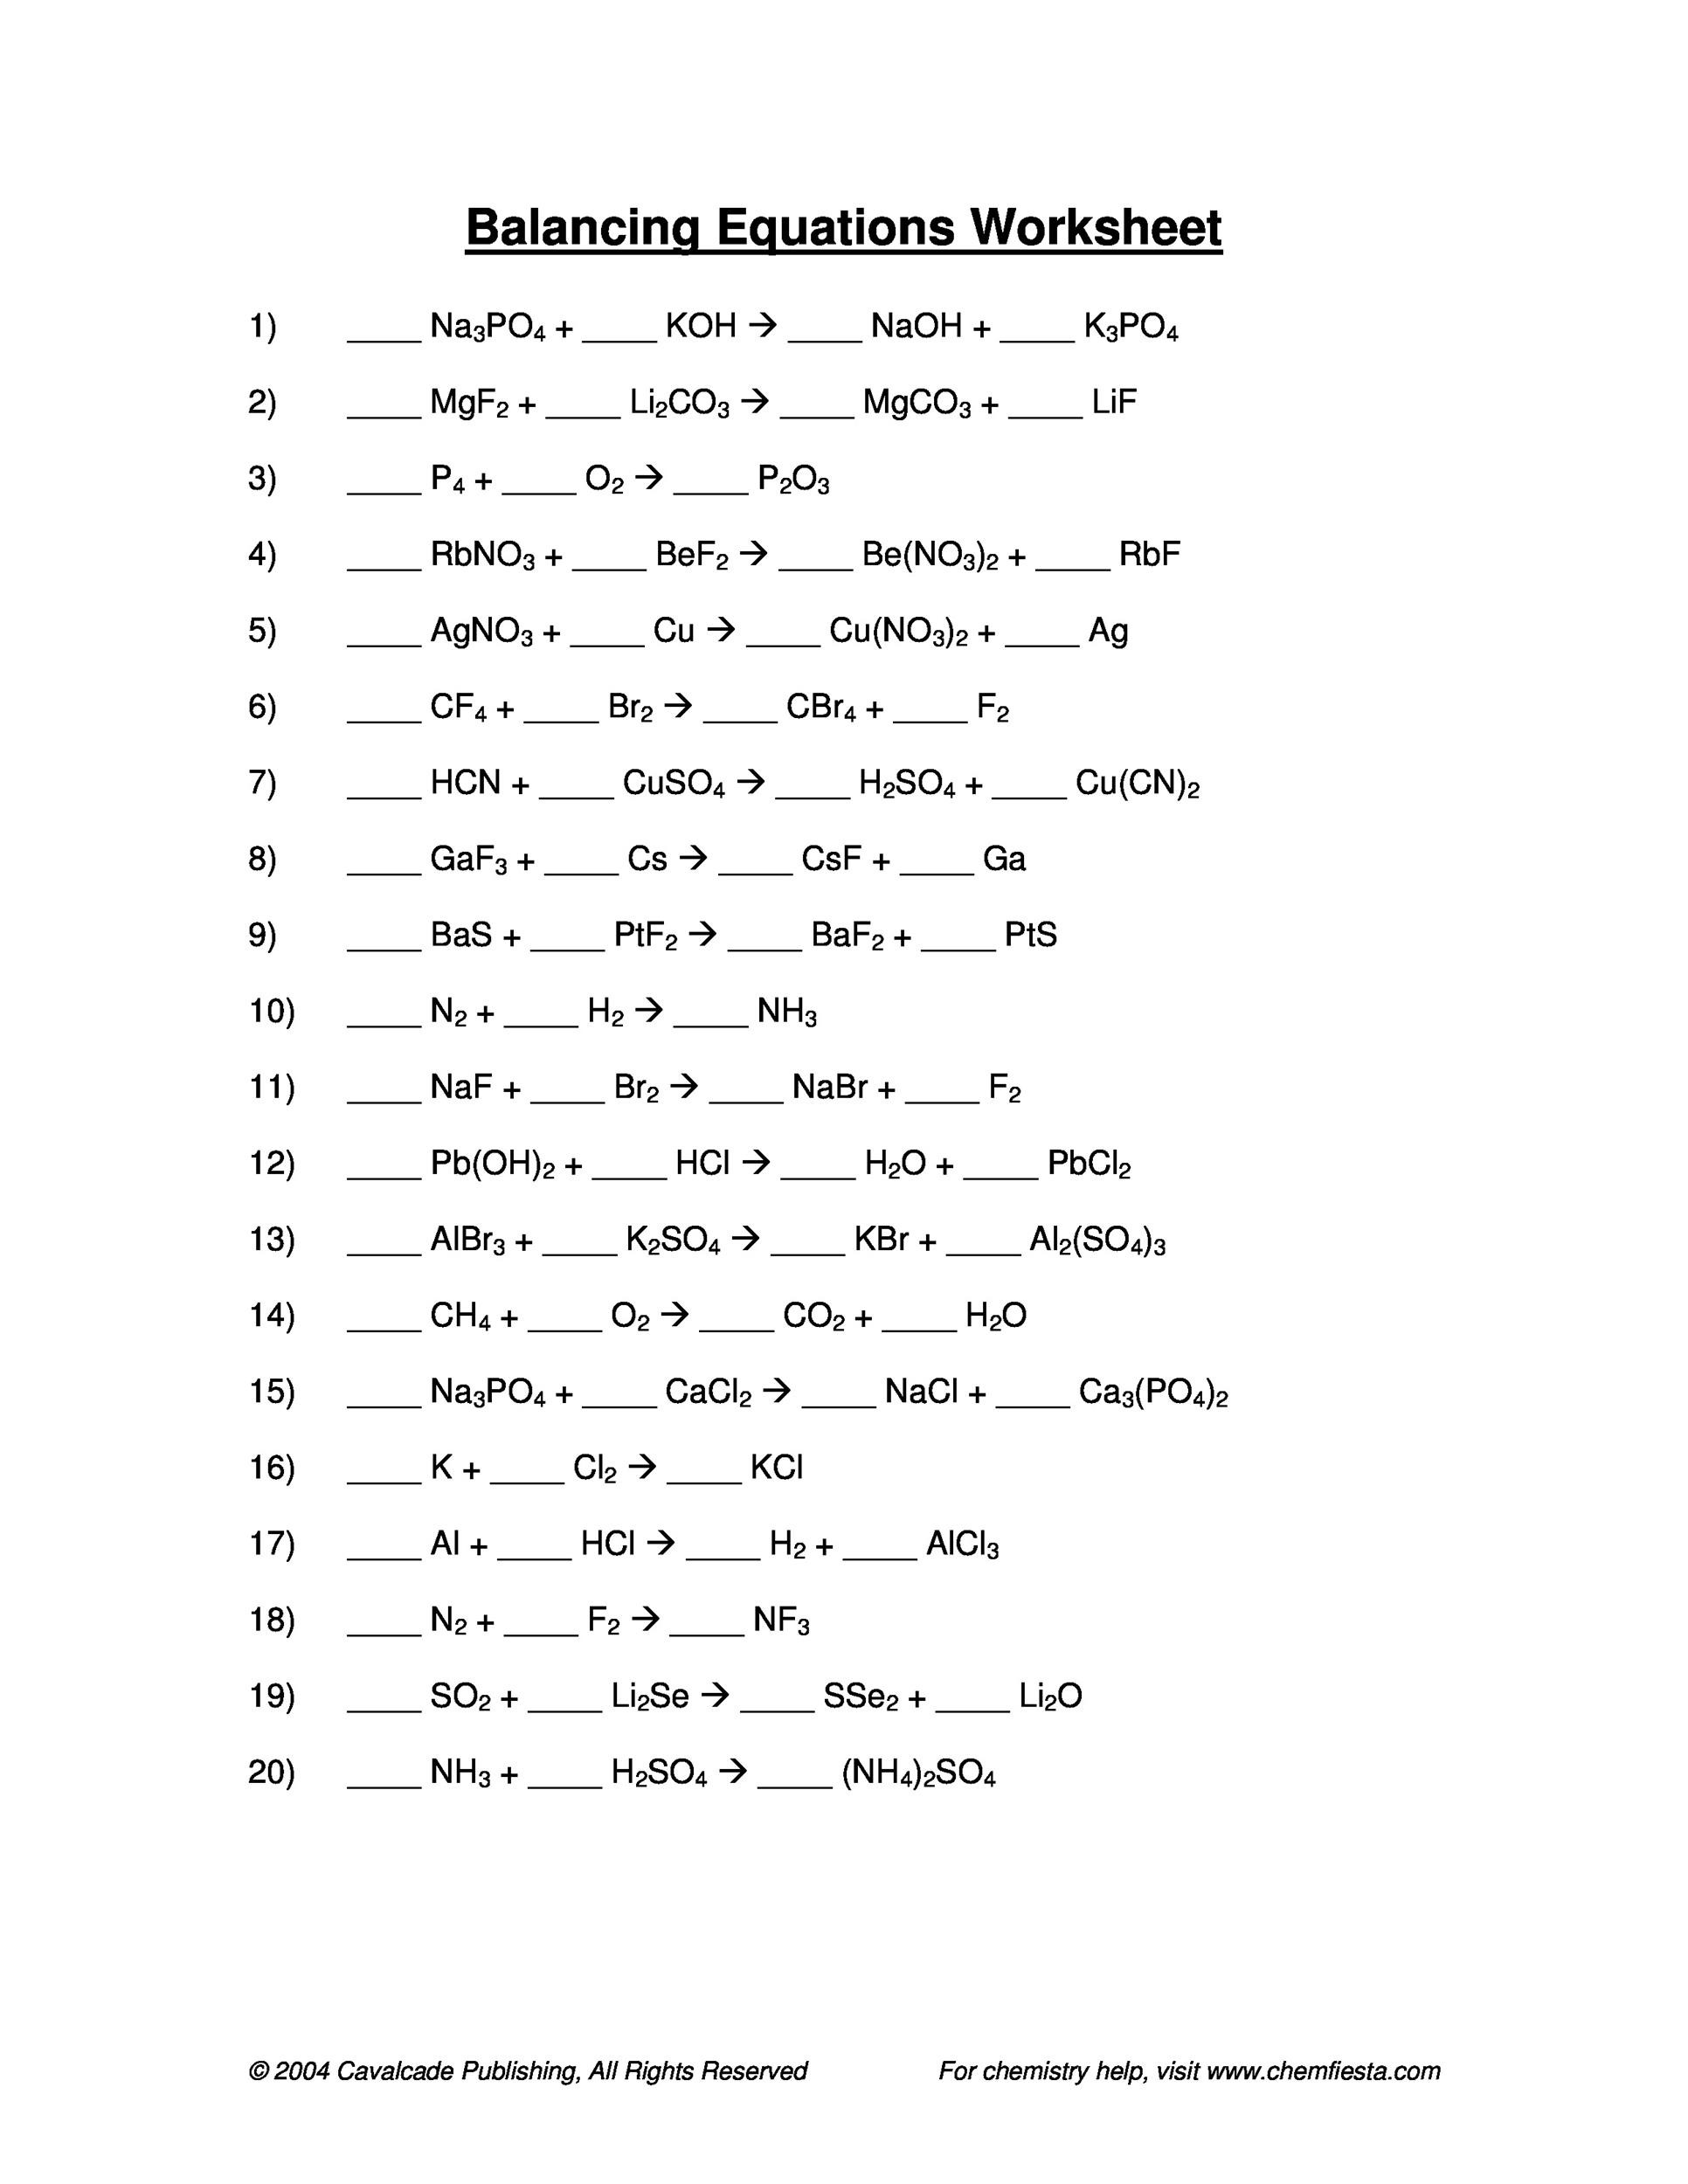
Here's what nobody tells you: the best hard worksheets are actually shorter than the easy ones. They strip away the busywork and leave only the friction points where learning happens. A good example is a worksheet on chemical reactions that doesn't ask students to balance twenty equations — instead, it gives them three unbalanced reactions and asks them to explain why the coefficients matter for conservation of mass, not just what the coefficients are. That single shift turns a mechanical task into a reasoning exercise.
What Makes a Worksheet Genuinely Difficult Versus Just Tedious
There is a clear line between difficulty and drudgery. Difficulty requires a student to hold multiple variables in mind, make a judgment call, or recover from a wrong path. Drudgery requires them to do the same simple step over and over. A worksheet on genetics, for instance, becomes truly hard when it presents a pedigree with an unexpected inheritance pattern — one that forces the student to consider whether the trait is autosomal or sex-linked, dominant or recessive, and then defend their choice. That's a single problem worth twenty easy ones.
How to Spot a Worksheet That Will Actually Stretch a Student
Look for three things. First, does it ask for justification? If every answer is a number or a single word, it's probably not hard enough. Second, does it include a deliberate trap — a common misconception that students must navigate around? A good hard worksheet includes a distractor that looks correct but isn't. Third, does it require the student to organize information before they can solve it? That's the difference between a recipe and real science. A worksheet on density, for example, might give a table of masses and volumes for five unknown substances — but the volumes are listed in milliliters and the masses in grams, with one substance intentionally mislabeled. The student must catch the error before they can proceed. That's the kind of friction that builds durable understanding.
One Specific Strategy That Changes Everything
I'll give you one actionable tip that works across grade levels and subjects. Use the "three-answer challenge" on any science worksheet hard enough to matter. Instead of asking a student to solve a problem once, give them three possible answers — one correct, one that reflects a common error, and one that is completely wrong but plausible. Then ask them to explain why each answer is right or wrong, not just which one is correct. This forces them to confront their own misconceptions directly. I've used this with eighth graders studying Newton's laws and with high schoolers working on stoichiometry. It works because it makes the wrong answers as valuable as the right ones. The student who can explain why the wrong answer is wrong understands the concept far better than the student who just circled the correct letter.
| Worksheet Type | Typical Length | Actual Thinking Required | Best Use Case |
|---|---|---|---|
| Fill-in-the-blank definitions | 20-30 items | Low (rote recall) | Quick vocabulary check |
| Equation balancing (massive set) | 15-20 equations | Low-medium (pattern matching) | Building fluency after concepts are solid |
| Three-answer challenge problems | 3-5 problems | High (reasoning, error analysis) | Deepening understanding, uncovering misconceptions |
| Data interpretation with deliberate errors | 1-2 data sets | Very high (critical evaluation) | Assessing transfer and scientific skepticism |
The table above isn't meant to be a rigid prescription — it's a way to think about what you're actually asking a student to do. Most of the time, we reach for the first column because it's easy to grade. But if you want a student to actually wrestle with science, you want the last two rows. That's where the real value lives, and it's where a well-designed science worksheet hard enough to matter earns its place in your lesson plan.
The Part That Actually Changes Everything
You’ve just walked through the mechanics of designing a science worksheet hard enough to stretch real thinking. But here’s what nobody tells you: the worksheet itself is just the skeleton. What gives it life is the moment your student—or your own child—sits down, furrows their brow, and decides not to give up. That tiny internal tug-of-war between frustration and curiosity? That’s where actual learning happens. In the bigger picture of your work or your family’s growth, this isn’t about a piece of paper. It’s about building a quiet resilience that carries over into every hard thing they’ll ever face.
Maybe a small doubt is creeping in: “But what if my kid still hates it? What if they shut down?” That’s fair. But here’s the truth—resistance isn’t a sign you’ve failed. It’s a sign they’re about to grow. The worksheet you create doesn’t have to be perfect. It just has to be honest, challenging, and followed by your patient presence. You don’t need to be a scientist or a curriculum designer to make this work. You just need to show up beside them when the struggle starts.
So here’s your natural next step: bookmark this page so you can return to it when you’re planning next week’s lesson. Or better yet, snap a photo of your best science worksheet hard creation and share it with another parent or teacher who’s quietly wondering if they’re doing enough. Spoiler: they are—and so are you. Go make something that makes a kid think twice, smile once, and grow a little stronger.