You've spent forty-five minutes designing the perfect science worksheet, and what gets noticed? The boring, default black border that screams "print-and-forget." Here's the thing — that tiny rectangle of ink is sabotaging your students' engagement before they even read a single question. A science worksheet border isn't decoration; it's the first handshake between your content and a distracted kid.
Right now, teachers everywhere are battling the same invisible enemy: worksheets that feel like chores. Look — when a student sees another plain white page with gray lines, their brain checks out before the bell rings. That border is your silent classroom assistant. It signals "this matters" or "this is busywork." And in a world where kids swipe through TikTok for eight seconds at a time, you need every visual advantage you can get. The truth is, most educators undervalue this tool because they think it's just about making things "cute."
By the time you finish this post, you'll never look at a worksheet the same way again. I'll show you exactly how a strategically designed border can boost focus, reduce anxiety in visual learners, and even save you prep time. No fluff, no design degree required. Just real strategies that work on Monday morning. Honestly, I was skeptical too — until I saw a fifth grader actually trace the atom-themed border with her finger before starting her work. That's when it clicked.
Let's be honest: most printable worksheets look like they were designed by someone who hates fun. You know the type—crammed with dense text, microscopic diagrams, and that soul-crushing 12-point Times New Roman. But here's what nobody tells you about classroom materials: the visual frame around your content determines whether a student engages or shuts down. A thoughtful science worksheet border isn't decorative fluff; it's a cognitive anchor. It signals where the eye should go, breaks up intimidating blocks of information, and gives young learners a sense of completion when they color or trace along its edges. I've watched a fifth grader spend ten minutes carefully coloring the border of a lab report before touching a single answer—and that quiet focus translated into better work.
Why Most Printable Science Pages Fail Before the First Question
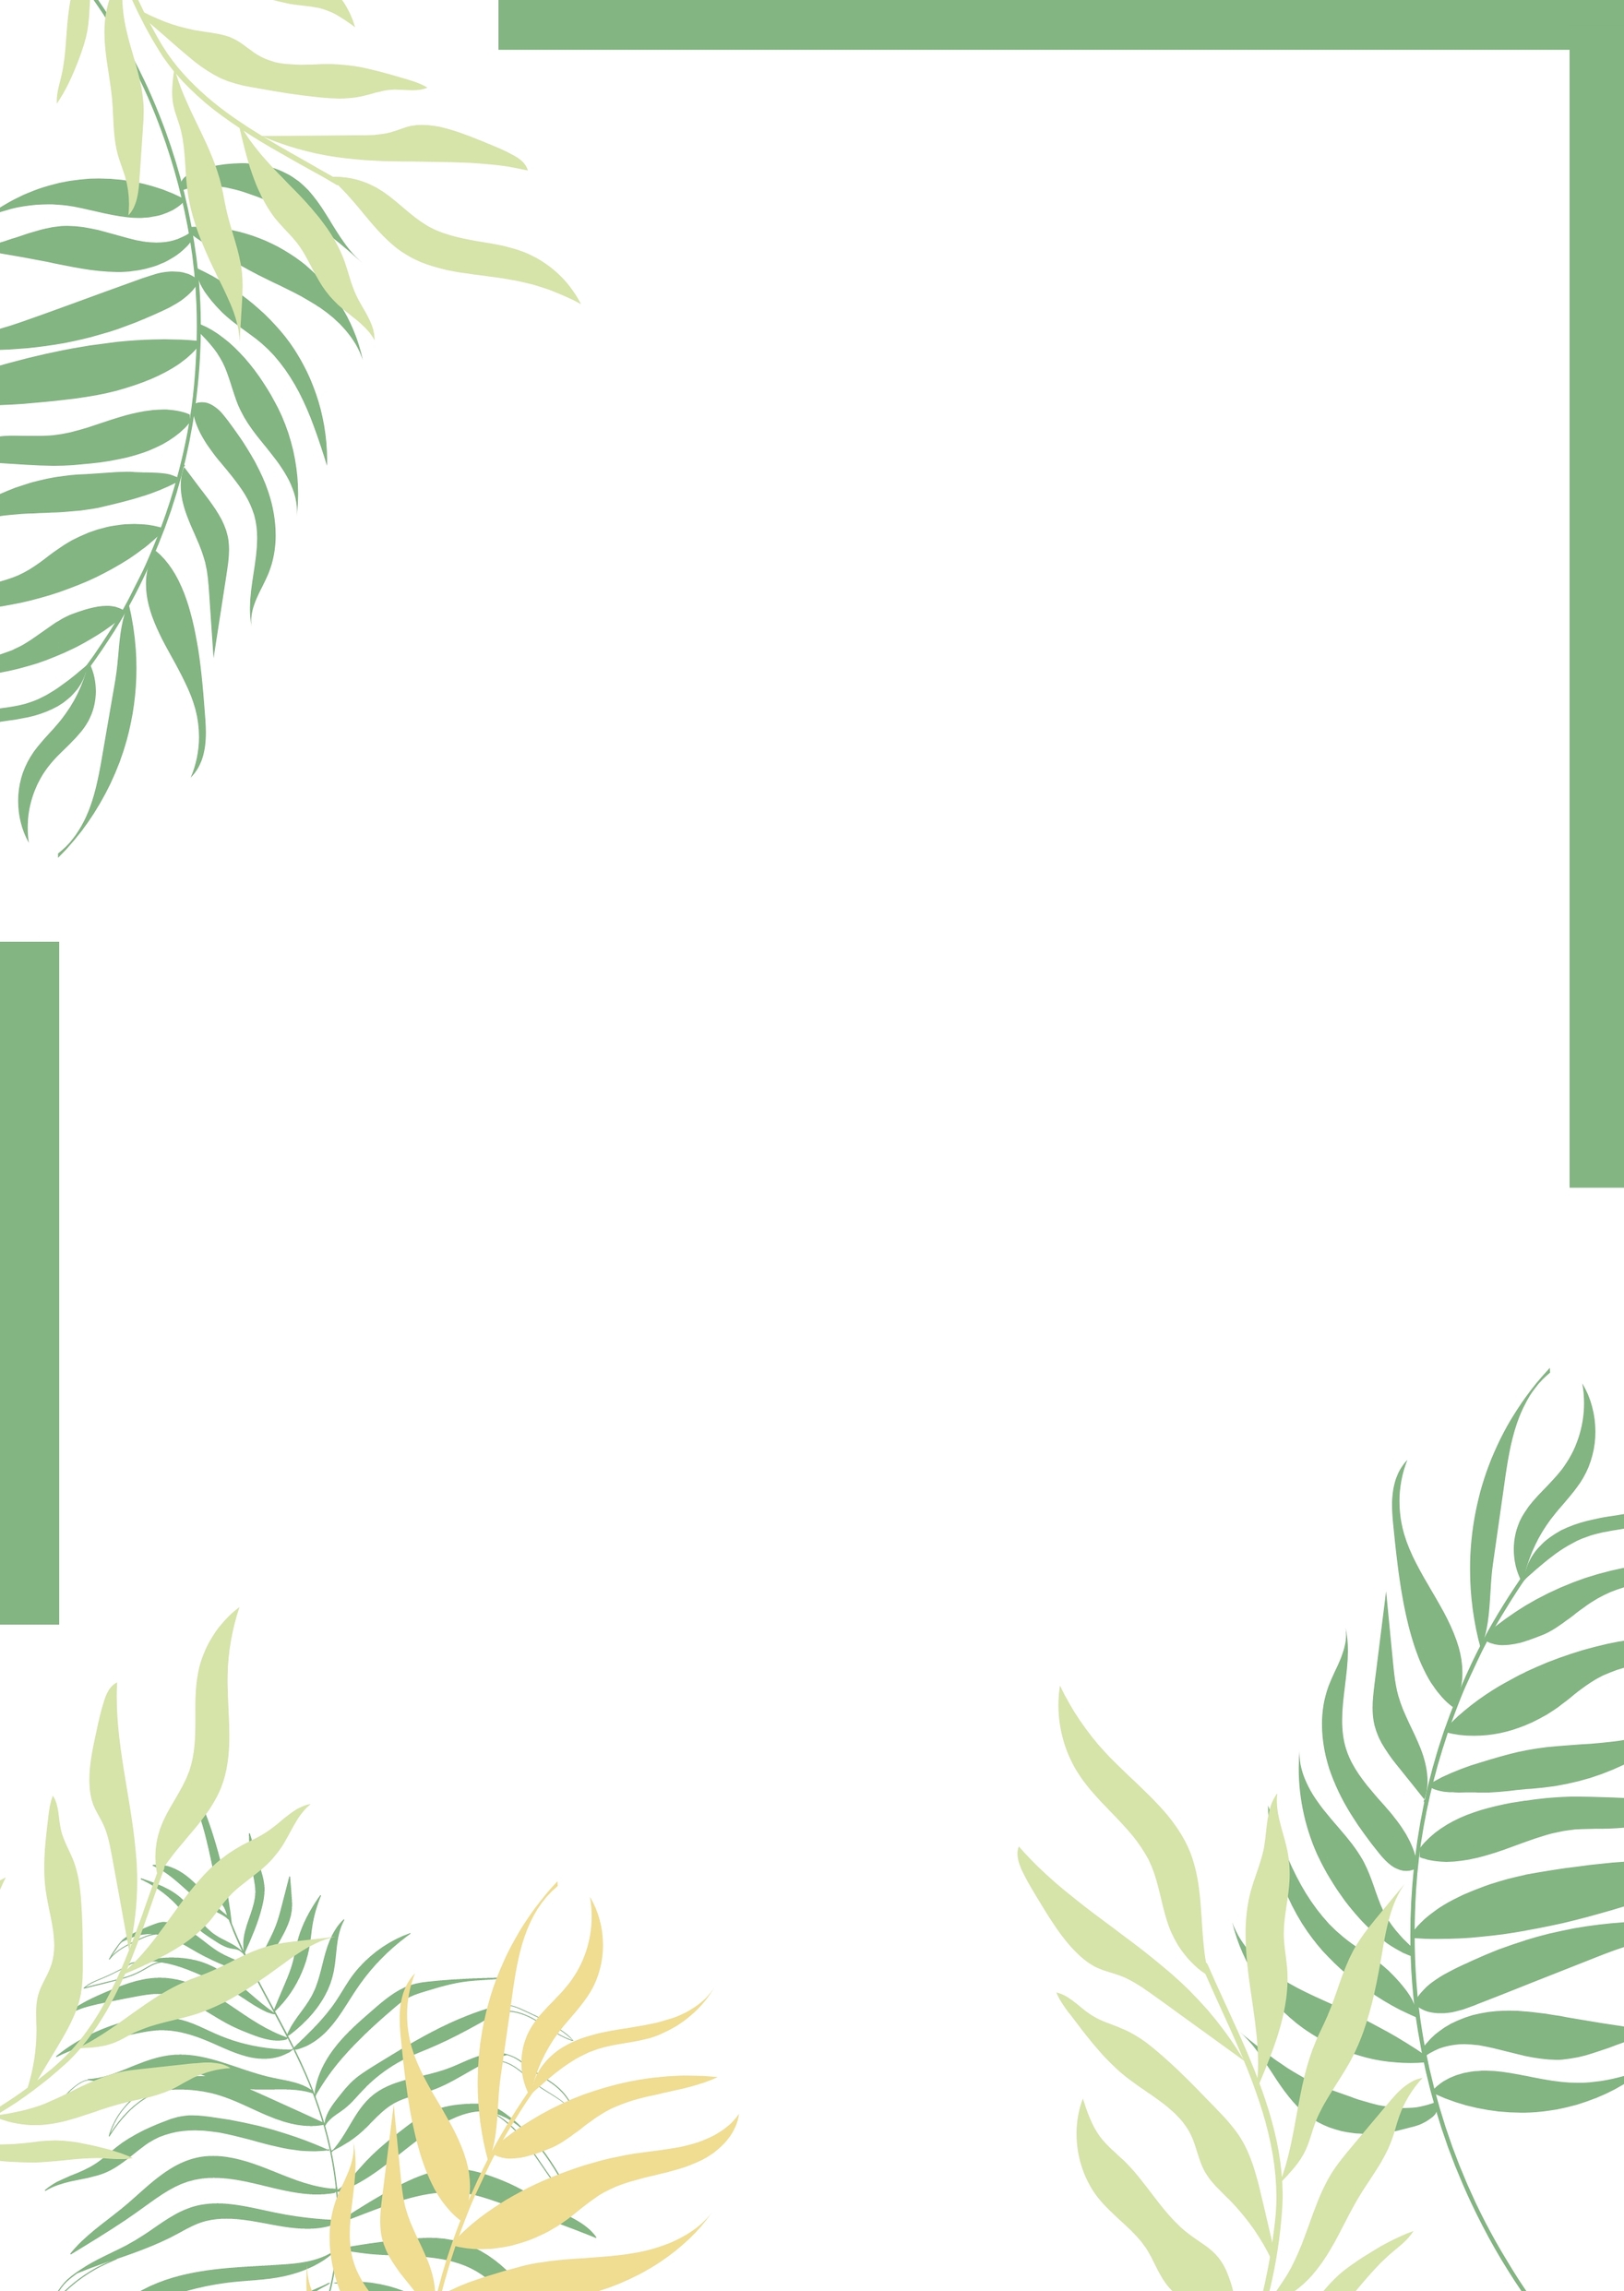
The problem starts upstream. Teachers and homeschool parents grab templates from generic resource sites, thinking a molecule clipart in the corner counts as "science themed." It doesn't. A proper layout uses the margin space to create breathing room—especially for data tables, observation logs, and diagram labeling tasks. Think about it: when a kid is trying to measure the growth of a bean plant over two weeks, the last thing they need is a busy border competing with their data points. The best designs use a thin, subtle science worksheet border that frames the page without overwhelming it. One specific trick I've used for years: choose a border that includes small, non-distracting icons related to the lesson—microscopes for biology, beakers for chemistry, compasses for earth science—and let students color them in as a warm-up activity. It primes their brain for the topic without feeling like work.
The Anatomy of a Border That Actually Works
Not all borders are created equal. A thick, black, blocky frame around a photosynthesis worksheet? That's a visual cage. A delicate, dashed line with tiny leaf silhouettes? That's an invitation. The best science worksheet border I ever used was a simple double-line frame with a periodic table motif along the bottom edge—each element symbol tied to a question on the page. Students subconsciously referenced the border as a cheat sheet. Genius or accidental? I'll take either. Here's a quick breakdown of what to look for:
| Border Type | Best For | Pitfall to Avoid |
|---|---|---|
| Thin dashed line | Lab reports, data collection sheets | Too faint to photocopy well |
| Themed icon border | Unit reviews, vocabulary pages | Icons too large distract from content |
| Color-coded frame | Differentiated worksheets (e.g., blue for biology) | Color doesn't print on B&W copiers |
How to Match the Border to the Task
Here's where experience beats templates. For a hands-on experiment where students need to record observations in real time, use a minimalist border with a single bold line—nothing more. The page should feel like a scientist's field notebook: utilitarian, focused, with space for messy handwriting. For review sheets or homework, you have more room to play. A border with small scientific tools (rulers, test tubes, magnifying glasses) gives kids something to trace while they think. I've seen students with ADHD calm down significantly when given a border to doodle on during a quiz. That's not distraction—that's regulation.
The One Thing Most Teachers Get Backward
They think the border should match the subject. Wrong. The border should match the cognitive load of the task. A dense, complex worksheet on cellular respiration needs a bare minimum border—maybe a single thin line—because the content already demands heavy focus. A simple vocabulary matching page can handle a more elaborate frame. Match the visual noise to the mental effort required. I've seen a perfectly good genetics worksheet ruined by a border full of DNA helixes that made the page look like a tangled mess. Less is genuinely more, especially when you're asking kids to compare dominant and recessive traits.
The Hidden Psychology Behind a Well-Framed Page
Your brain processes edges before it processes content. That's not opinion; that's neuroscience. When a student opens a worksheet, their eyes scan the perimeter first to establish boundaries. A chaotic, poorly aligned, or overly dark border creates a subtle stress response—the brain spends extra energy trying to organize visual chaos before it can focus on the actual questions. This is why I swear by borders that use rounded corners or soft gradients instead of harsh black rectangles. The science worksheet border you choose literally shapes the emotional tone of the learning moment. A border with gentle, nature-inspired motifs (leaves, water ripples, cloud forms) lowers anxiety for test-prep sheets. A border with clean, geometric lines (grids, dots, dashed paths) signals order and logic for math-heavy science pages.
One actionable tip that changed my classroom: print a single batch of worksheets with no border at all, then let students design their own border as a pre-lesson activity. You'll be shocked at what they draw. One kid created a border of endangered species around a habitat worksheet. Another drew circuit diagrams around an electricity page. They were essentially creating their own visual context for the material. That's engagement you cannot buy from a template website. And if you're designing your own digital resources, use that same principle: give the border purpose, not just presence. Let it guide, not just decorate. A great frame makes the content inside it feel important—like something worth paying attention to. And honestly, isn't that the whole point?
One Thing That Changes Everything
You’ve spent time learning how to design better materials, but here’s the truth that most people overlook: the visual frame around your content isn’t decoration—it’s a silent teacher. Every time a student picks up a worksheet, the border sets the tone before they read a single word. A cluttered or generic edge whispers “this is busywork,” while a thoughtful, purposeful design says “this matters.” In a world where attention is the scarcest resource, that split-second impression can mean the difference between a student leaning in or zoning out. You’re not just formatting a page; you’re building a bridge between curiosity and focus.
Maybe you’re thinking, “I don’t have design skills” or “I don’t have time to customize every sheet.” Let that worry go. The best science worksheet border isn’t the one with the most bells and whistles—it’s the one that disappears into the background while making the content pop. A clean, thematic edge does the heavy lifting for you. You don’t need to be a graphic artist. You just need to choose a frame that respects the material and the learner. Your time is better spent on the lesson itself.
So here’s your invitation: don’t let this walkthrough sit in a tab you never revisit. Bookmark this page now, or better yet, open your design tool and try out one of the templates you saw today. Share this with a colleague who’s still using those tired, clip-art-heavy borders from 2005—they’ll thank you. And the next time you’re staring at a blank document, remember: the right science worksheet border doesn’t just hold the page together. It holds the student’s attention. Go make something they’ll actually want to pick up.