Look — if your kid has already crumpled three "fun" learning activities and you're about to toss the whole Pinterest board out the window, you're not alone. That's exactly why printable worksheets tracing lines exist: they're the quiet secret weapon that actually gets little hands moving without the meltdowns.
Here's the thing: most parents and teachers overcomplicate pre-writing skills. We buy fancy workbooks. We download apps. We spend money on laminating machines. Honestly, all your child needs right now is a simple line to follow — a straight one, a zigzag, maybe a wavy curve. That's it. Those basic strokes are the foundation for every letter they'll ever write. And if you don't nail this stage? You'll be fighting pencil grip issues for years. I've seen it happen.
But here's what nobody tells you: not all tracing worksheets are created equal. Some bore kids into submission. Others are so busy they cause more frustration than learning. The good news? I'm about to show you exactly what to look for — the kind that builds confidence, not tears. No fluff. No gimmicks. Just the stuff that actually works.
If you've ever watched a three-year-old pick up a crayon for the first time, you know it's less about drawing and more about sheer determination. That chubby little grip, the tongue sticking out in concentration, the jagged line that barely resembles the dotted path on the page. This is where the real work begins, and honestly, most parents and teachers skip the most important step. They grab a generic workbook and expect magic. Here's what nobody tells you about building fine motor skills: the foundation isn't about holding the pencil correctly from day one. It's about the shoulder, the wrist, and the sheer repetition of controlled movement across a page. That's where structured pre-writing practice comes into play, and why a well-designed set of activities can make or break a child's confidence before they ever attempt a letter.
Why Most Pre-Writing Activities Miss the Mark
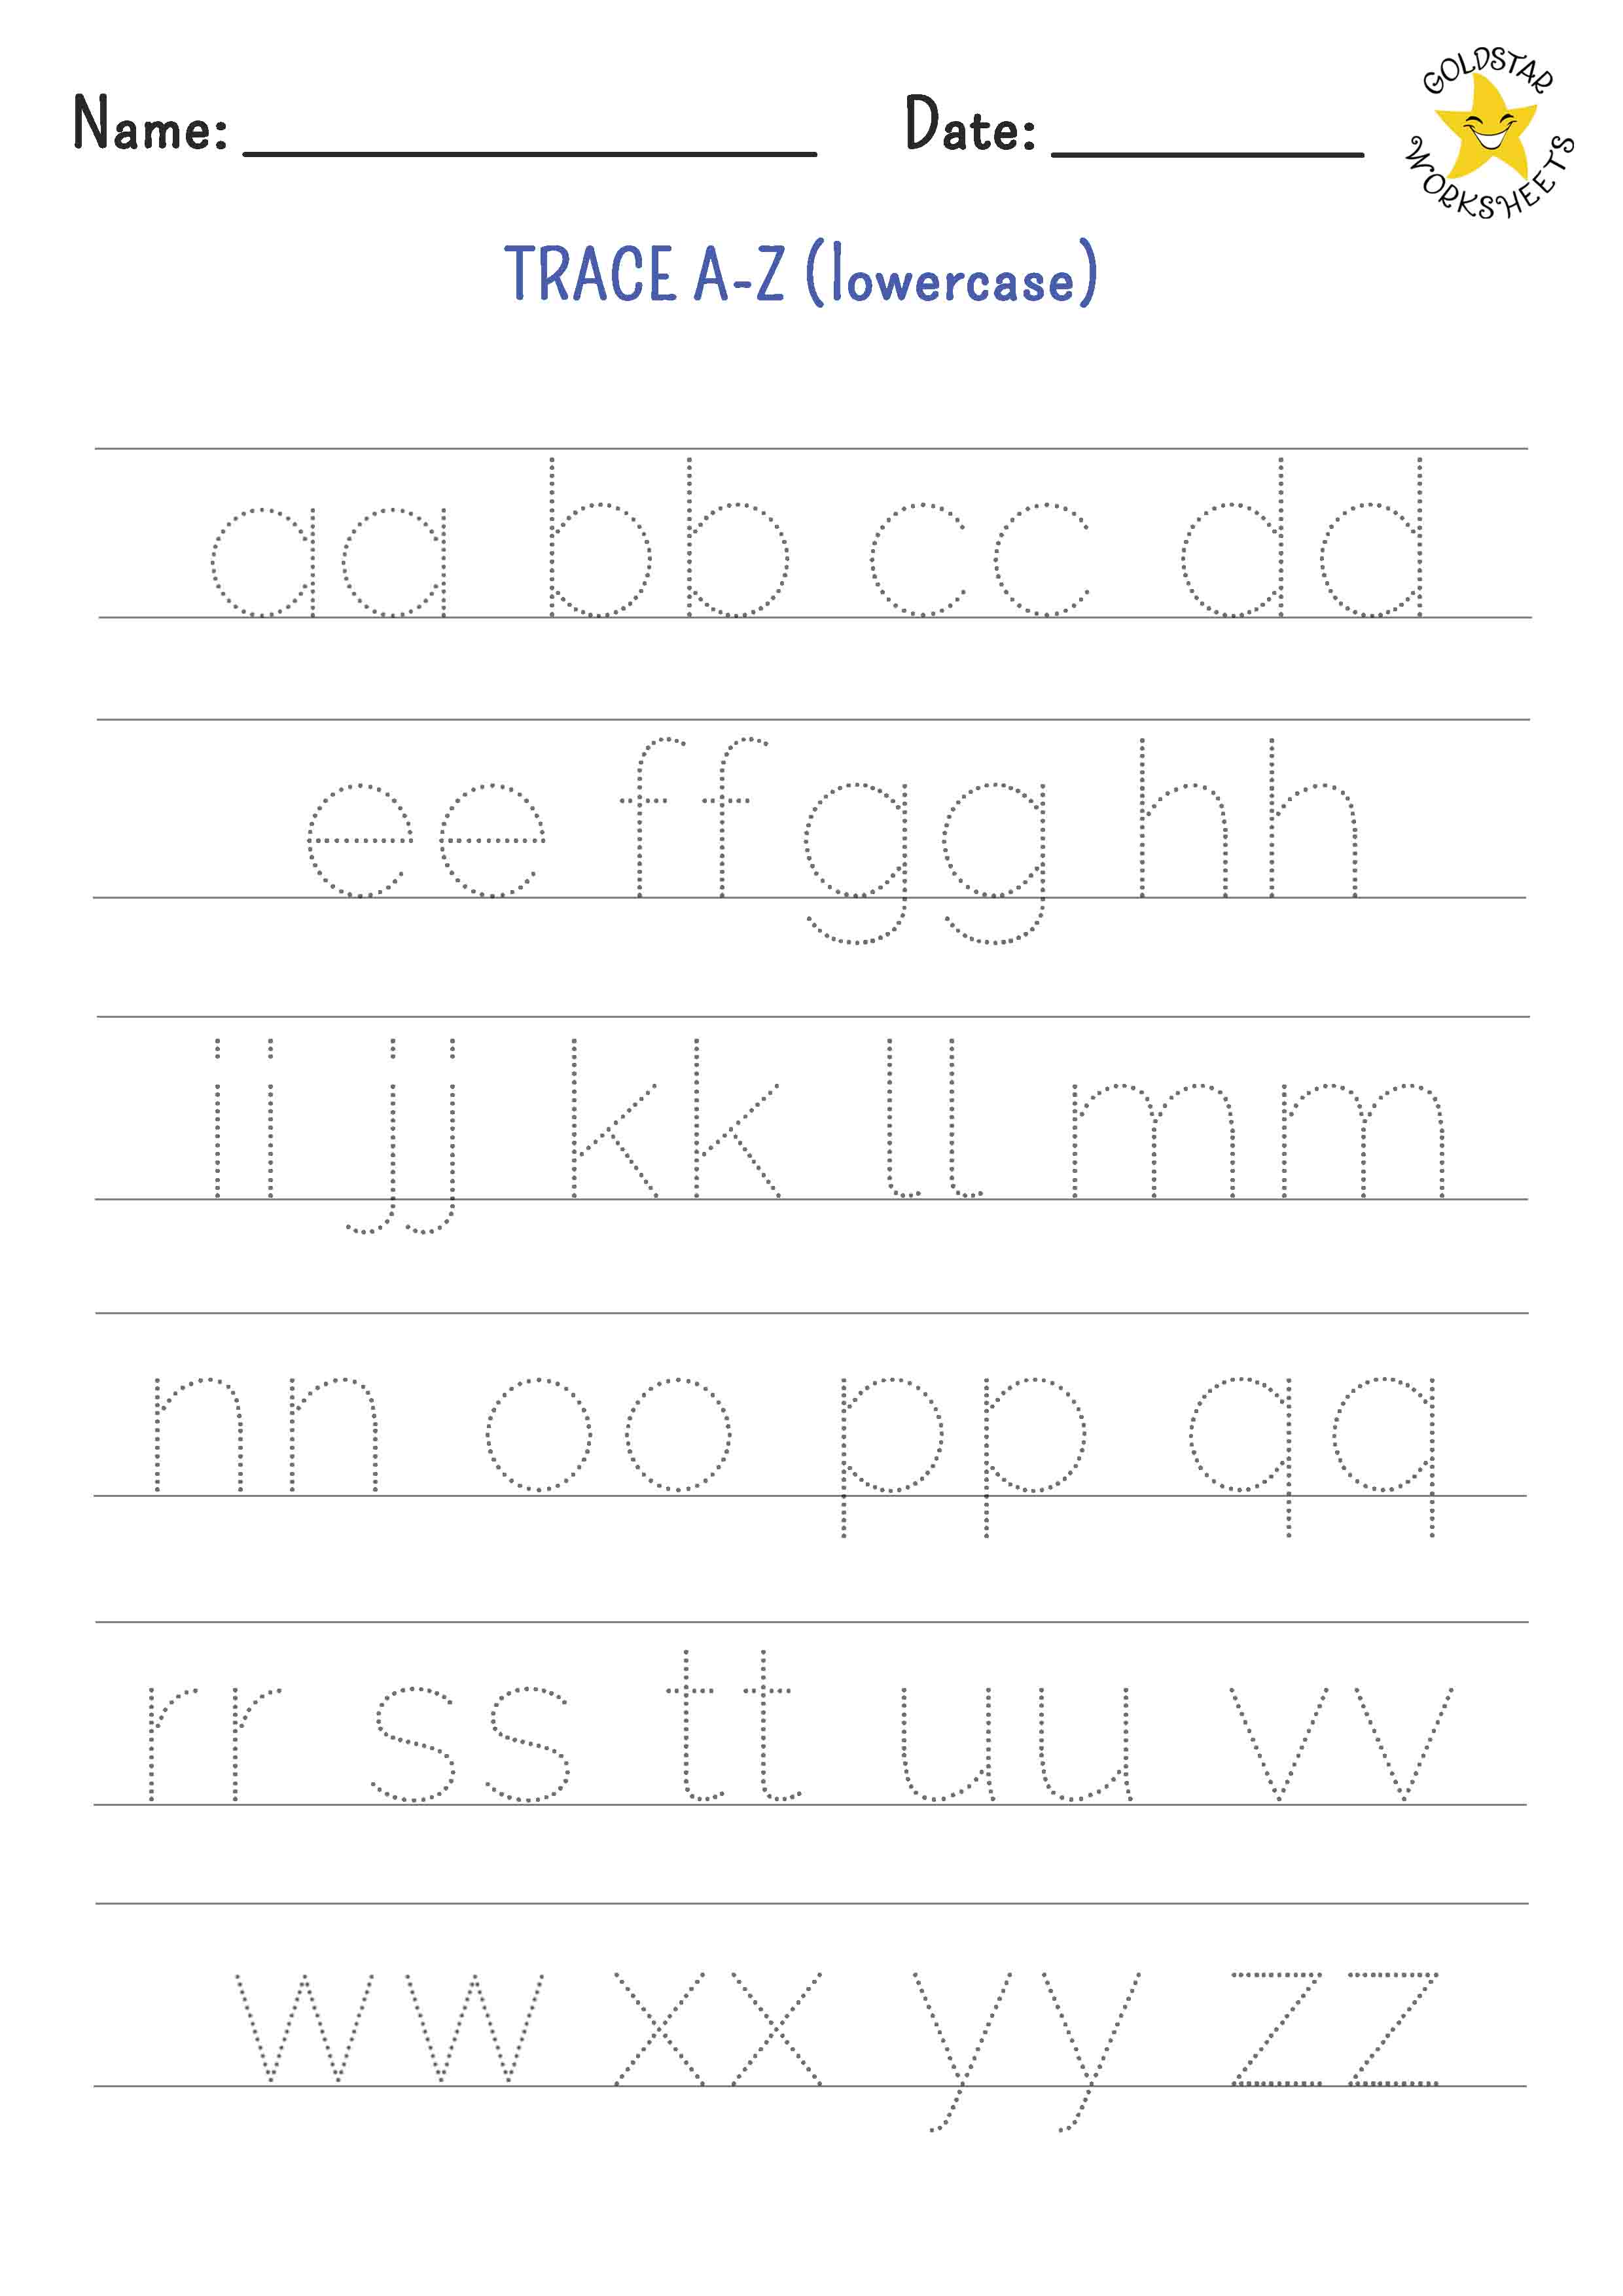
The biggest mistake I see in early childhood classrooms is jumping straight to letter formation. We want results, fast. But a child who struggles to draw a straight line from left to right is going to hit a wall the moment you ask them to write an "A". The brain needs to build a neural highway for horizontal, vertical, and diagonal motion first. And no, scribbling on a whiteboard doesn't count as structured practice. What works is a progression from thick, simple paths to increasingly complex zigzags and curves. I've seen kids go from frustrated tears to genuine pride in about two weeks simply by using guided line exercises that isolate one skill at a time. For instance, start with a single horizontal path from a truck to a garage. That's it. No curves. No angles. Just one clean pull across the page. Once that feels easy, introduce a gentle wave. This layered approach builds what I call "muscle memory for grip endurance" – something most digital apps simply cannot replicate.
What a Proper Progression Actually Looks Like
Here is a realistic breakdown of how to sequence these activities, based on what I've seen work with hundreds of children. Do not skip the first step, even if your child seems "advanced".
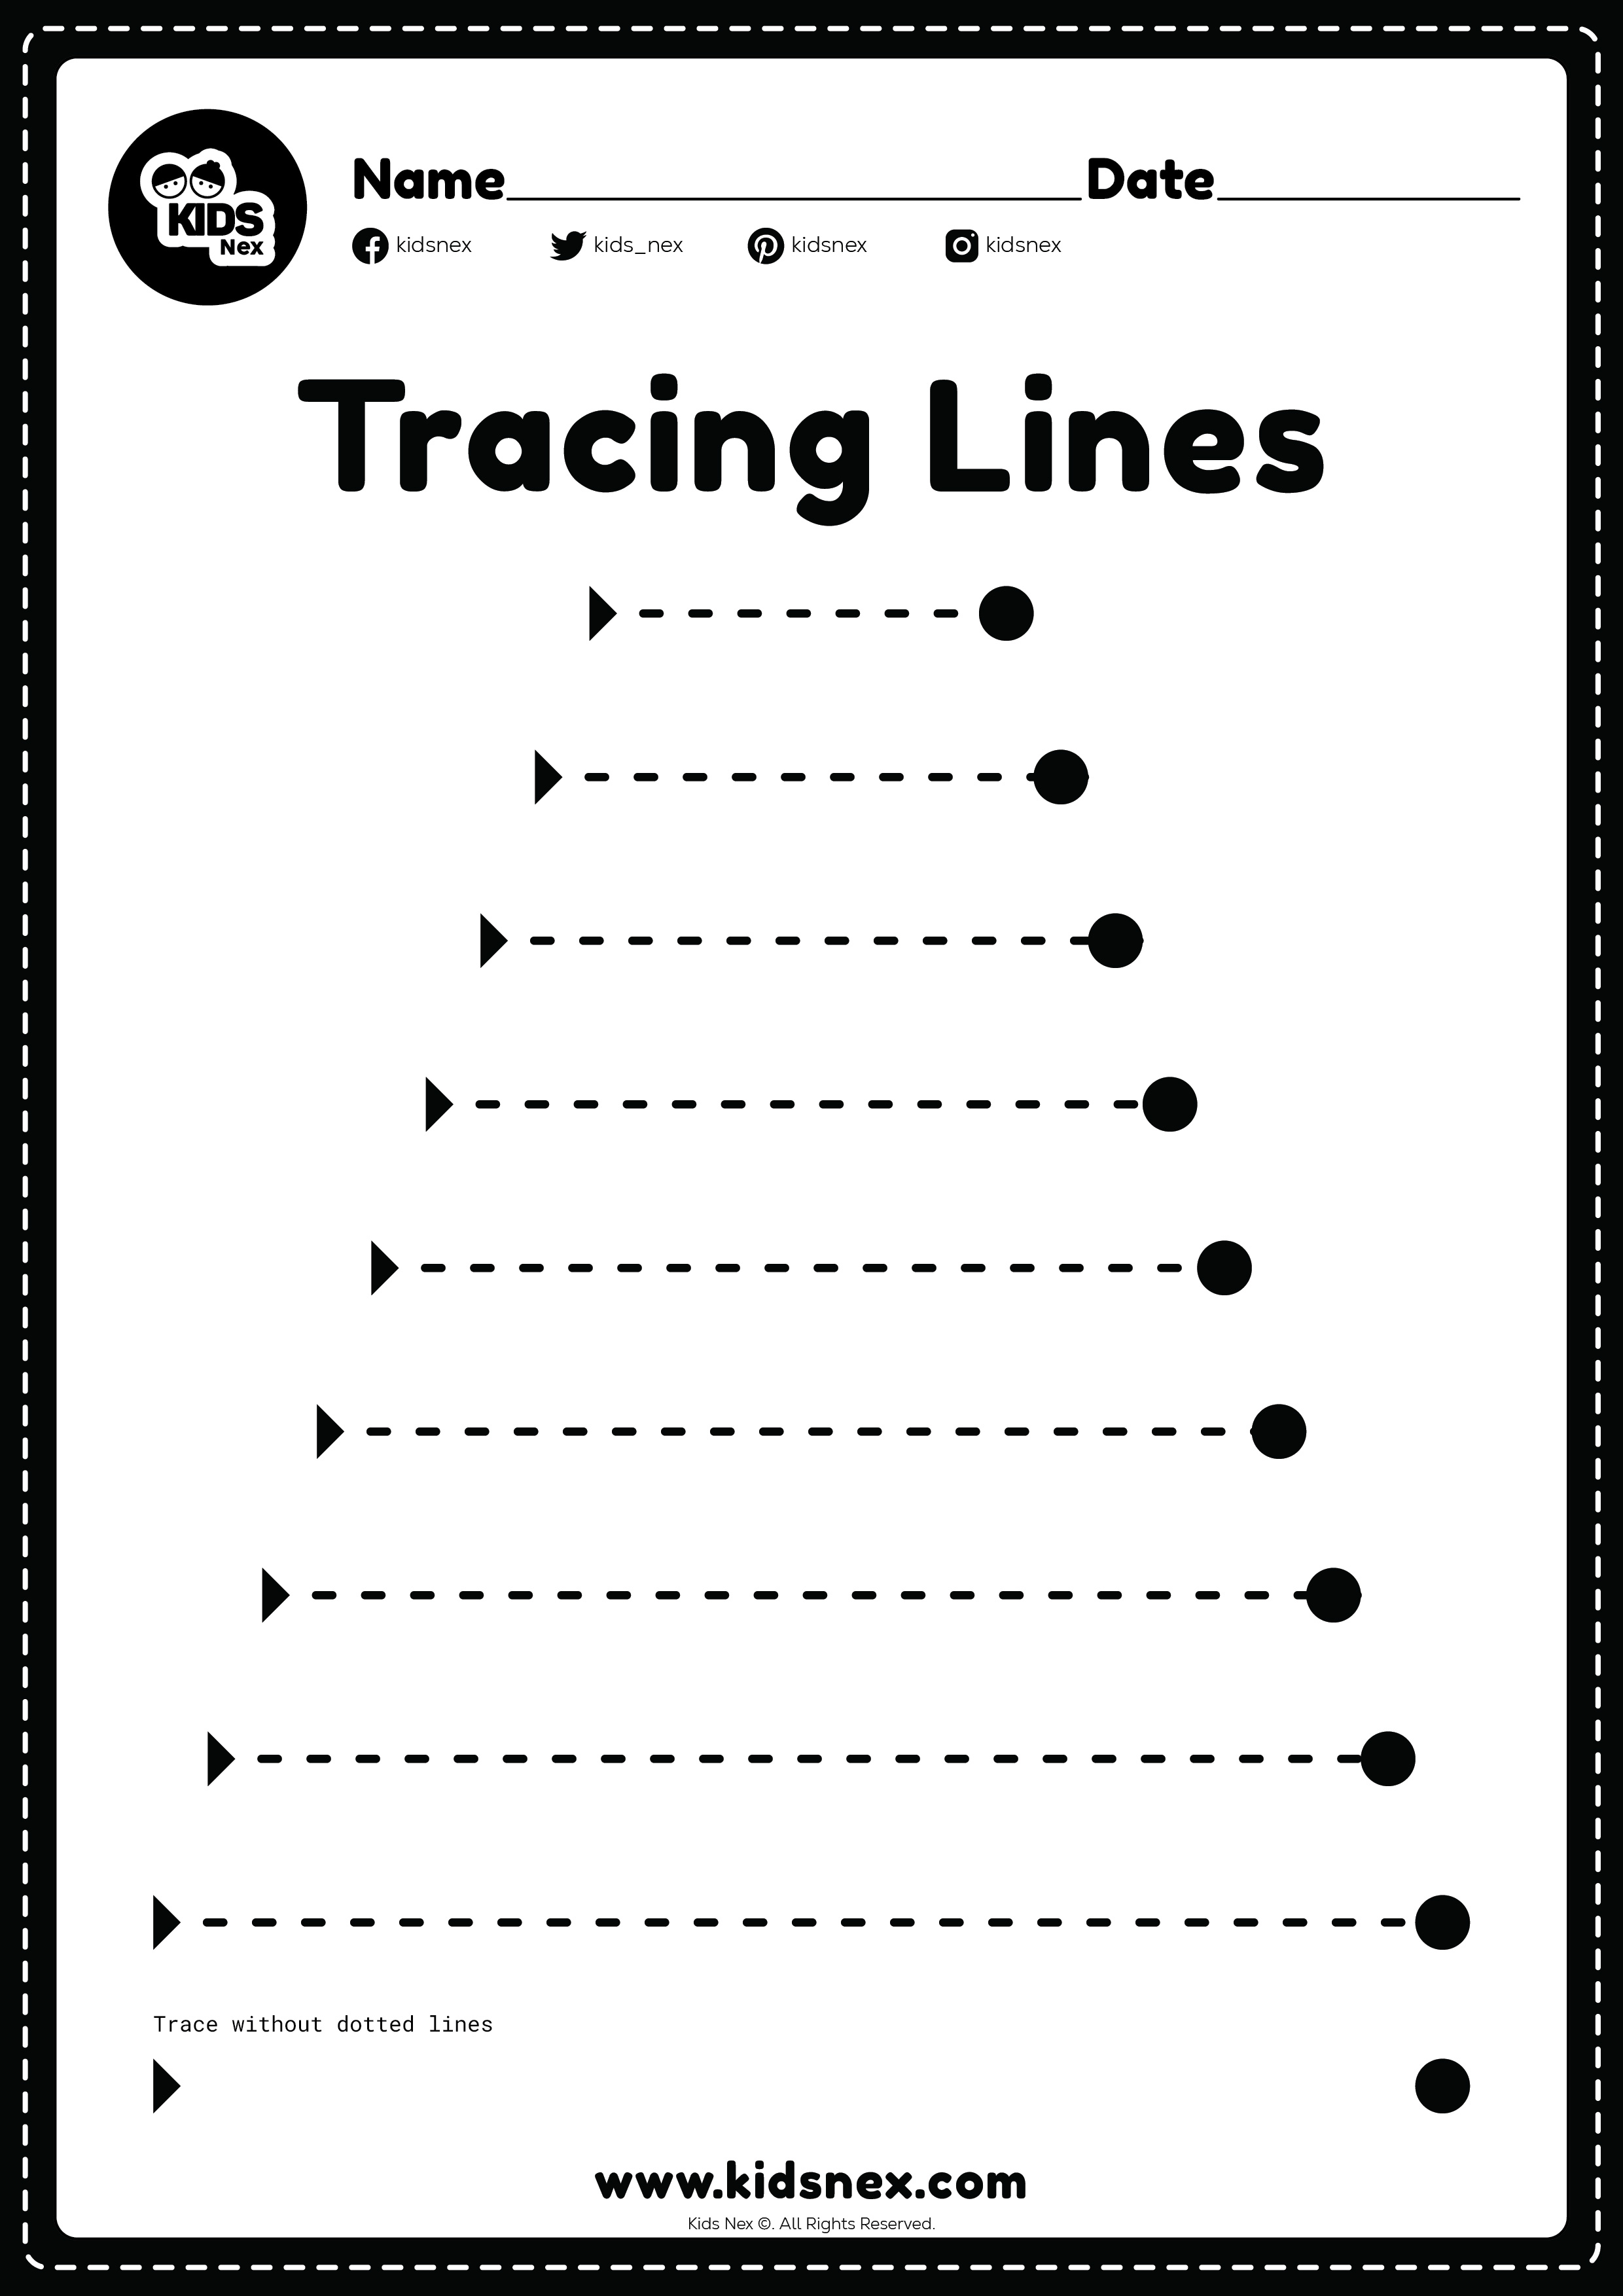
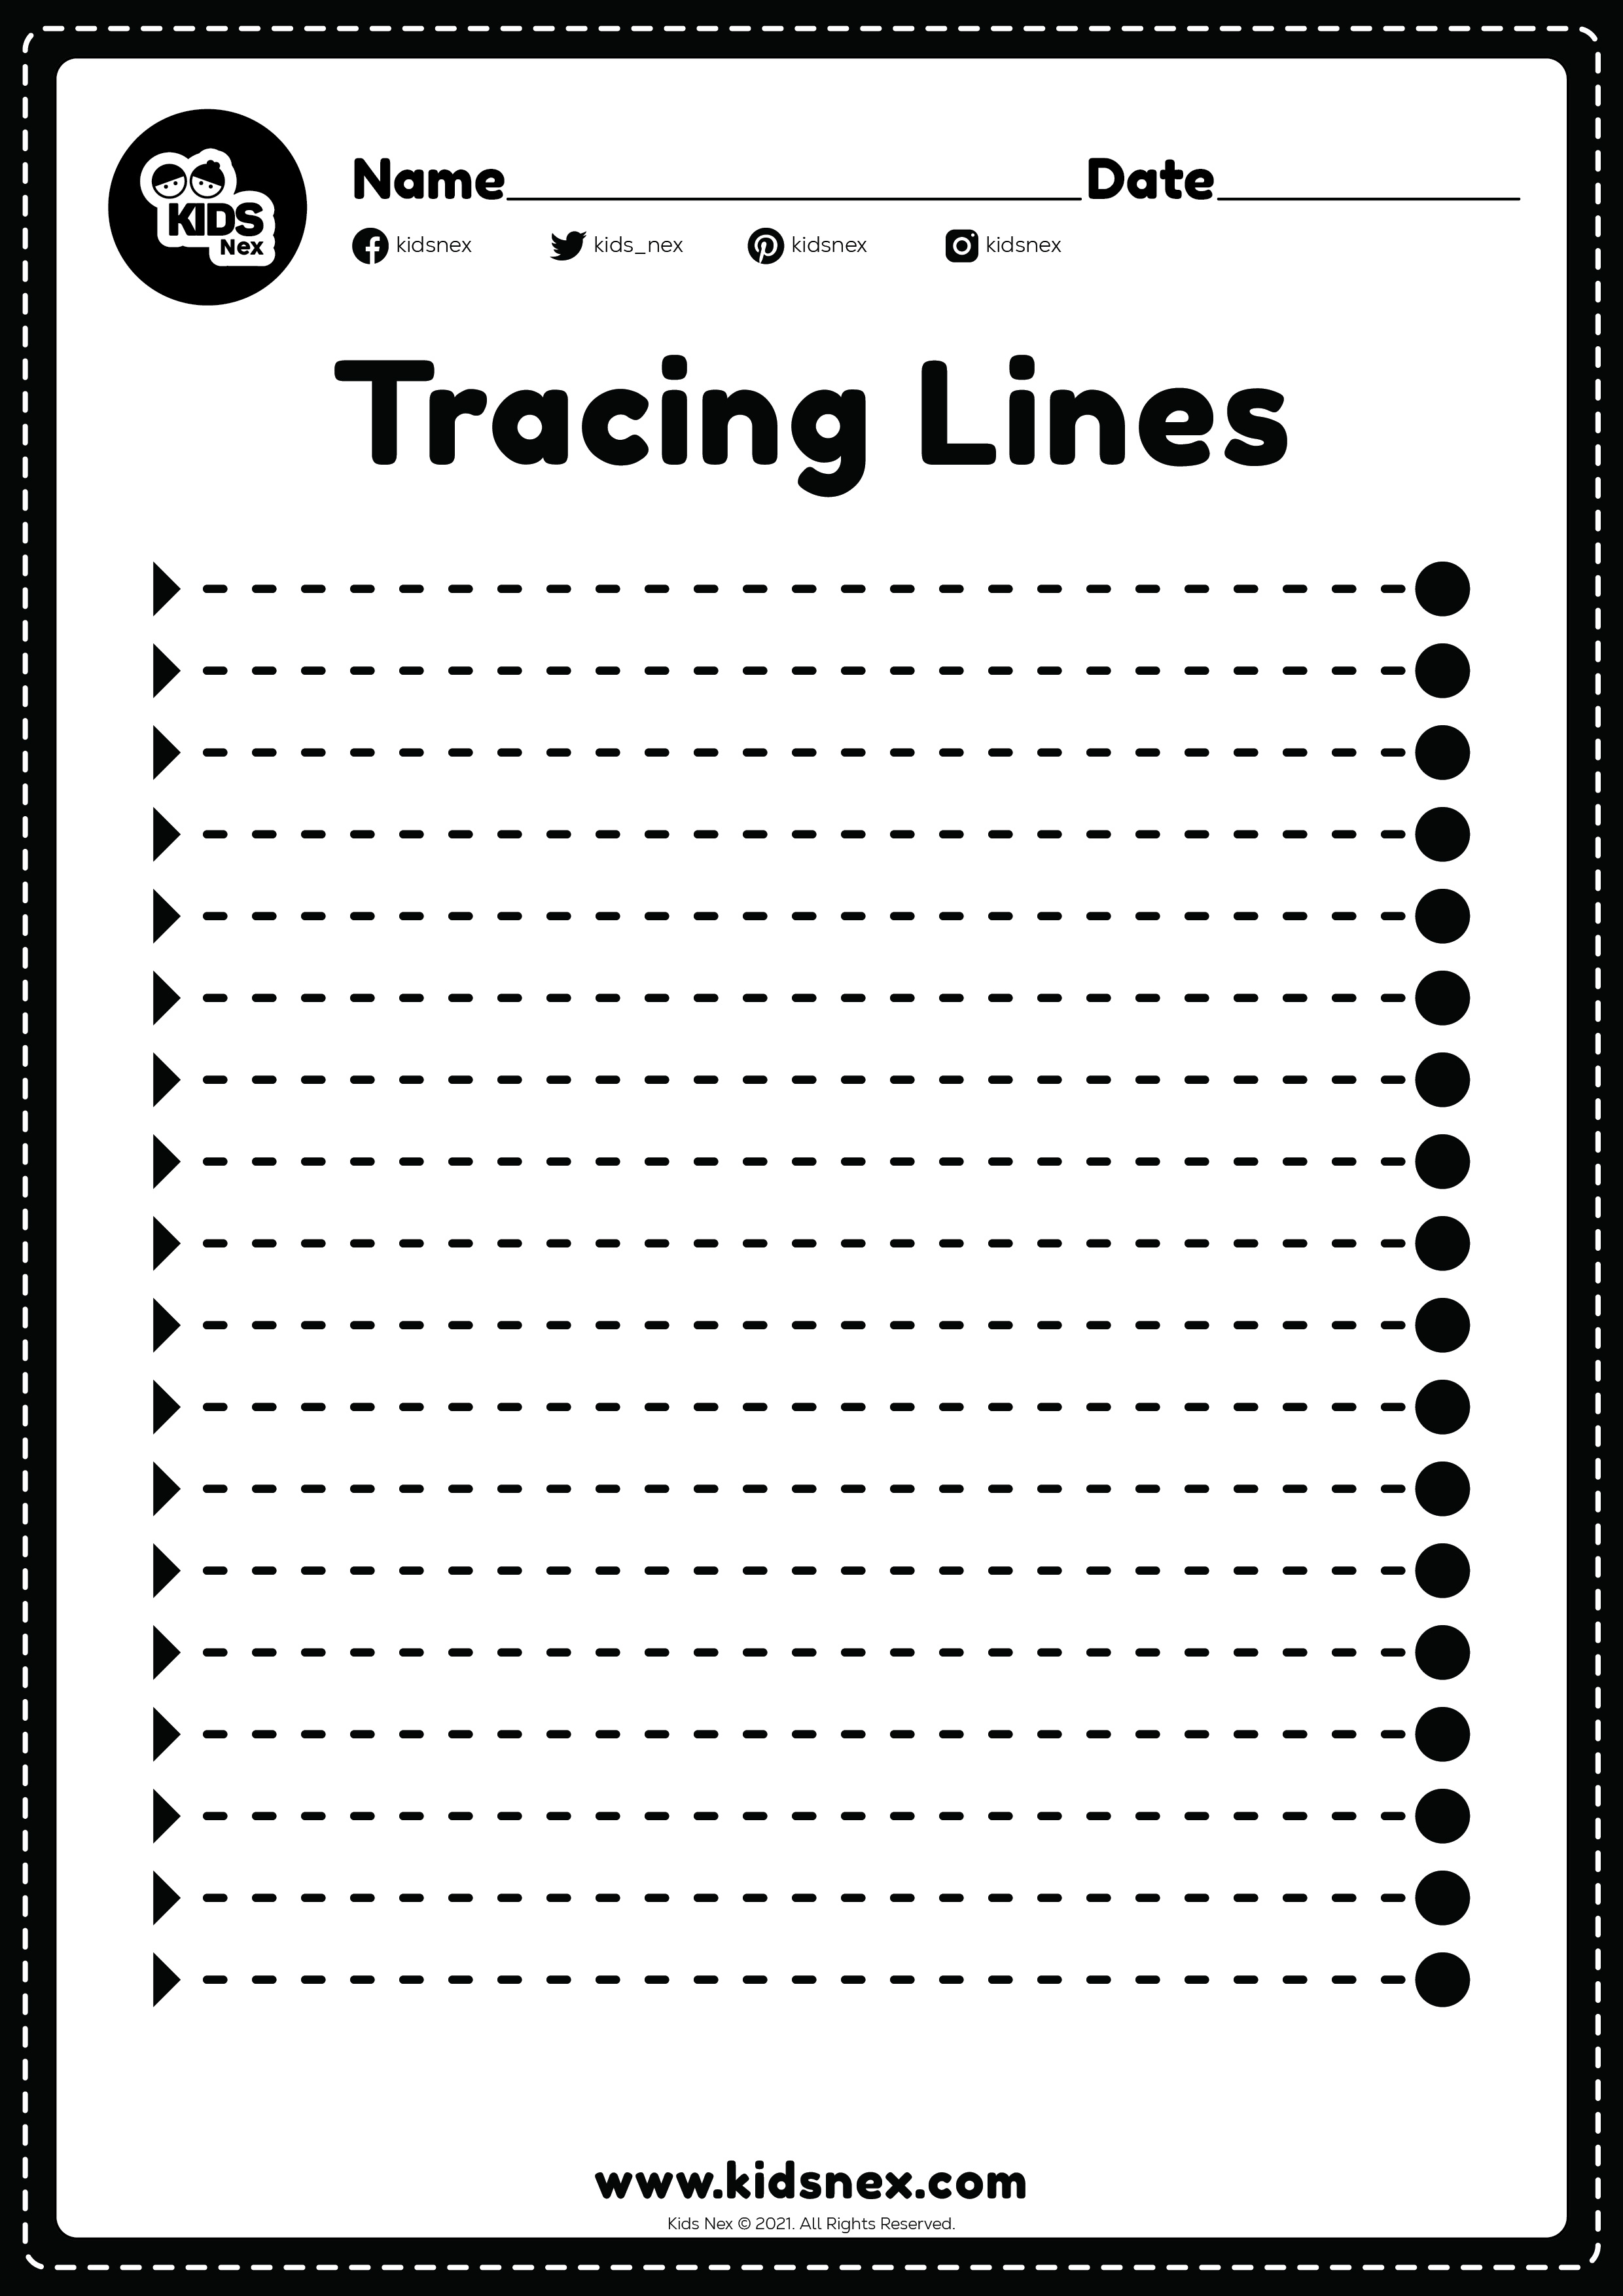
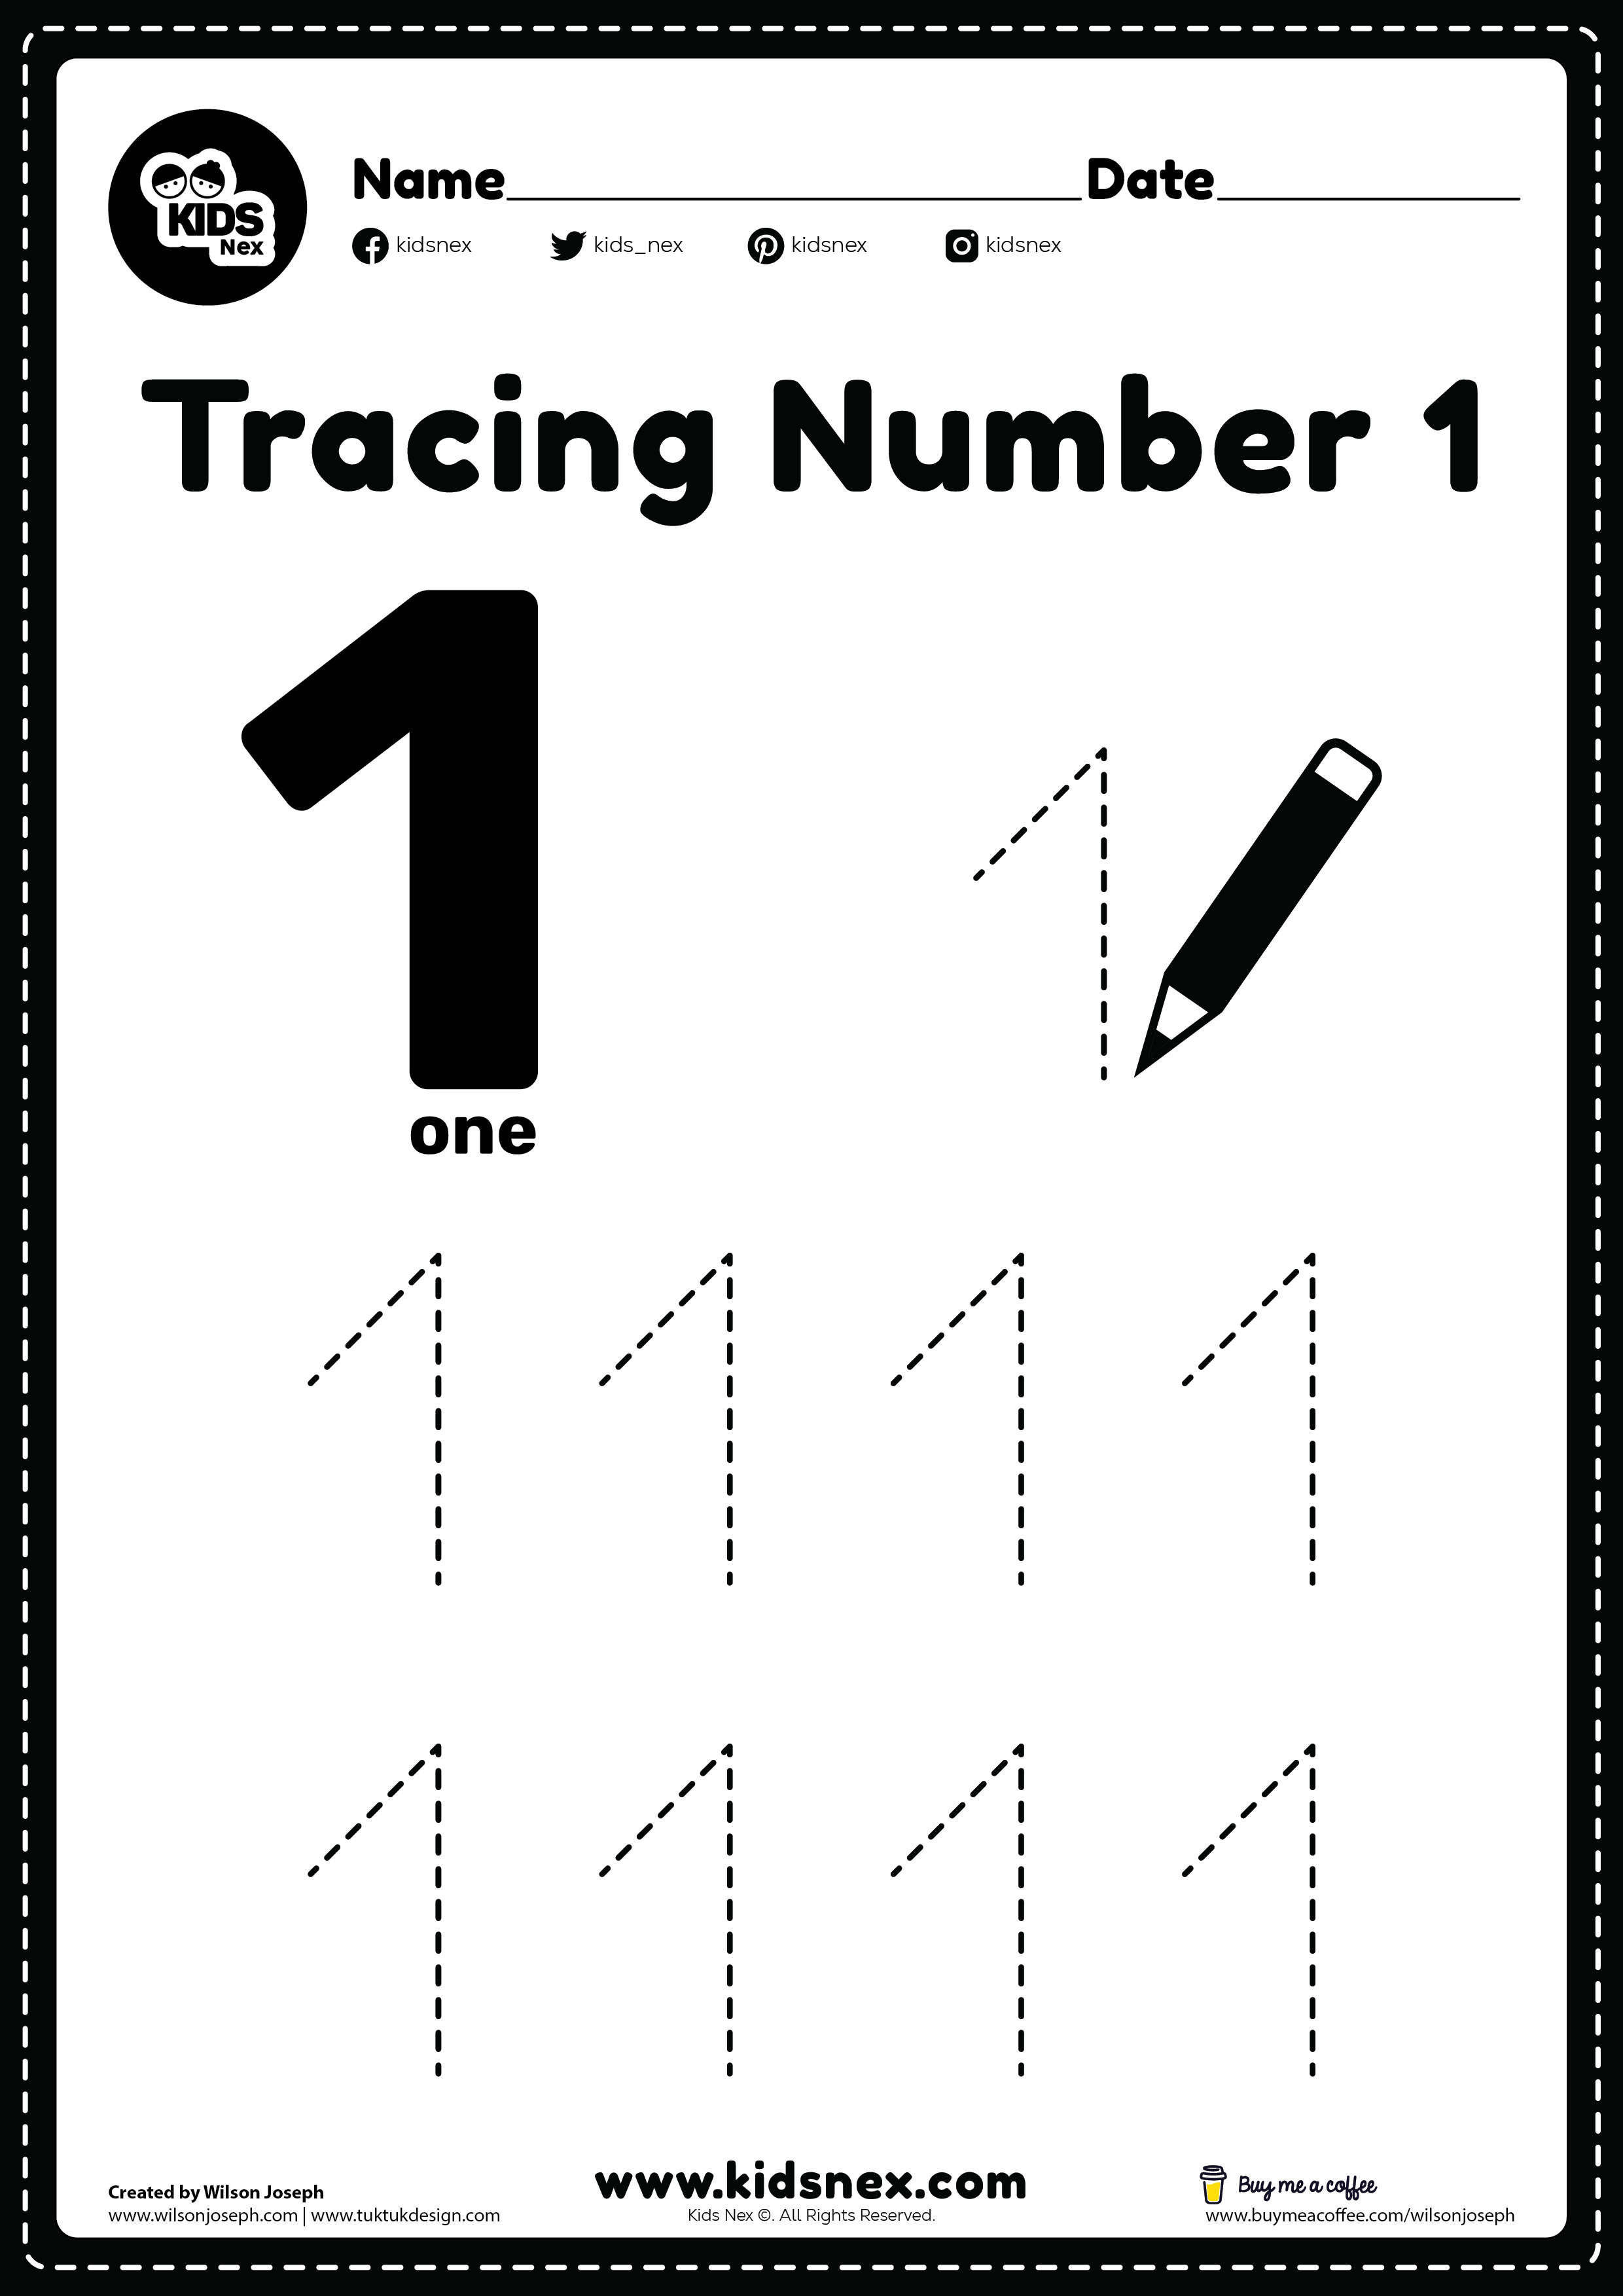
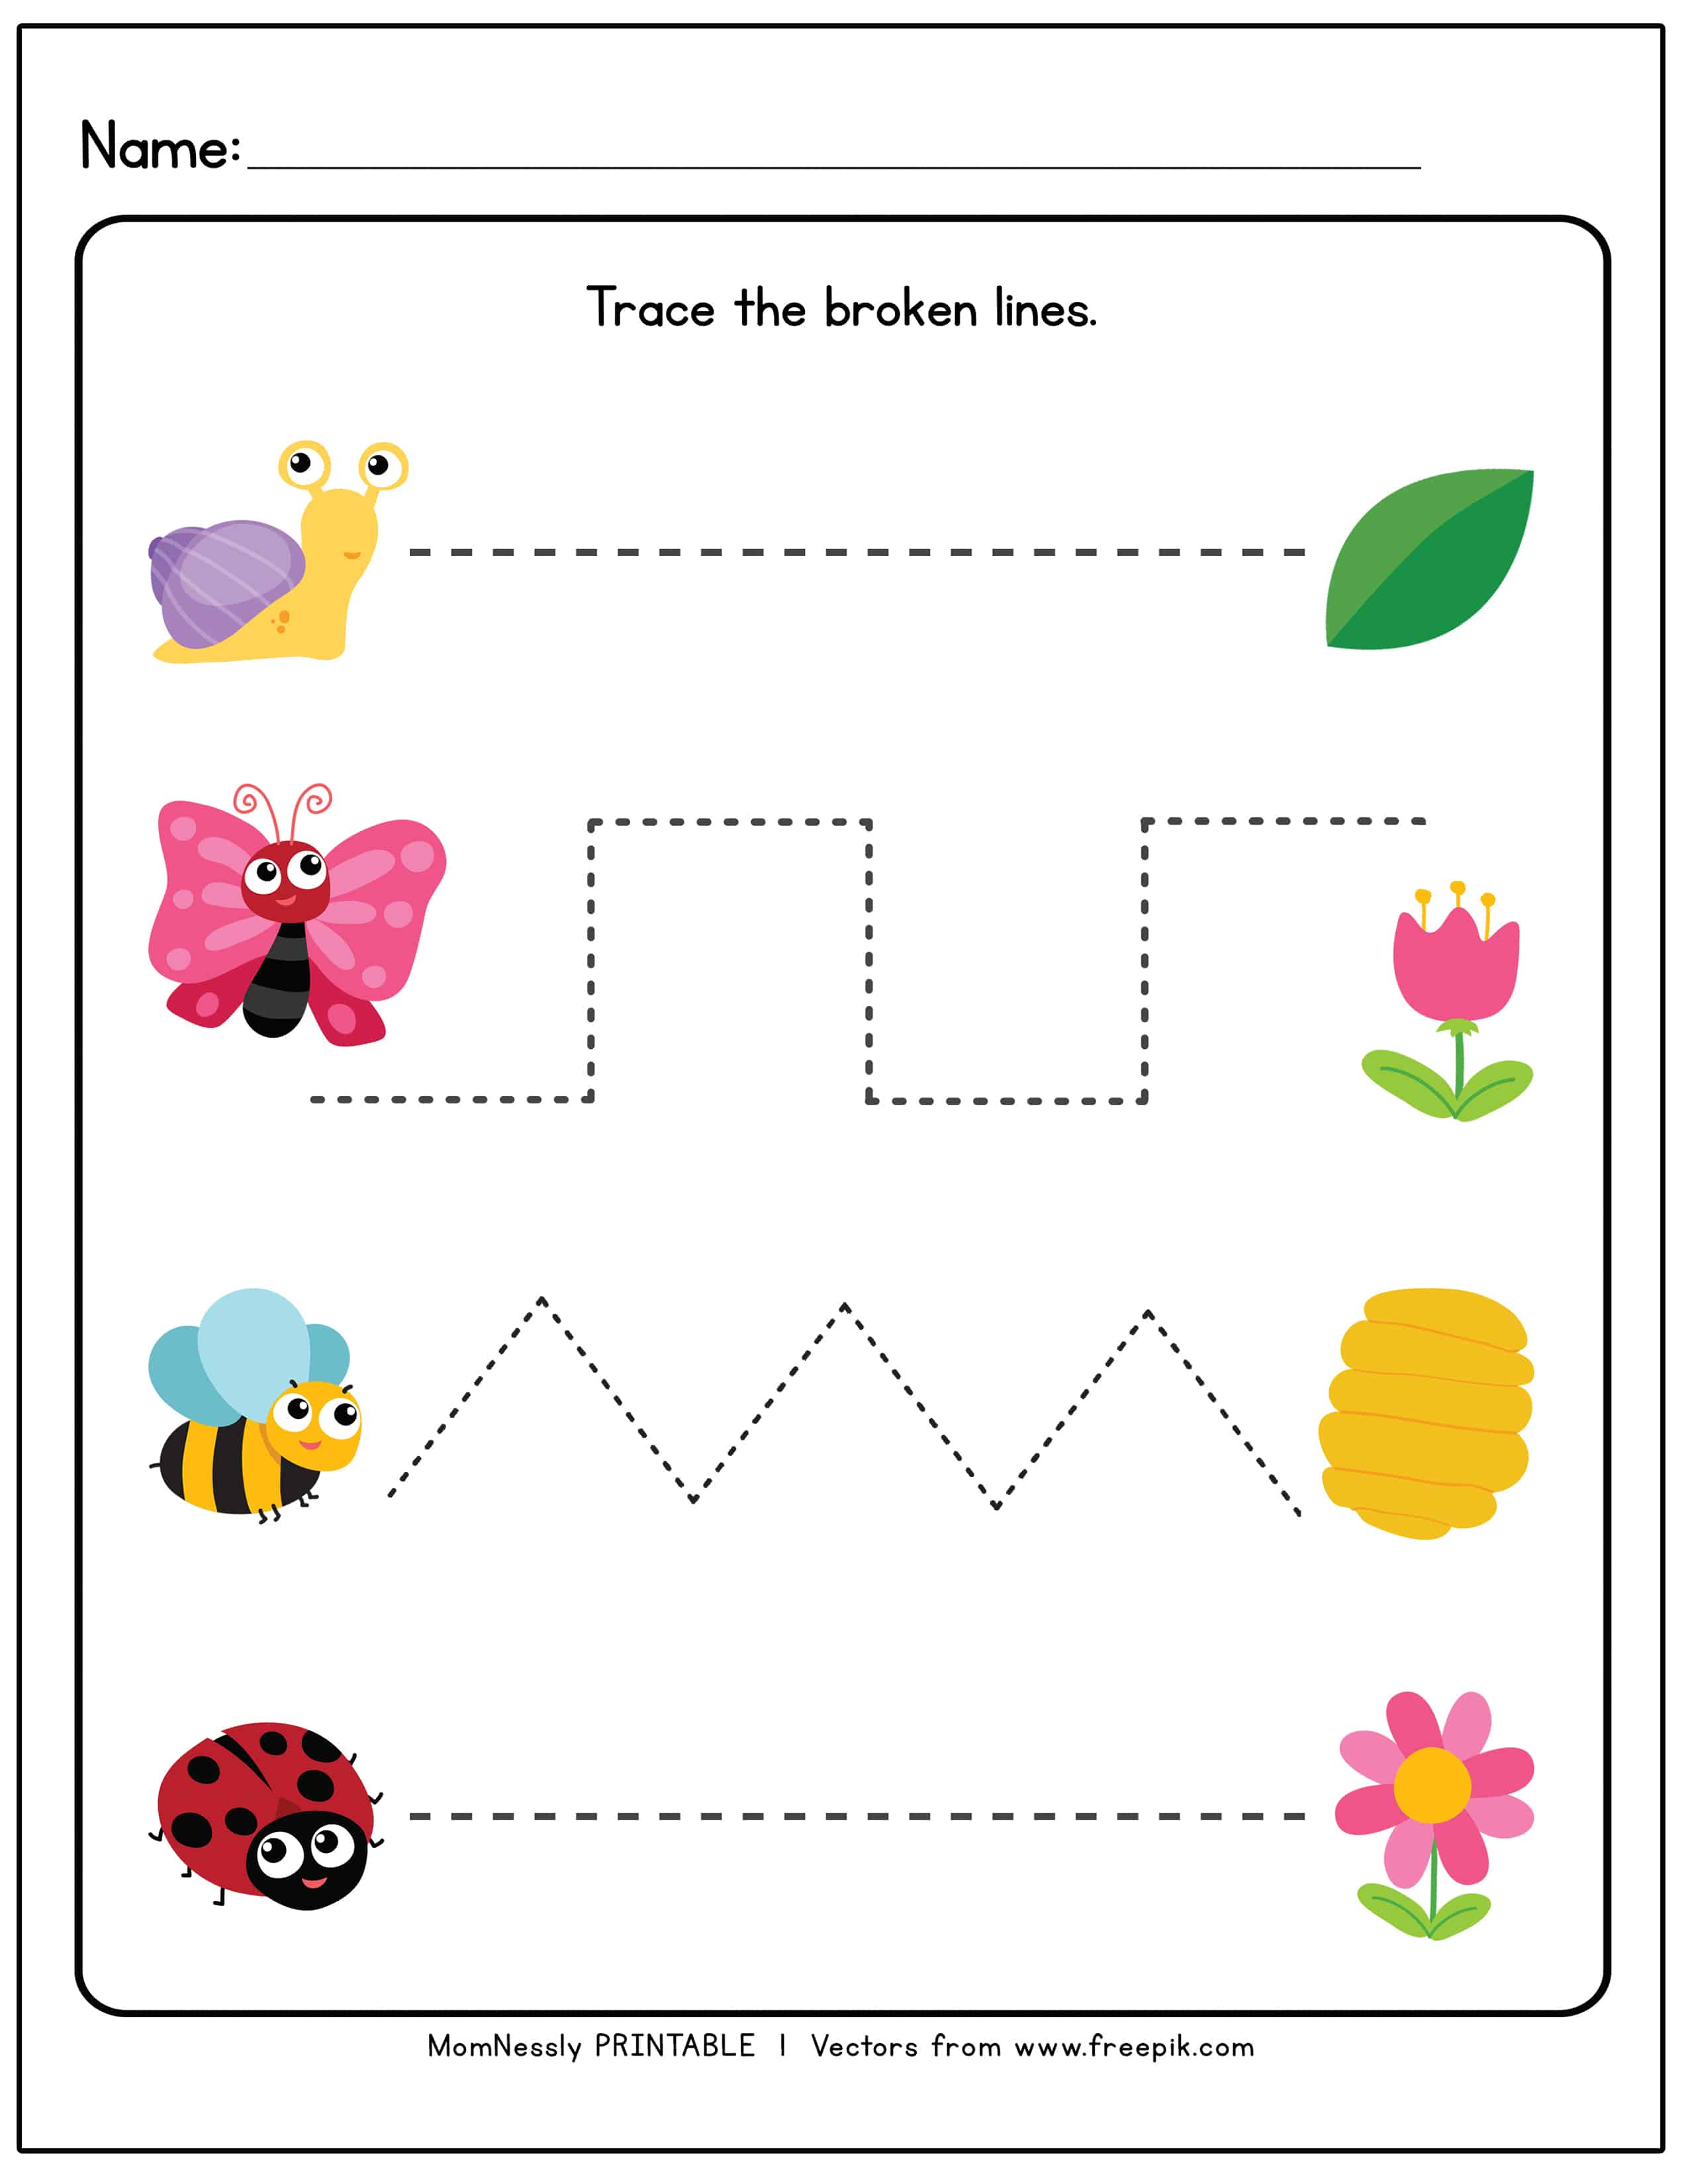
- Stage 1: Vertical and Horizontal Lines – Thick, short paths (2-3 inches) with a clear start and stop point. Think a bee flying to a flower.
- Stage 2: Curves and Waves – Gentle arcs and wavy lines that require subtle wrist rotation. This is where control really builds.
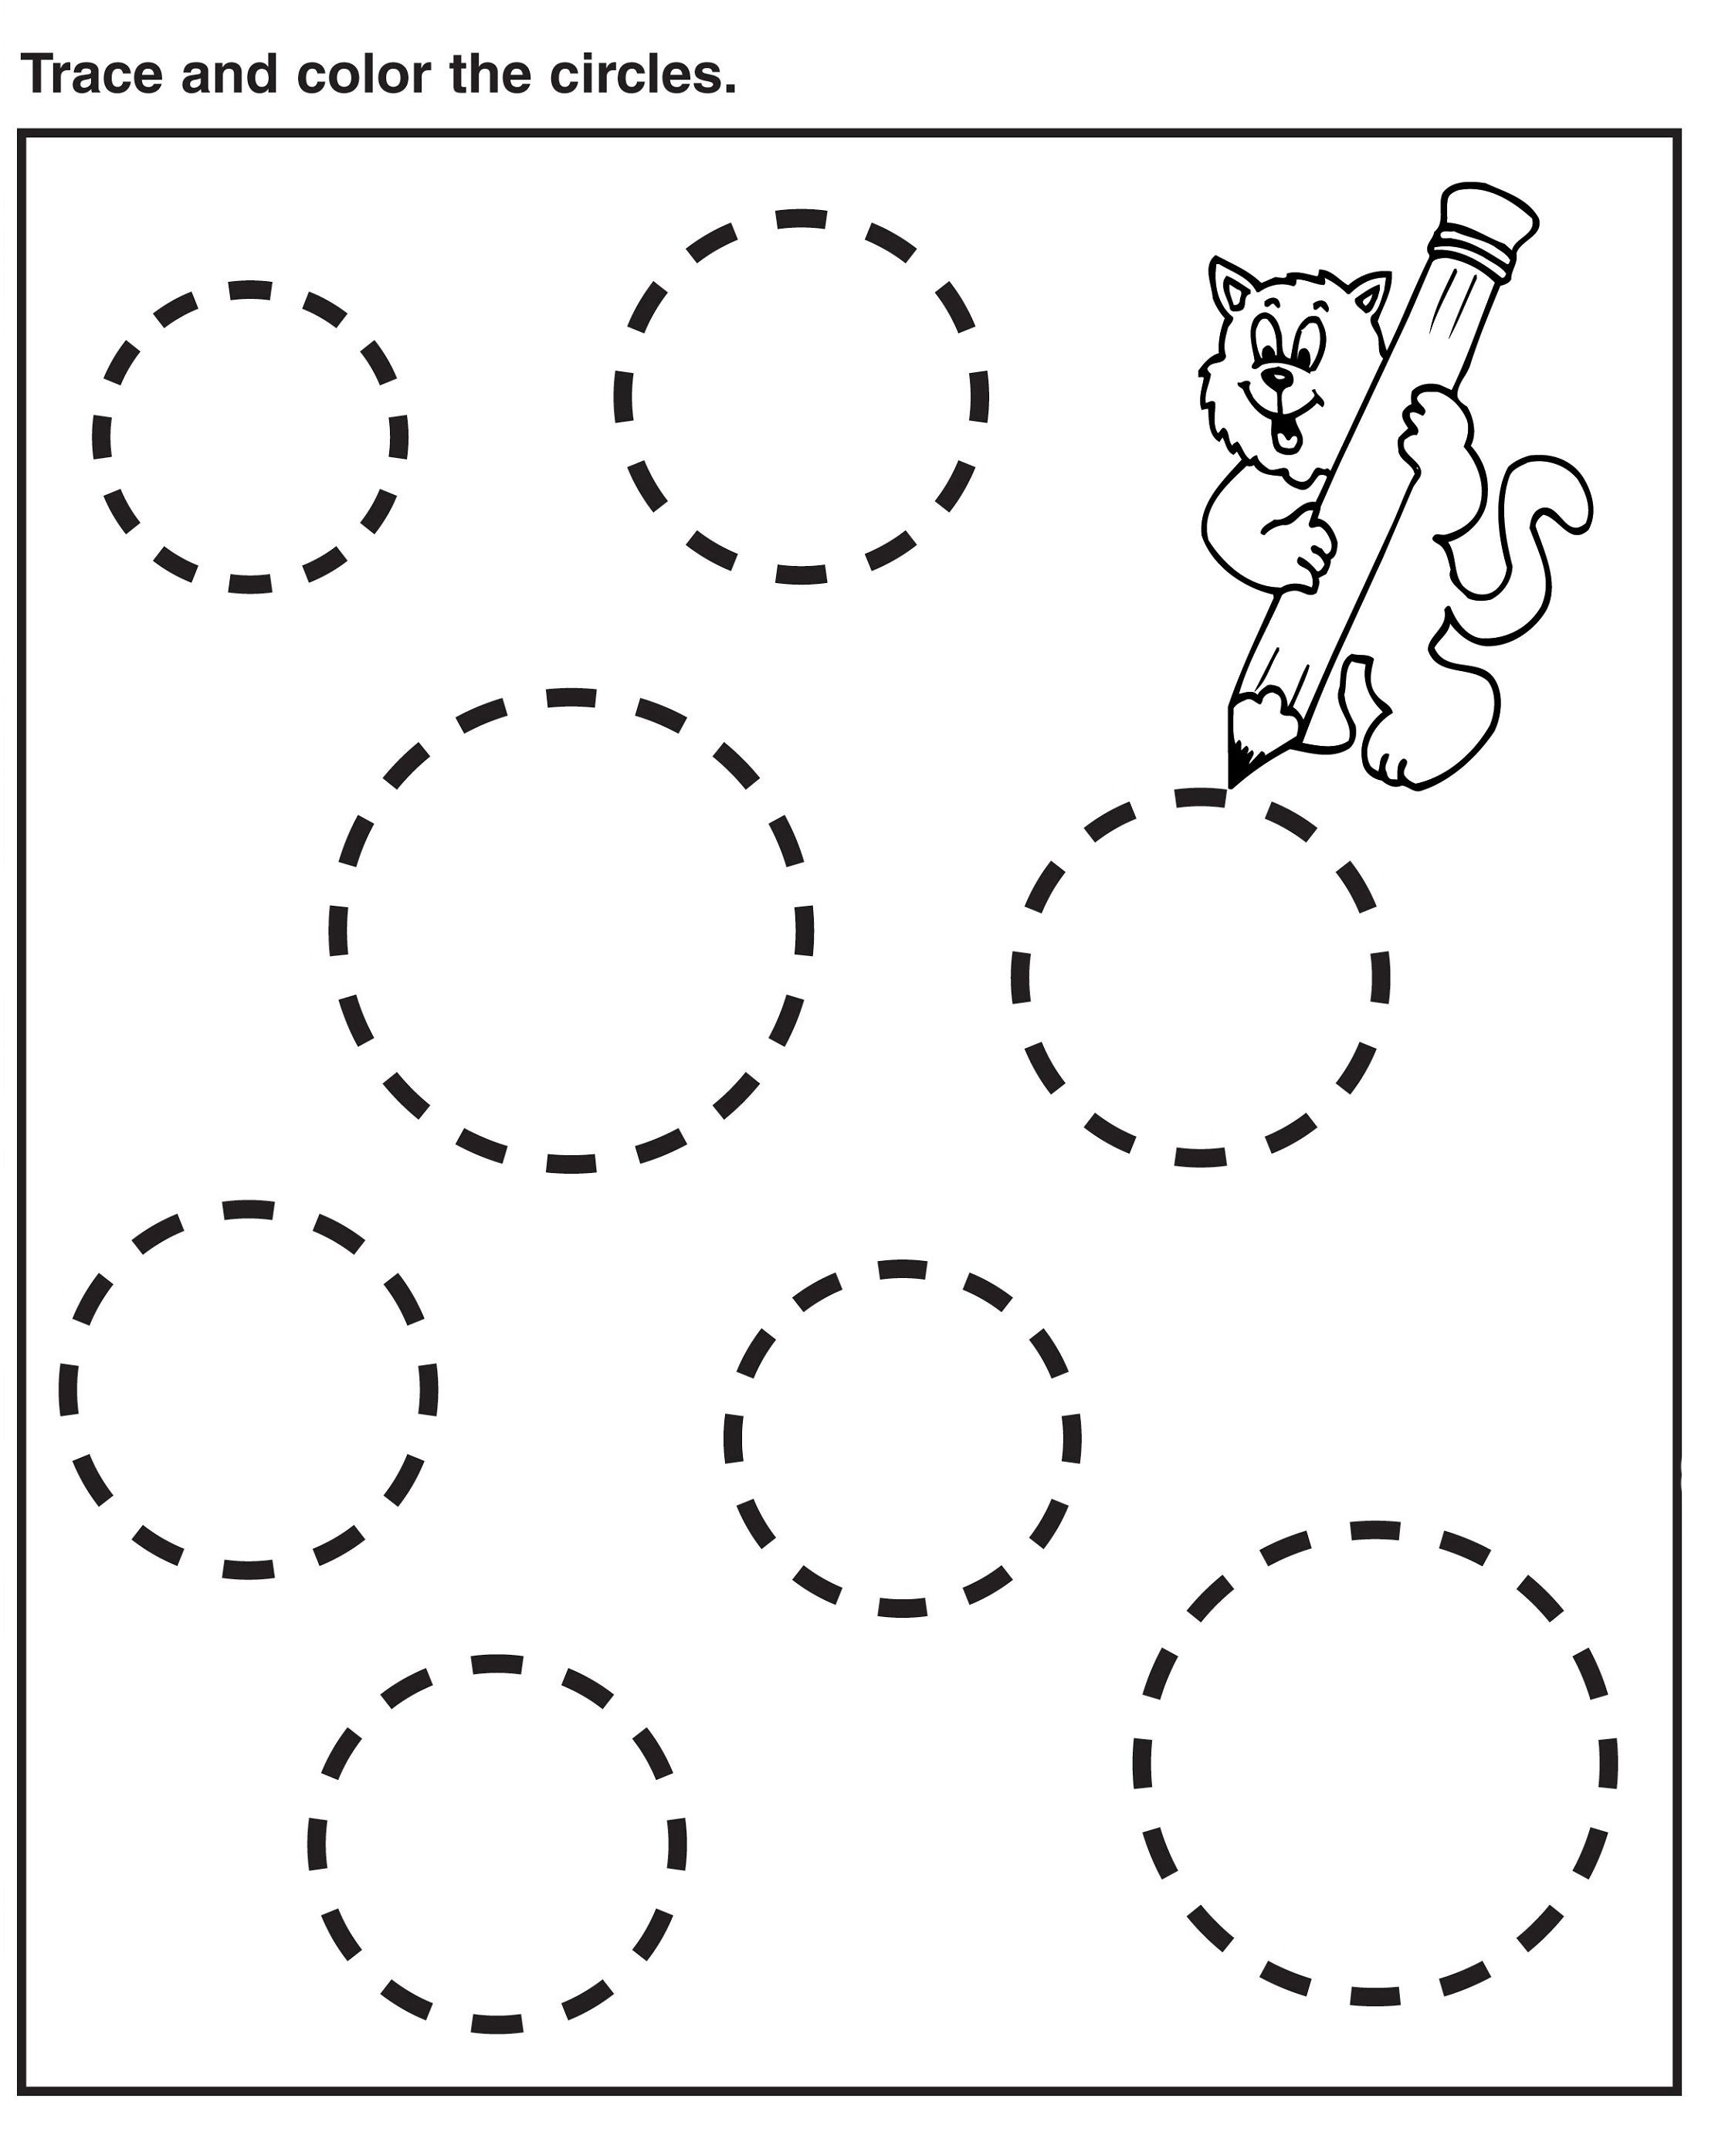
- Stage 3: Diagonal Lines and Simple Shapes – Slanted lines for future letter diagonals (like "X" or "K") and basic circles.
- Stage 4: Combined Paths – A single line that changes direction twice, like a hill and then a straight drop.
Each stage should feel boringly easy before you move on. If they rush through and get sloppy, go back one step. Patience here prevents handwriting frustration later.
The One Tool That Changes Everything (And It's Not a Pencil)
Here is a specific, actionable tip that most curriculum guides ignore: use a dry erase pocket sleeve with your printable worksheets tracing lines. Print one sheet, slide it in, and let the child use a washable marker. They can erase and try again twenty times. The tactile feedback of the marker on the smooth plastic is different from a pencil – it's less resistant, which builds speed and confidence without the pain of pressing too hard. Plus, you save a forest of paper. I keep a stack of five laminated sheets in a binder for road trips. The repetition is the secret sauce. A child might trace the same wavy path ten times in one sitting, and each time, their hand learns something new about pressure and direction. That's why structured repetition beats variety every single time for this age group.
Comparing Common Materials for Line Tracing
Not all tools are created equal. Here is a quick comparison based on what I've observed in actual use, not marketing claims.
| Tool | Best For | Biggest Downside |
|---|---|---|
| Thick crayon (broken pieces) | Building grip strength in toddlers (age 2-3) | Hard to see fine details on the page |
| Washable marker on dry erase sleeve | Repetition and error correction (age 3-5) | Can smudge if child leans on the page |
| Short golf pencil (no eraser) | Transitioning to proper pencil grip (age 4-6) | Frustrating for kids who need to erase often |
| Finger tracing on sandpaper | Sensory input and muscle memory (all ages) | Messy, not portable |
Where Most Parents Go Wrong with Printable Sheets
I see it constantly: a parent prints a beautiful set of tracing lines, hands it to the child with a pencil, and expects them to work independently. That's a recipe for a meltdown. The first three sessions need to be hand-over-hand guided. Sit beside them. Place your hand gently over theirs. Guide the marker along the path while narrating the motion: "Slow down at the curve... now push up the hill." This co-regulation teaches the rhythm of the line. After three or four guided attempts, let them try alone. If they revert to scribbling, you pushed too fast. Go back to hand-over-hand. I've watched a four-year-old go from hating every worksheet to begging for "one more line" because I took the time to do this properly. The printable is just a tool – your presence and patience are the actual curriculum.
One Last Thing Before You Go
You came here looking for a way to help a little hand find its rhythm, and that tiny act matters more than you might realize. Every line a child traces is a small victory over hesitation, a quiet conversation between their eyes and their fingers. In a world that rushes from screen to screen, the simple act of putting pencil to paper teaches patience, control, and the deep satisfaction of completing something real. This isn't just about motor skills — it's about giving a child the confidence to say, I can do this myself. That feeling stays with them long after the worksheet is done.
Maybe you're thinking, "But my child is still struggling, or they get bored quickly." That's completely normal. The magic isn't in perfection — it's in the repetition that feels like play. If they zig where they should zag, or if they abandon the page after two lines, that's still a win. Their brain is building connections every single time they try. Your patience in those imperfect moments is what turns frustration into growth. You don't need to be a teacher or a therapist; you just need to show up with a pencil and a gentle voice.
So here's your simple next step: take the printable worksheets tracing lines you found here and tuck them into a folder or pin them to the fridge. Use them during a rainy afternoon, a quiet morning, or when you need five minutes to drink your coffee while it's still hot. And if you know another parent or caregiver who's wondering how to help their child focus, send them this page. Small resources like these printable worksheets tracing lines have a way of spreading exactly when someone needs them most. Bookmark this, share it, and come back anytime. The journey of a thousand scribbles starts with a single line.