Your kid's handwriting looks like a spider fell into an inkwell and tap-danced across the page. And here's the thing — you've tried everything. New pencils. Special grips. That one app that promised miracles. Nothing sticks. But what if I told you the fix is sitting in your printer tray right now? Printable worksheets to improve handwriting aren't boring busywork — they're the secret weapon teachers don't advertise.
Look — we both know screens aren't helping. Every swipe and tap trains little fingers to be fast, not precise. Fine motor skills? They're starving for real paper resistance. The truth is, handwriting is a physical skill, not a digital one. And right now, your child is falling behind not because they're lazy, but because they haven't practiced the right way. That's where these worksheets come in — they target the exact muscle movements most kids skip.
I'm not talking about those generic letter-tracing pages you find on Pinterest. The good ones — the ones that actually work — are designed differently. They build control through patterns, not just letters. They sneak in grip strength exercises disguised as mazes. And they let you ditch the power struggle entirely. Keep reading, and I'll show you exactly which types cause the biggest improvements in the shortest time — plus where to find them without wasting another dollar.
Most handwriting practice out there is a waste of paper. I have seen it firsthand—workbooks filled with monotonous rows of the same letter, repeated until a child's eyes glaze over. That approach builds compliance, not competence. The real trick? Targeting the specific breakdowns in grip, pressure, and letter formation rather than just doing more reps. That is where a well-designed set of printable worksheets to improve handwriting becomes a precision tool, not just busywork.
The Part of Handwriting Practice That Workbooks Get Wrong
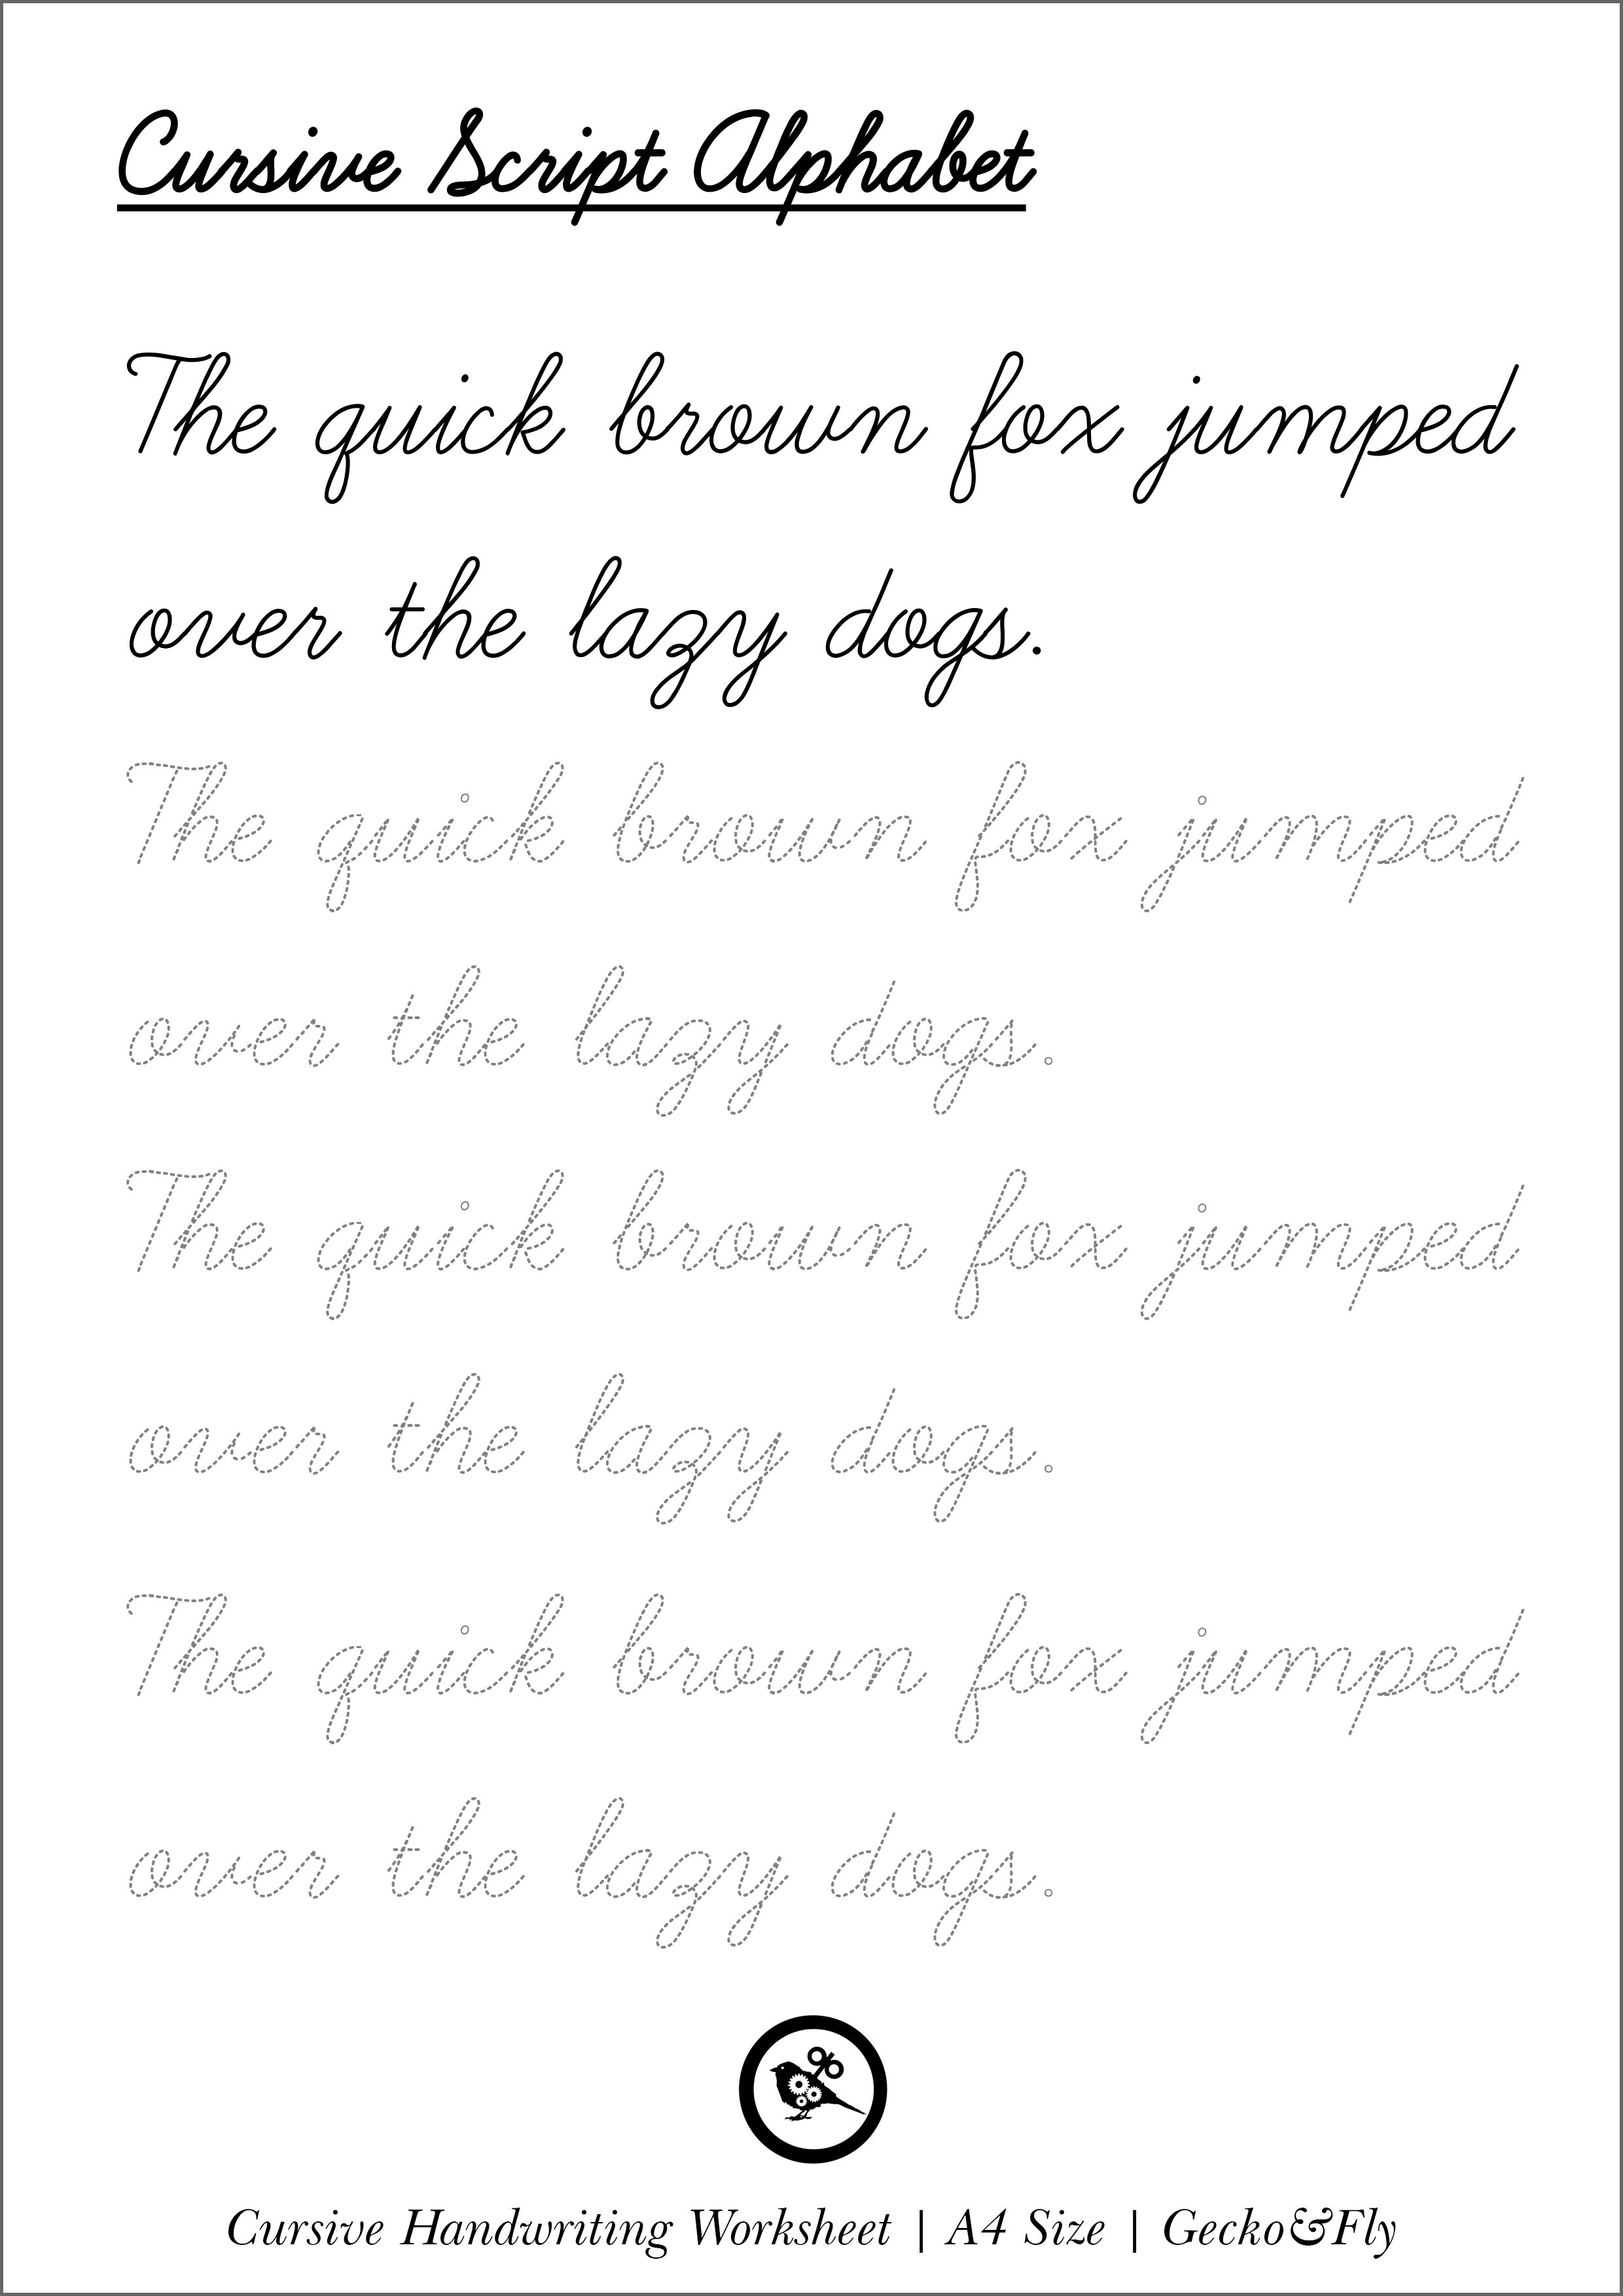
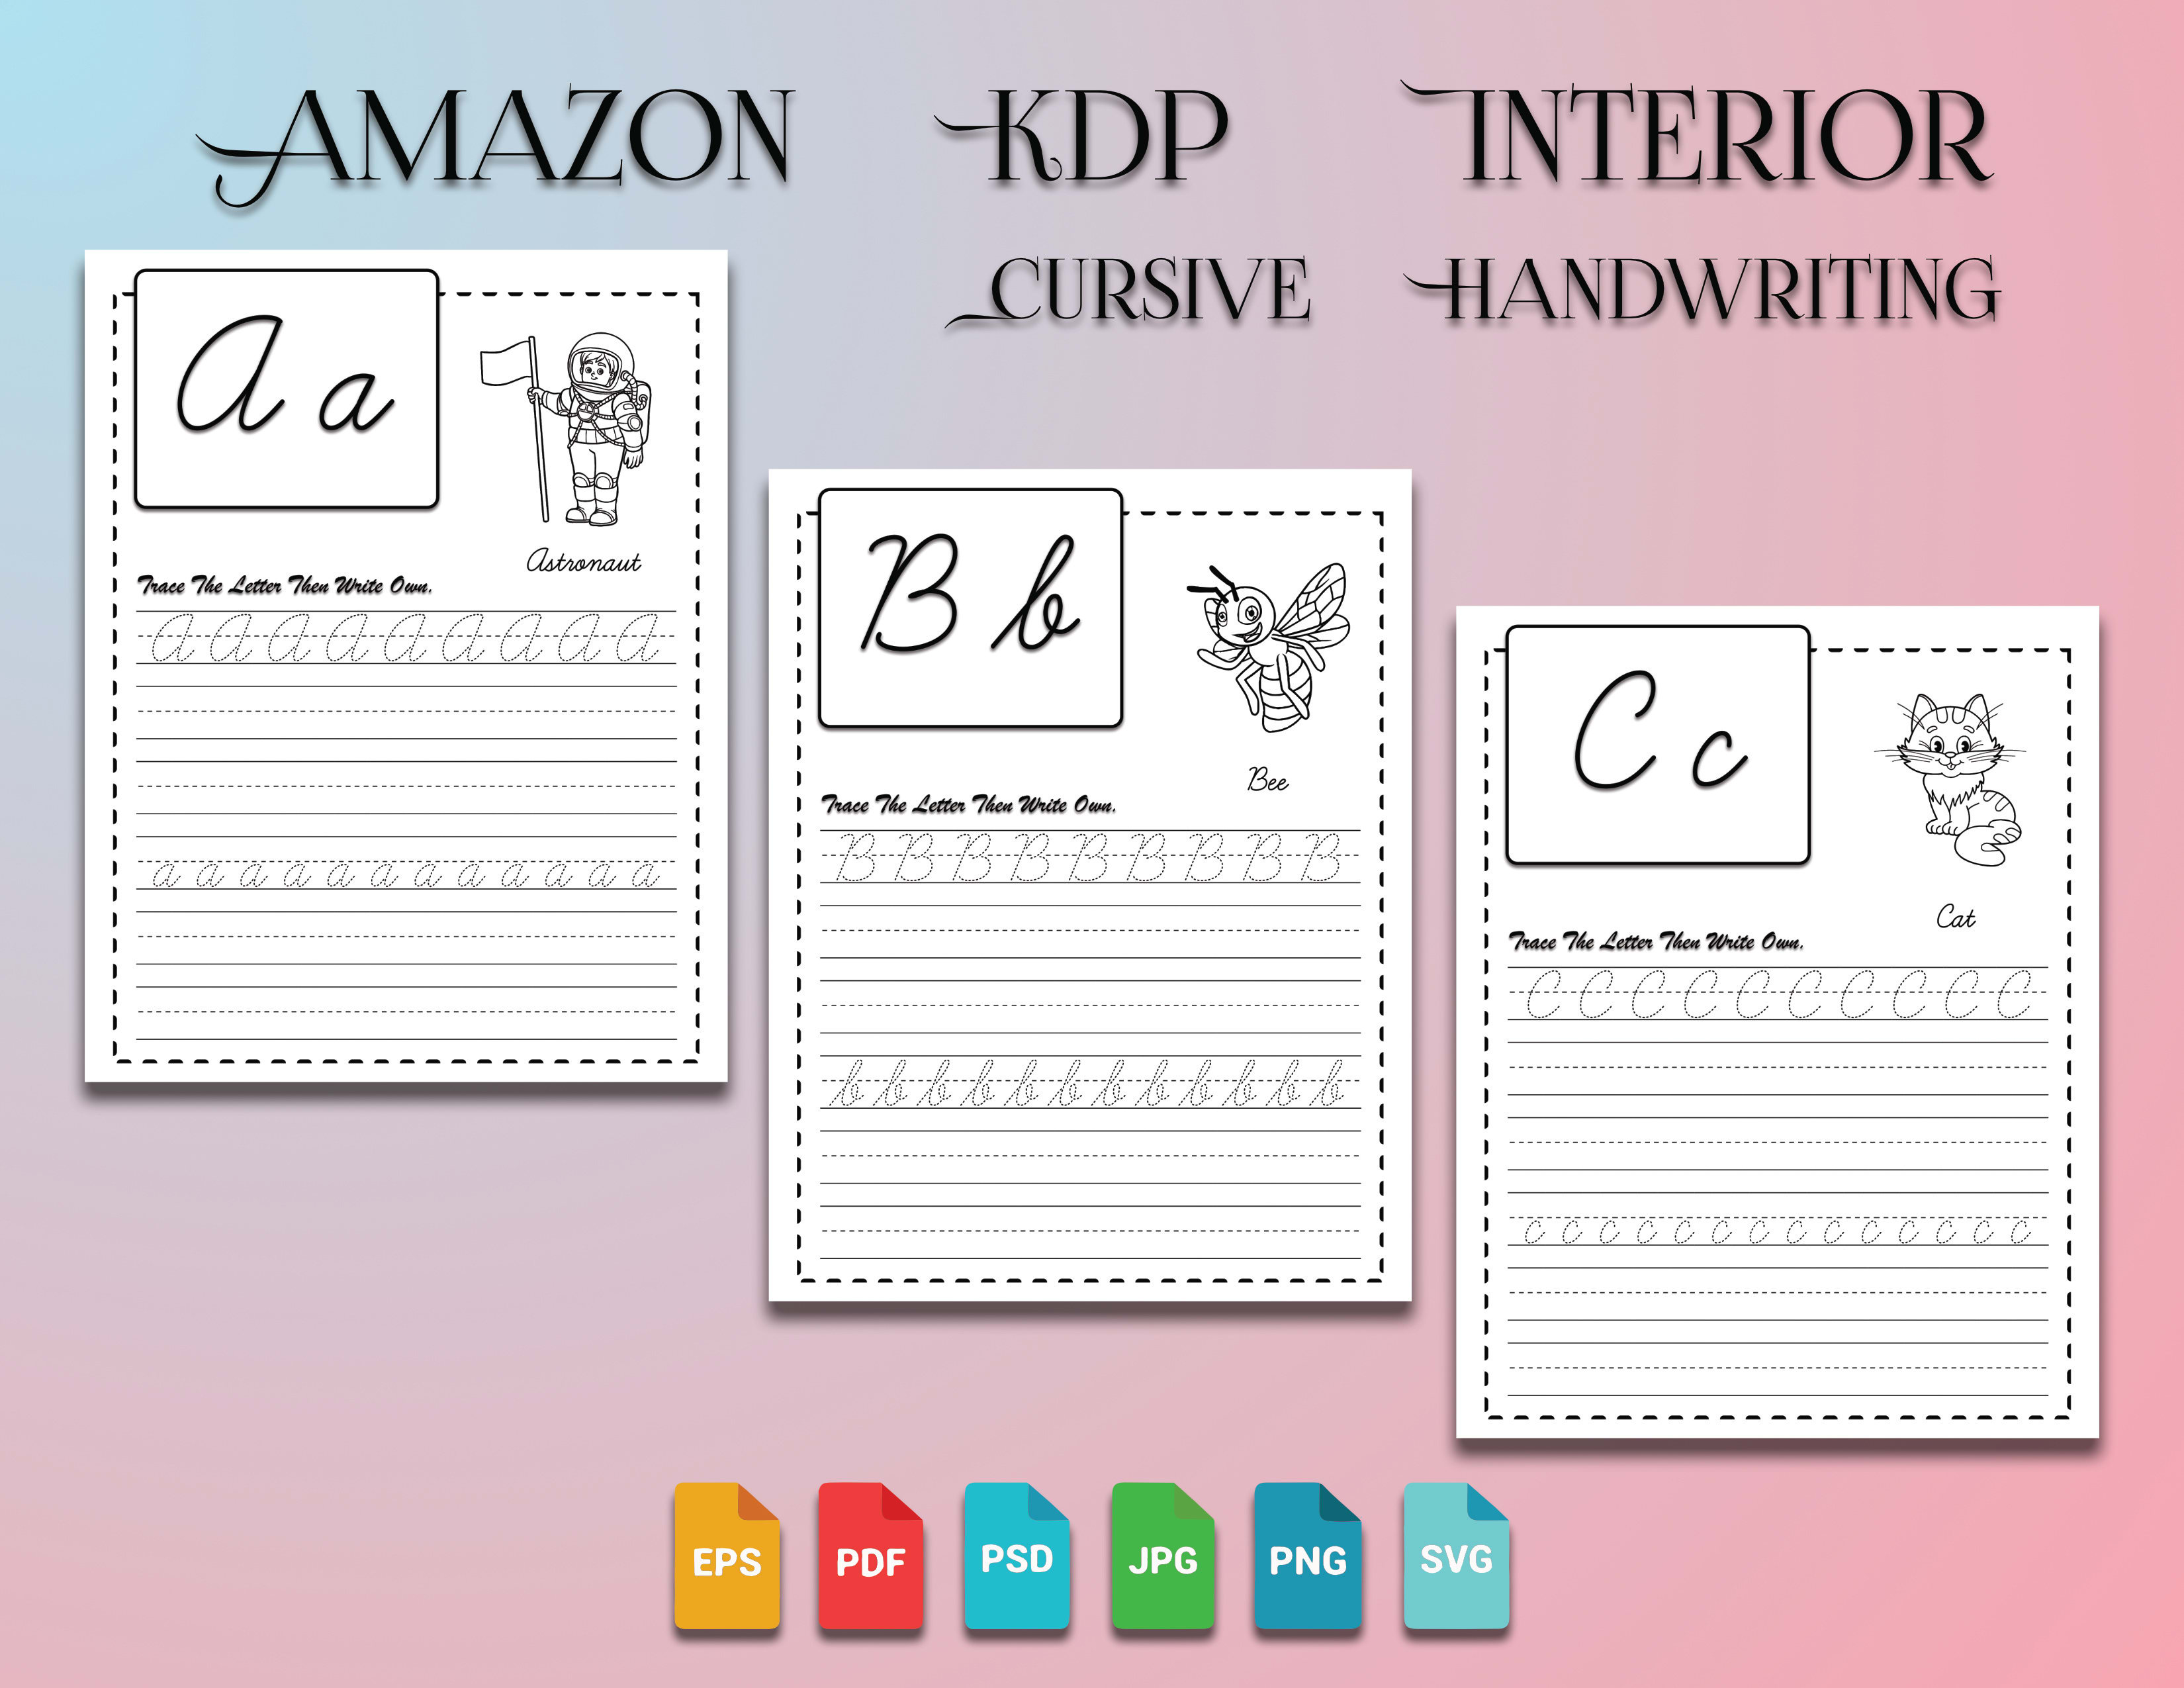
Here is what nobody tells you: a child who writes sloppily often cannot see the problem. Their brain processes the motor output, but the feedback loop is weak. They genuinely believe their "b" looks like a "b" and not a "lopsided balloon." So when you hand them a generic worksheet, they practice the same errors fifty times. That is not practice. That is cementing bad habits. The fix is deceptively simple: use worksheets that force self-correction, not blind repetition. I look for sheets that have a "check your work" box at the bottom or a built-in self-assessment star rating. One specific tactic that works wonders is the "ghost letter" method—a faint dotted outline of the letter that the child traces, then immediately writes freehand beside it. The contrast is instant. They see their own wobbles against the stable model. That visual comparison teaches the hand faster than any verbal correction ever could.
Why Grip and Pencil Pressure Are the Hidden Culprits
You can have the most beautiful alphabet model in the world, but if a child is strangling the pencil with a death grip, the letters will look like a seismograph reading during an earthquake. I have watched kids go from illegible to legible in two weeks simply by switching to a worksheet that emphasizes pressure control. The best sheets include shading exercises—light, medium, and heavy strokes—before any letter is attempted. This trains the intrinsic hand muscles to modulate force. Look for printable worksheets to improve handwriting that include a "warm-up zone" of zigzags and loops before the alphabet. That warm-up is non-negotiable for kids with sensory processing issues or low muscle tone.
Letter Spacing: The Skill Nobody Teaches
Everyone obsesses over how the letter looks. Almost nobody teaches how much space to leave between words. That is why you get the "run-on sentence" effect in handwriting. A specific fix that works: the "finger space" worksheet. The child writes a word, places their index finger next to it, and then starts the next word. The worksheet has a visual cue—a tiny hand icon—reminding them to pause. This single adjustment often cleans up messy writing more than any letter-tracing drill ever will. Spacing is the invisible architecture of legibility.
What to Actually Look for in a Printable Worksheet (and What to Throw Away)
Not all printables are created equal. I have sorted through hundreds of them, and most belong in the recycling bin. Here is a quick cheat sheet based on what actually works in classrooms and homes. Use this as your filter before you hit "print."
| Feature | What to Look For | What to Avoid |
|---|---|---|
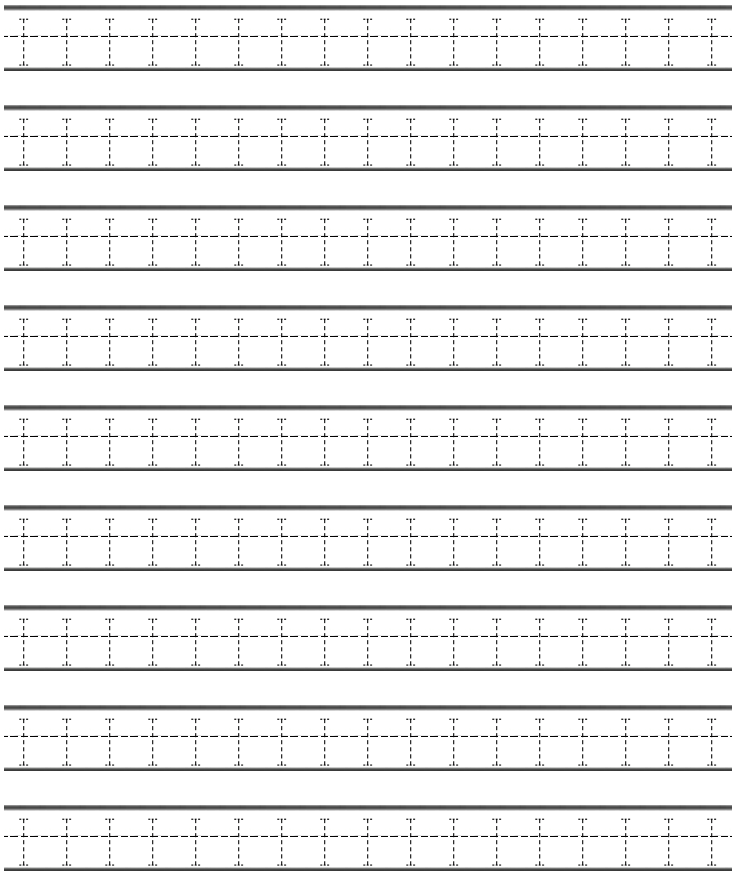
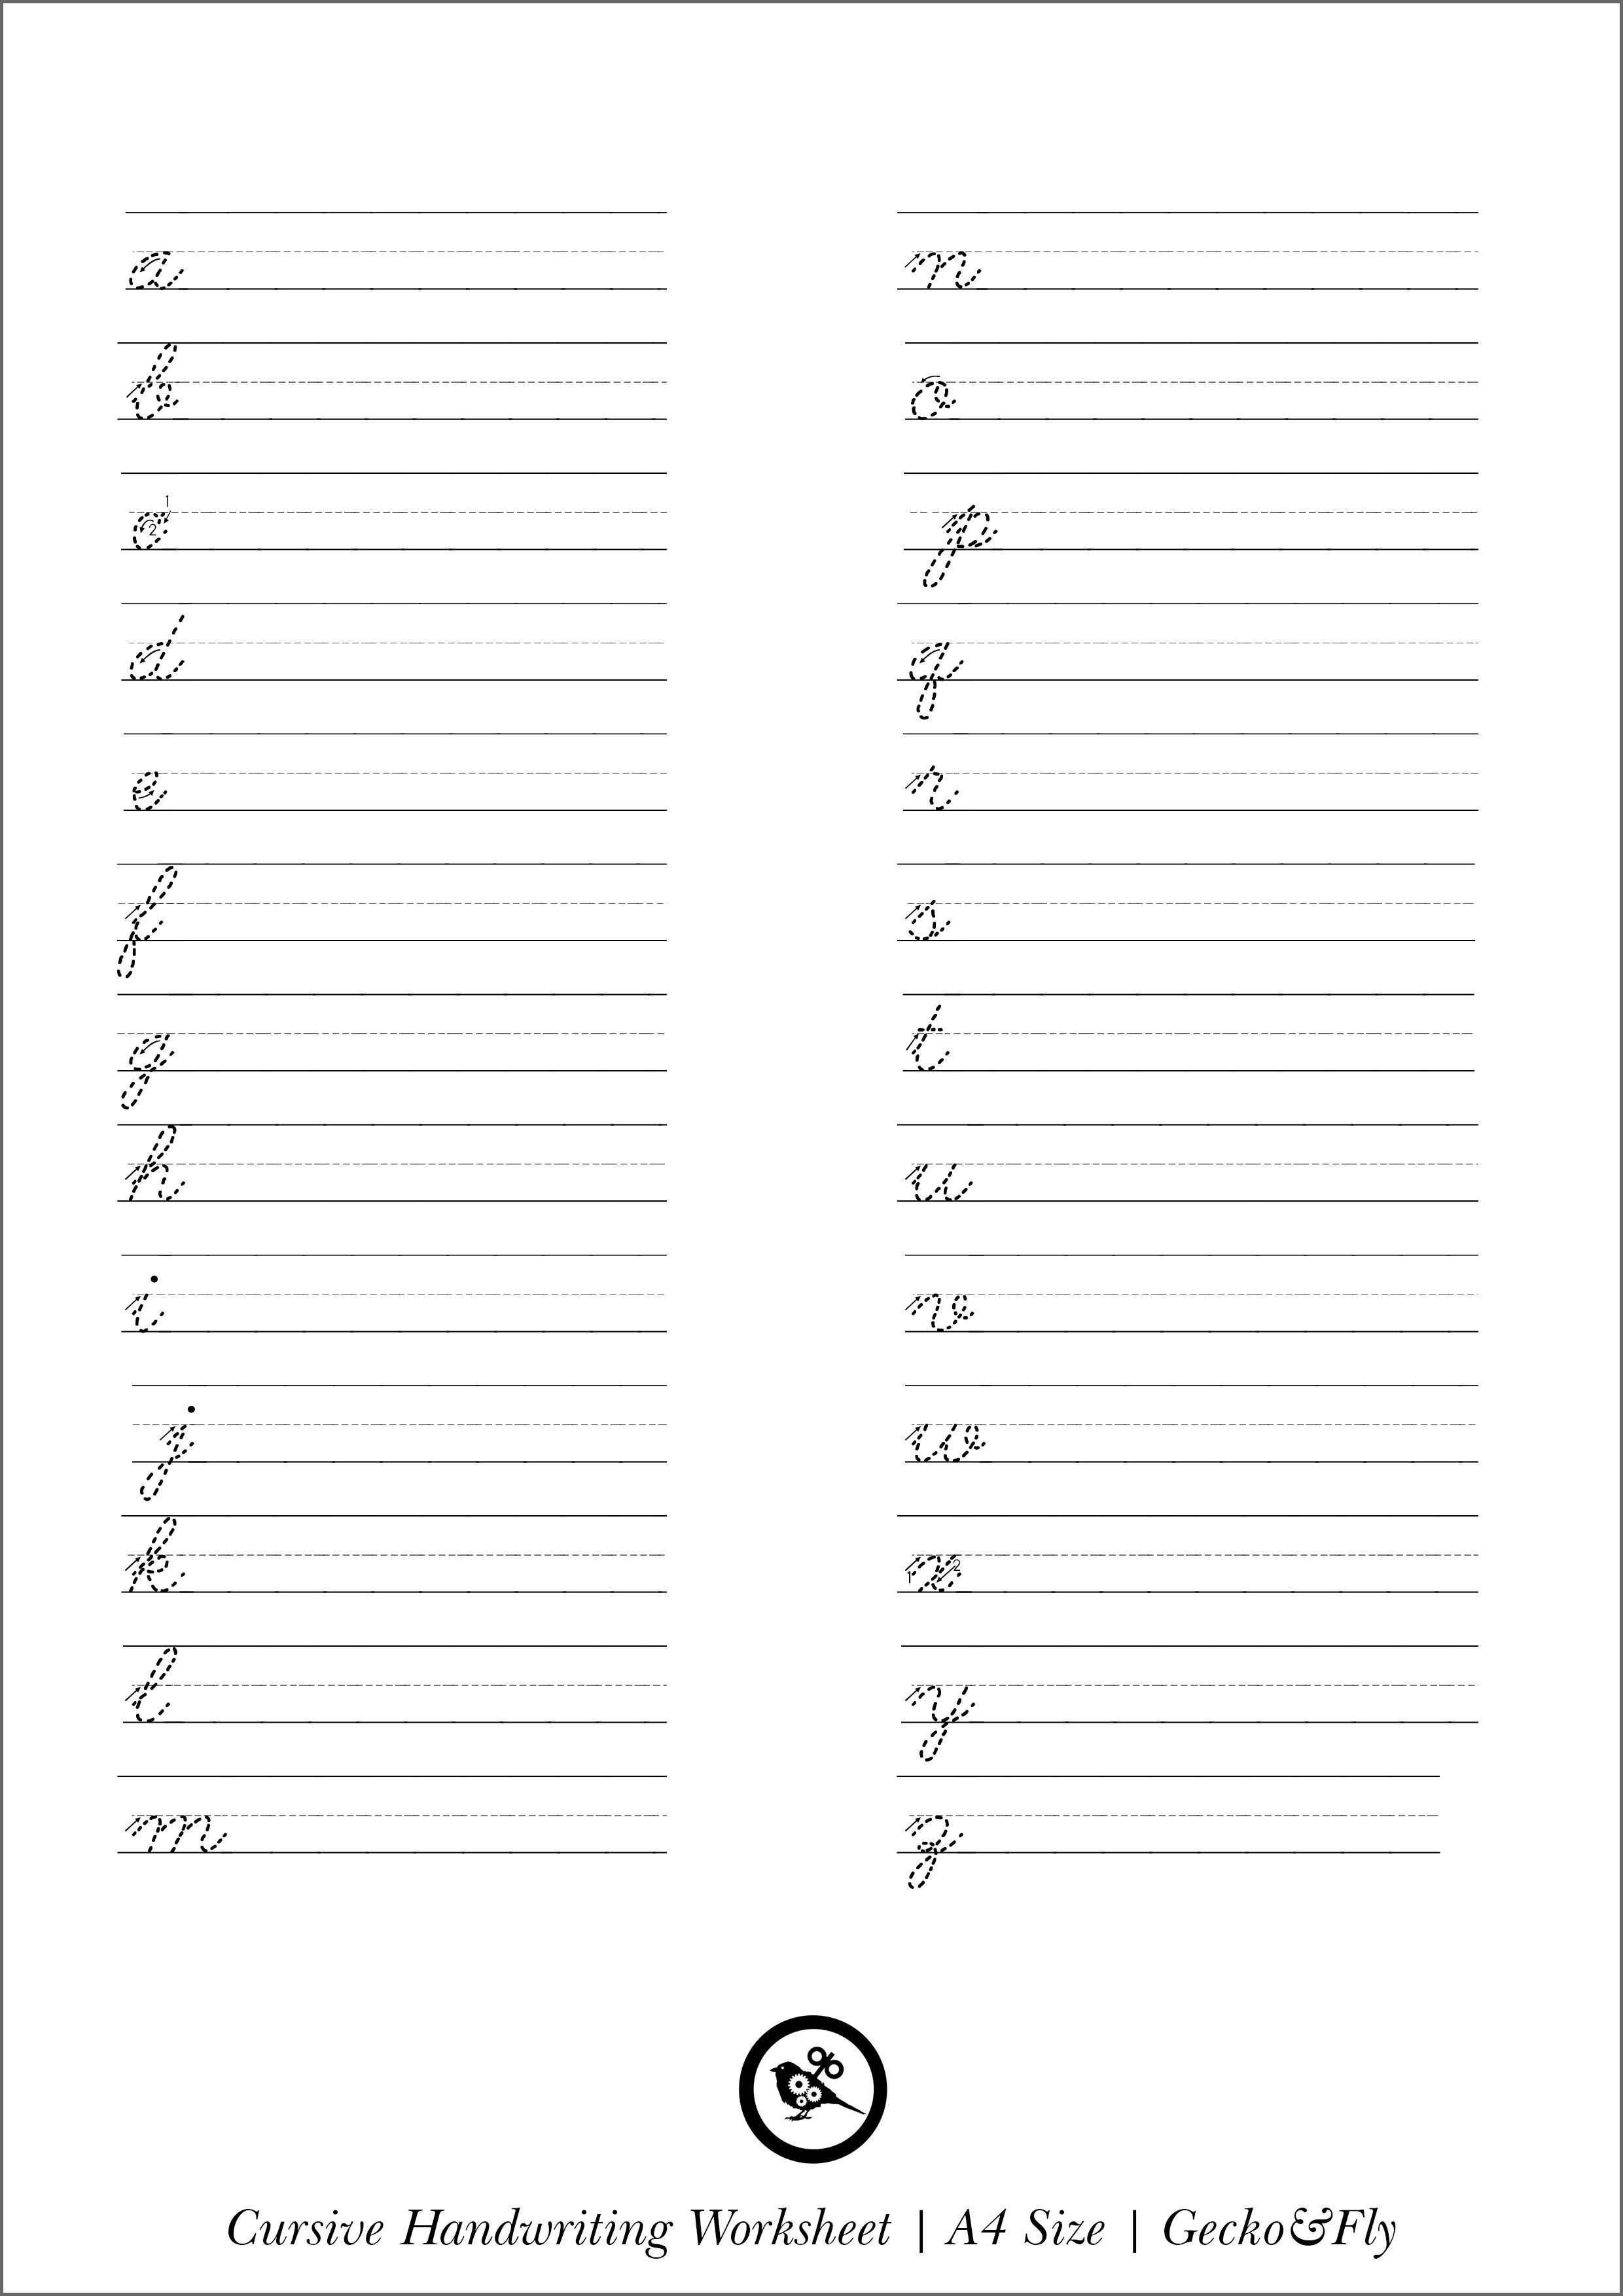
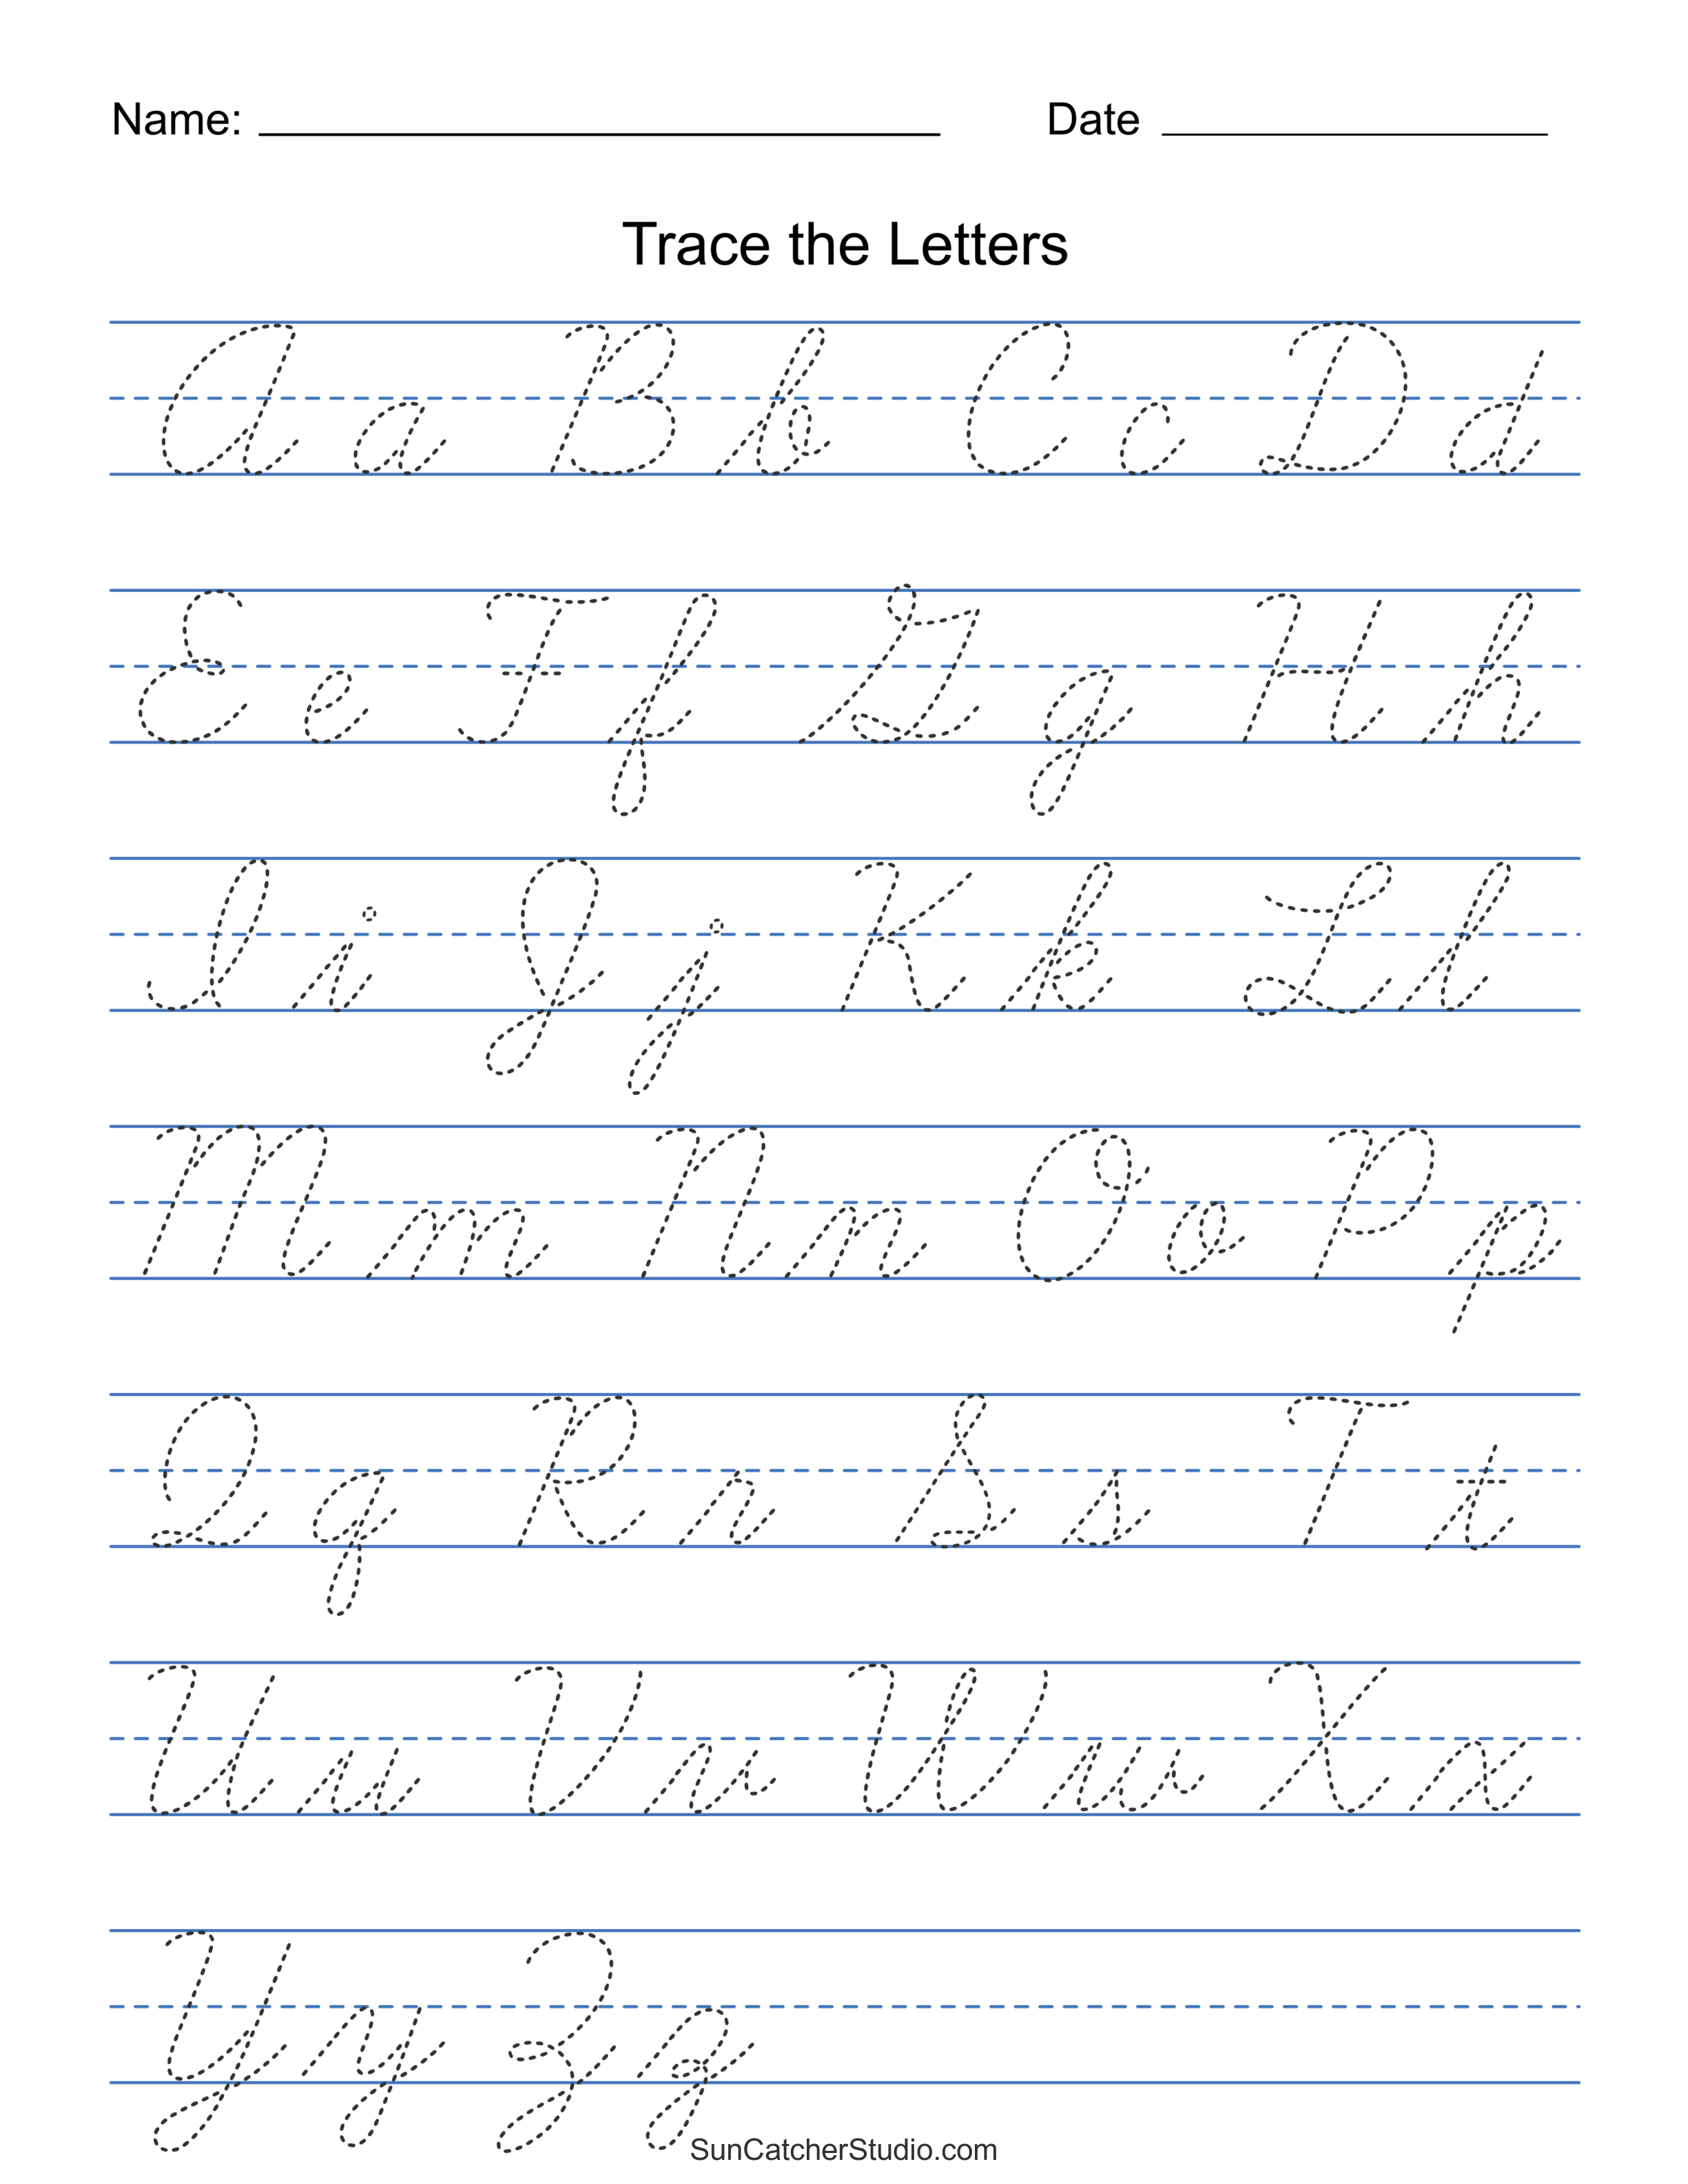
| Line style | Three-lined paper with a dashed midline (sky, grass, dirt method) | Single solid lines or unlined pages for beginners |
| Letter size | Large model letters (at least 1 inch tall) for tracing | Tiny font that forces the child to squeeze their grip |
| Self-check cue | A "circle your best letter" prompt or a smiley face rubric | Sheets with no reflection or evaluation step |
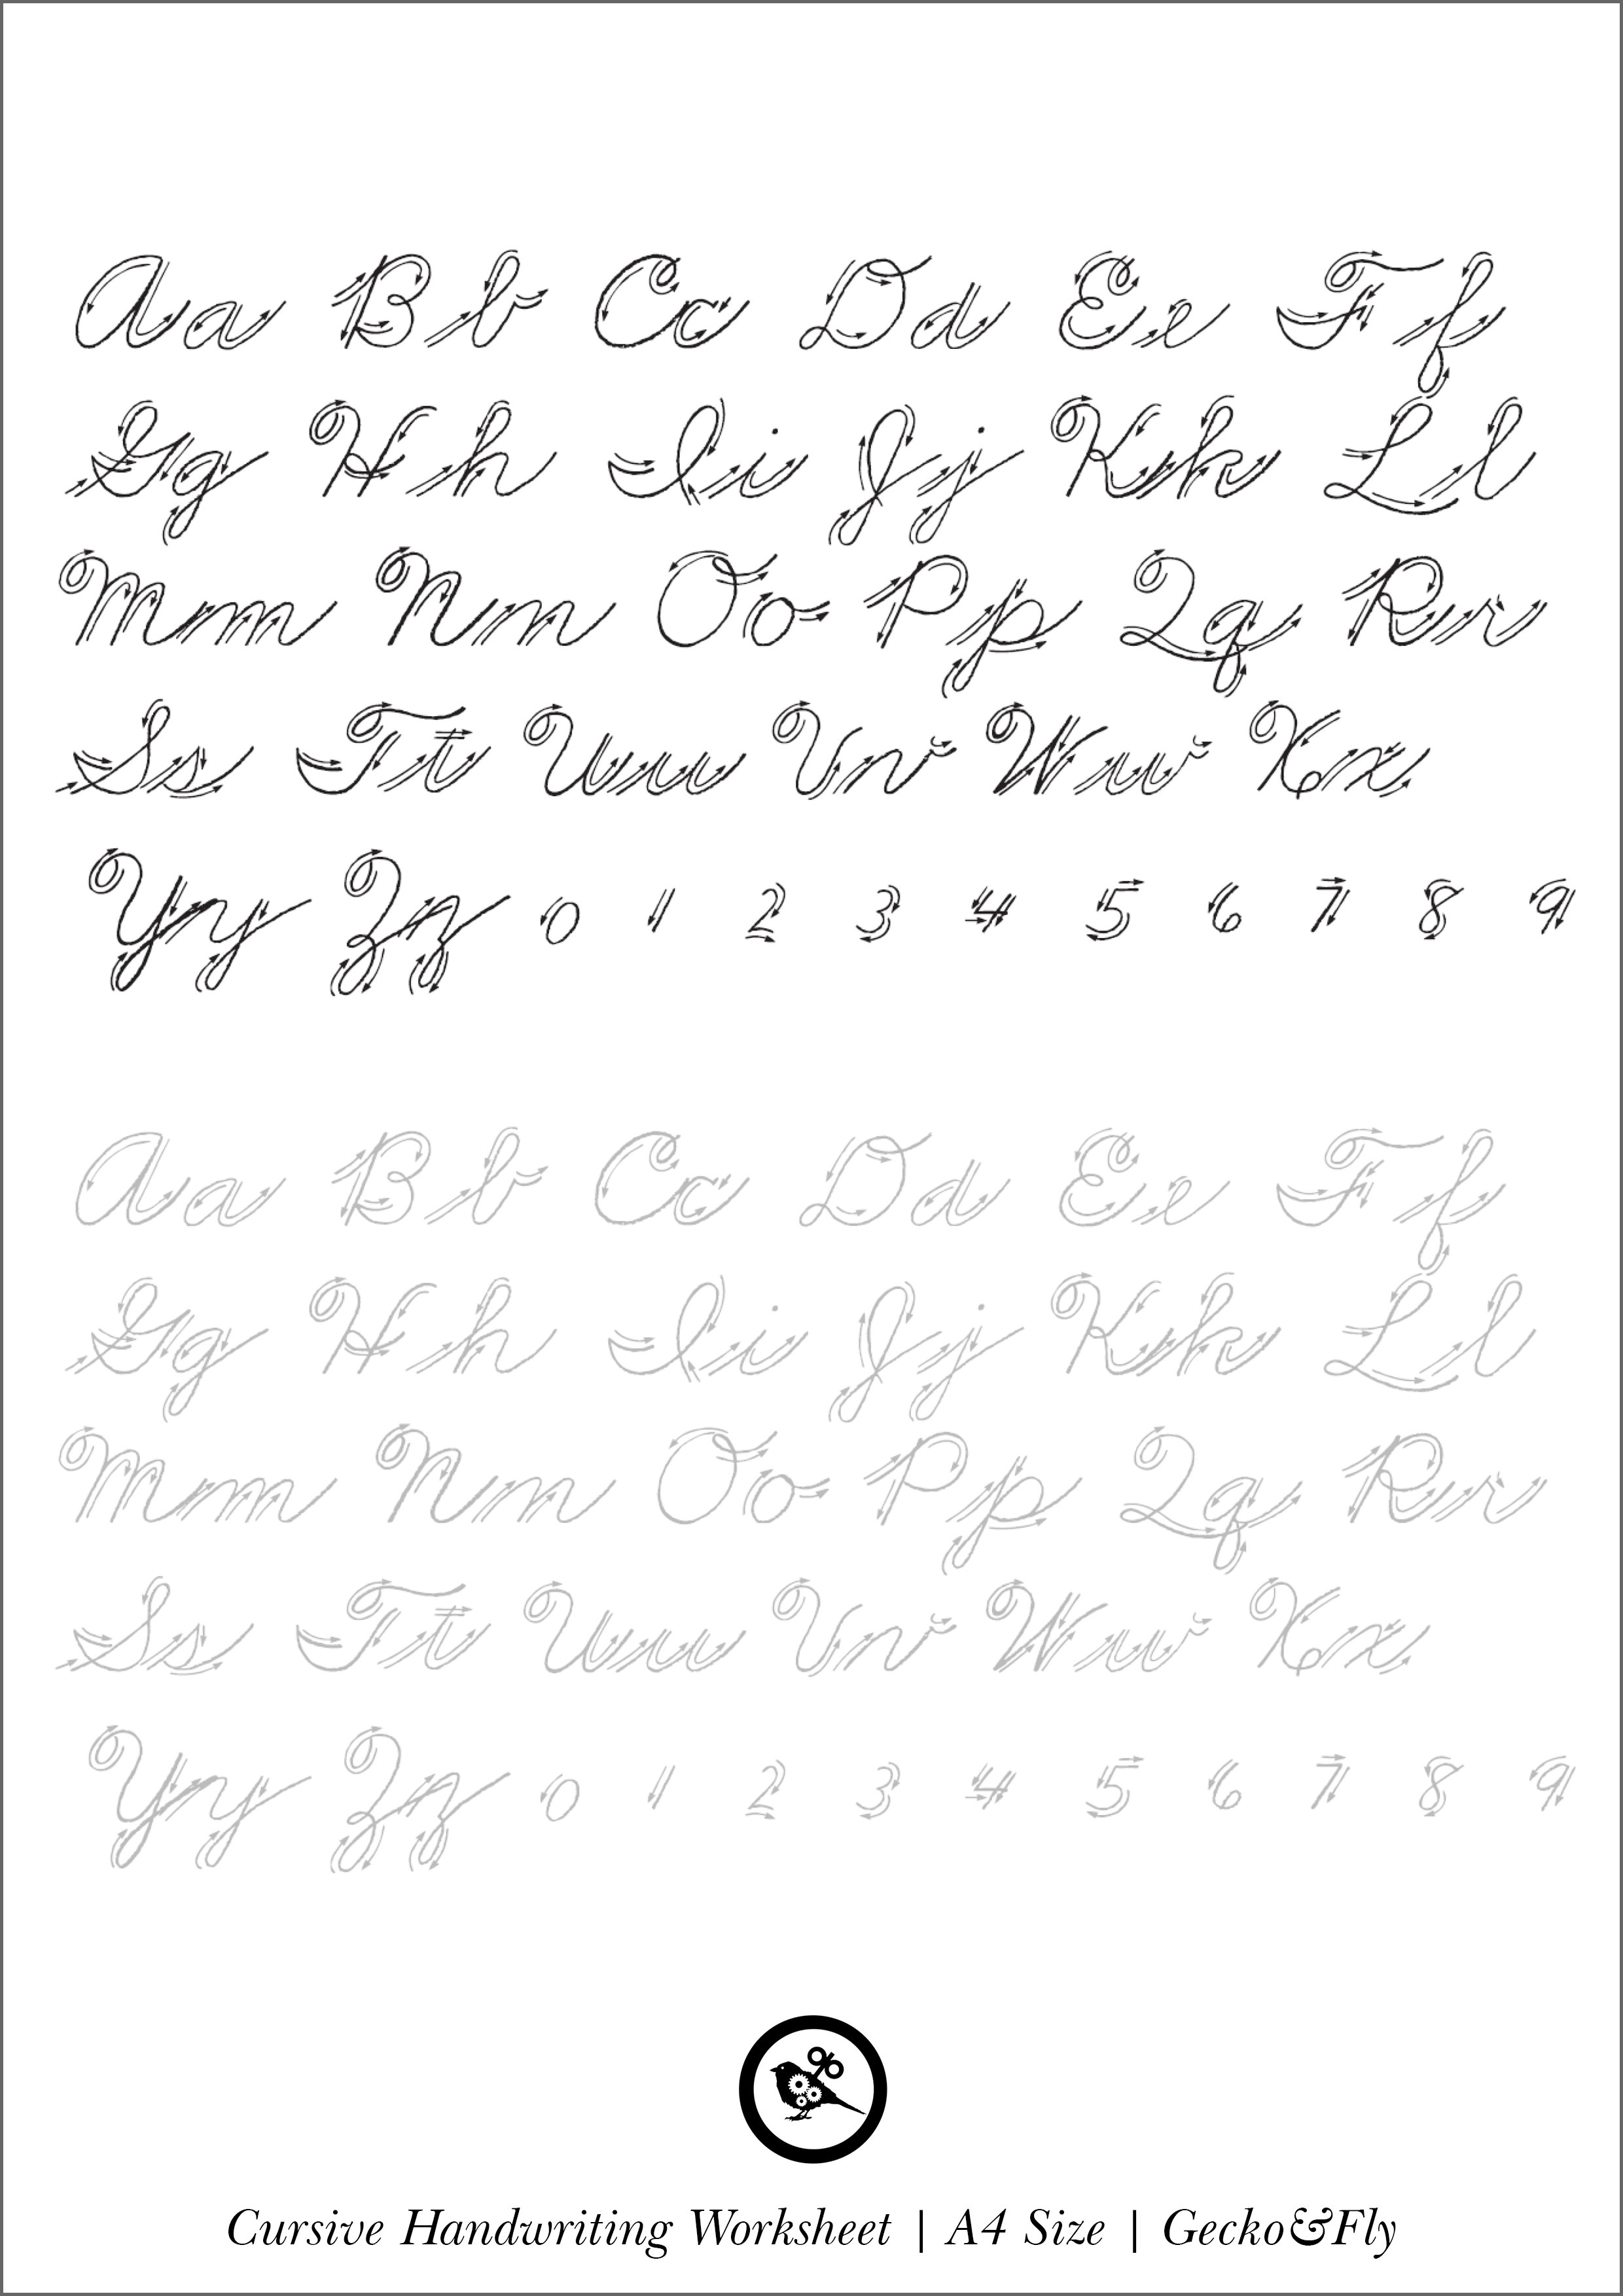
| Stroke order | Numbered arrows showing direction (top to bottom, left to right) | Dotted letters with no directional guidance |
| Variety | Mix of uppercase, lowercase, words, and short sentences | Only isolated letters repeated in rows |
How to Use the "One Line a Day" Rule
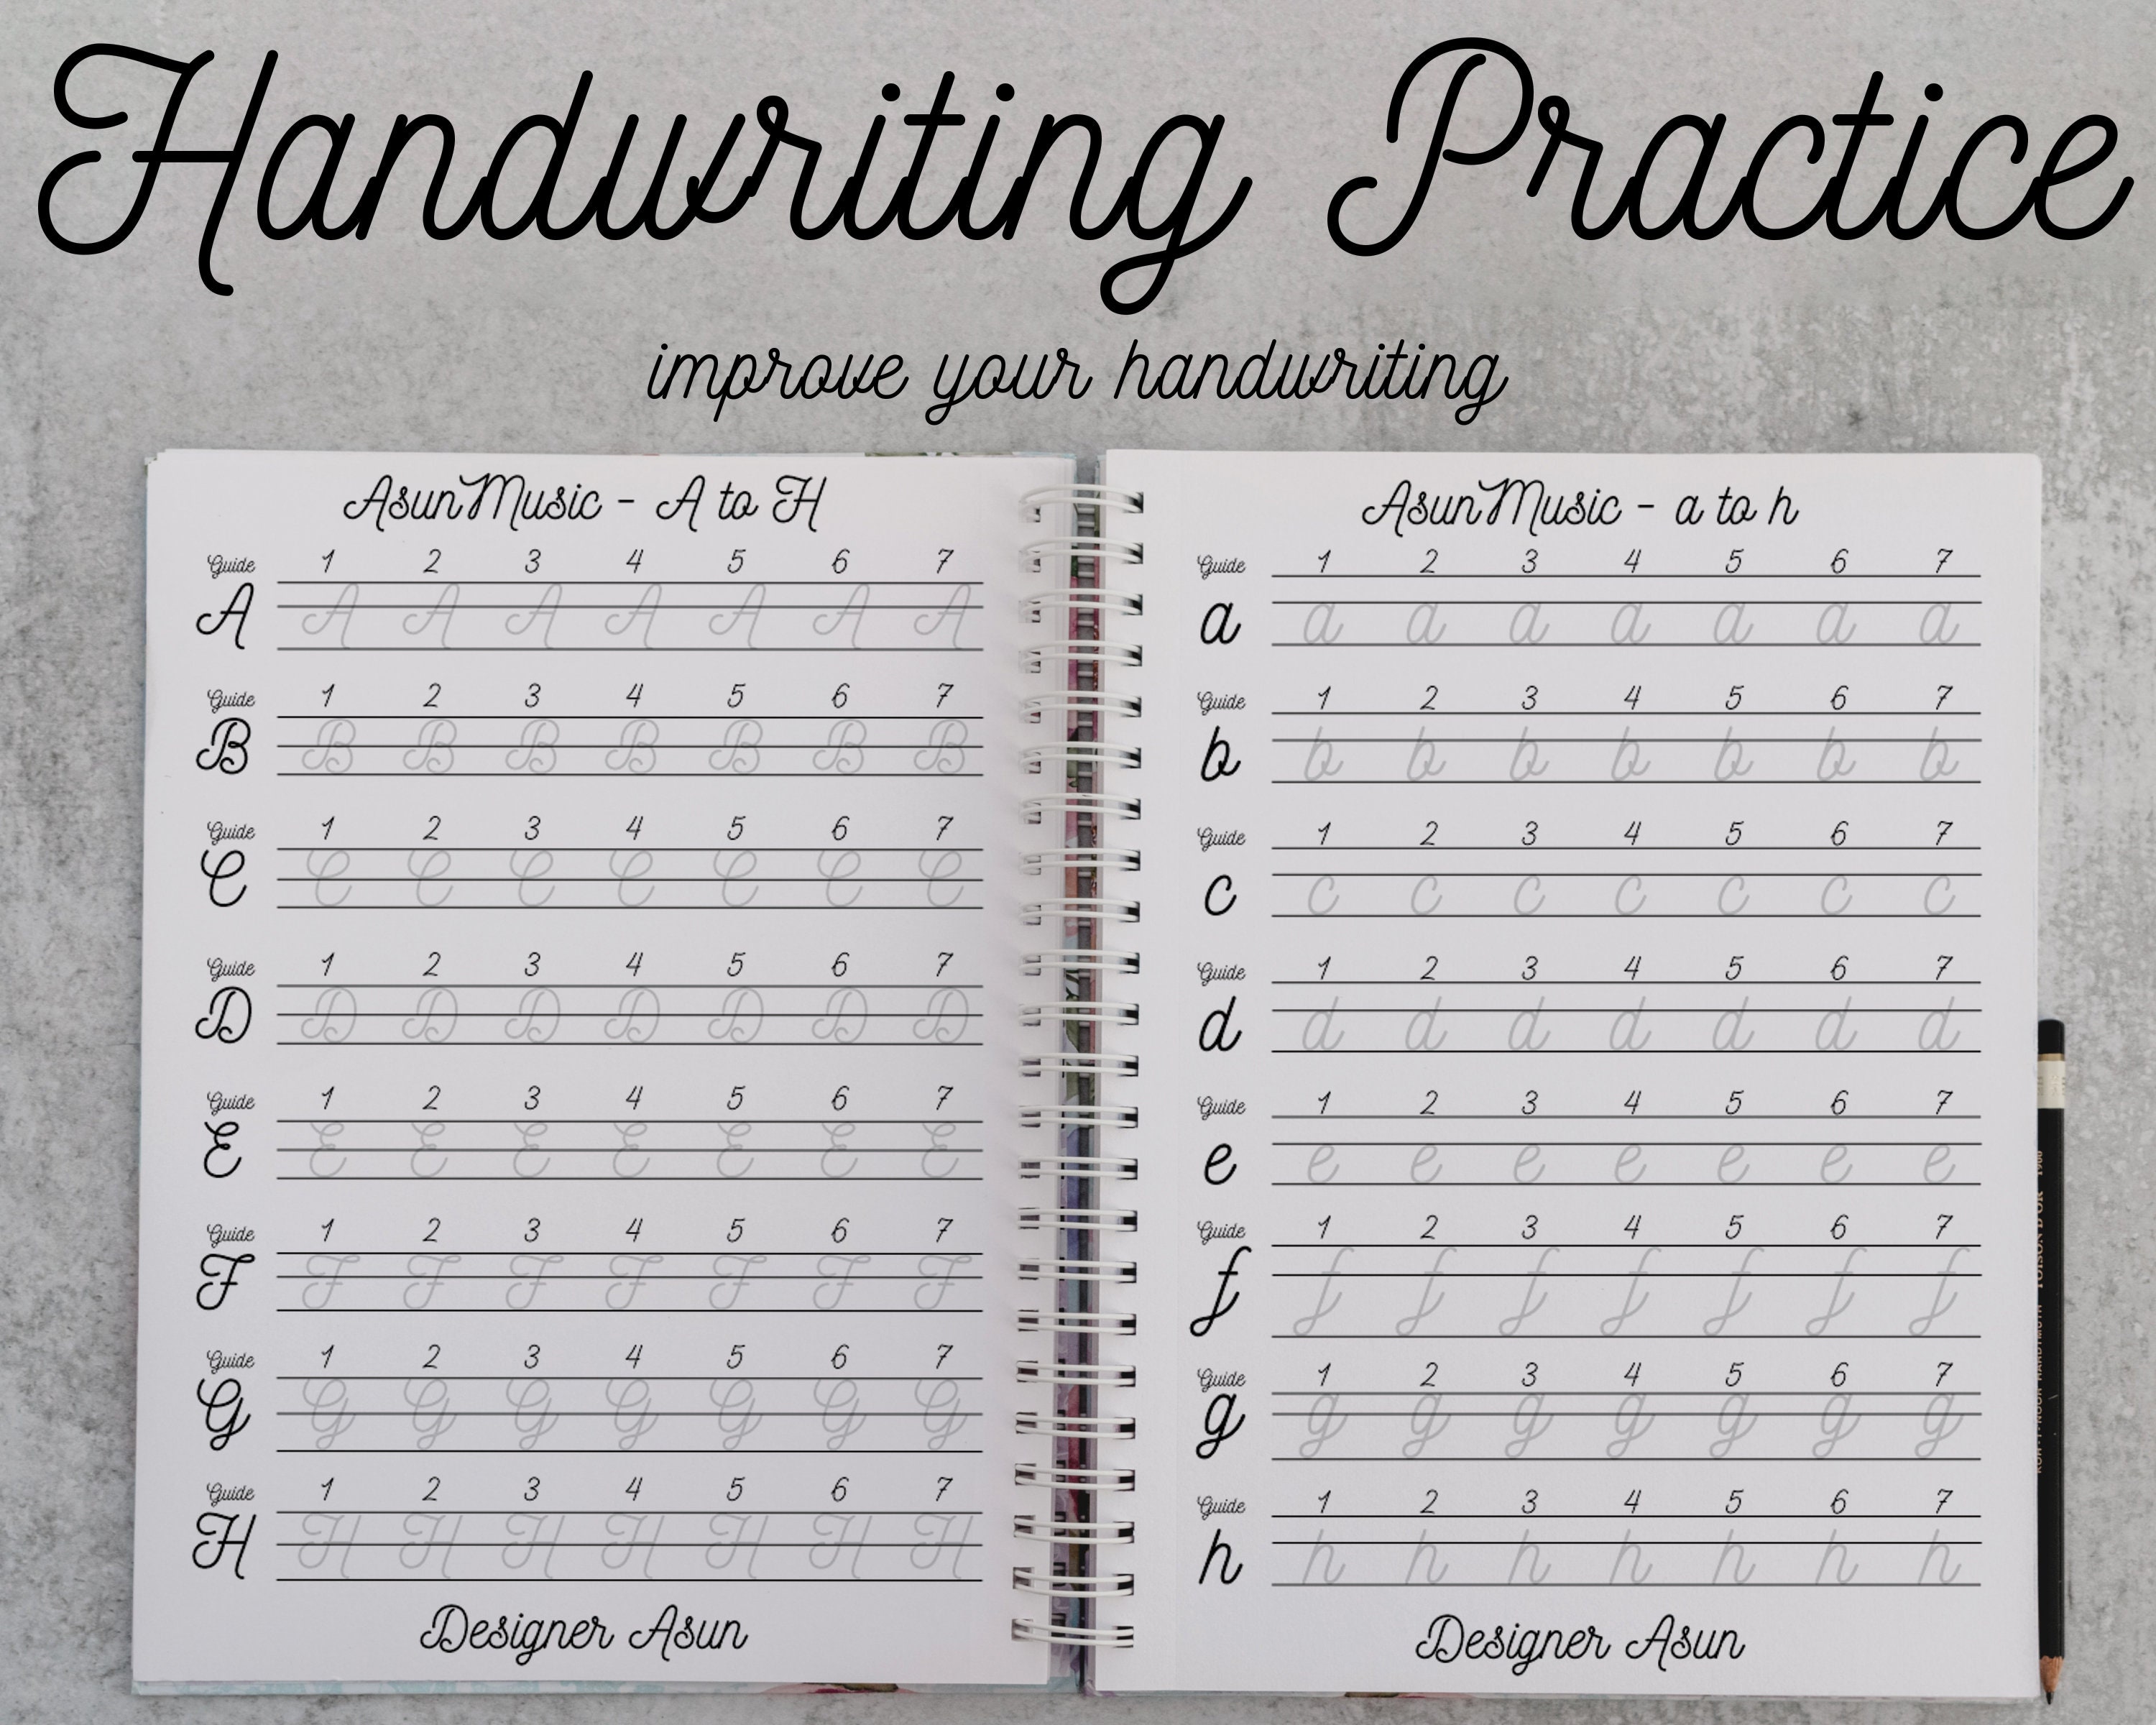
Resist the urge to print twenty pages and assign them all at once. That is a recipe for tears and burnout. Instead, use the "one line a day" rule: the child completes exactly one row of letters or one short sentence per session. That is it. The goal is quality of the line, not quantity of the page. A single perfectly formed row of five letters teaches the hand more than a sloppy page of thirty. Over a month, that is thirty focused sessions with zero resentment. This slow, deliberate approach is what actually builds muscle memory that sticks.
When to Fold and When to Hold
There is a moment every parent and teacher recognizes: the child's hand starts shaking, the pencil drops, or the letters suddenly look like hieroglyphics. That is physical fatigue, not laziness. Stop immediately. Handwriting is a fine-motor skill, and small hand muscles fatigue fast. A good rule of thumb is five minutes of focused work per age year (so 7 minutes for a 7-year-old). If you are using printable worksheets to improve handwriting, set a timer. When the timer dings, put the pencil down. The brain consolidates the learning during the rest, not during the work. That is the secret most practice plans miss entirely.
What You Actually Came Here For
You didn't stumble onto this page by accident. Somewhere in the back of your mind, you already knew that small, consistent practice could change something real—whether it's your child's confidence before a test, your own frustration with messy notes, or the quiet hope that handwriting doesn't have to be a lost art. This isn't about perfection. It's about giving yourself or someone you love a tool that works quietly, without pressure, and builds skill one line at a time. That kind of progress matters far more than any quick fix ever could.
Maybe you're thinking, But will a few sheets really make a difference? That doubt is normal—and honestly, it's the reason most people stop before they start. The secret isn't in the paper itself; it's in showing up, even for five minutes, even when it feels clumsy. The worksheets are just the guide. You bring the patience, and the results will follow in ways that surprise you.
So here's your next move: take a moment to browse the gallery of printable worksheets to improve handwriting you've seen here. Bookmark this page for the days when you need a fresh start, or share it with a friend who's been quietly struggling. No sign-ups, no pressure—just a resource waiting when you're ready. Because the only step that really matters is the one you take right now.