You've watched your kid grip those safety scissors backwards for the third time this week, and the "practice" sheets you printed are already in shreds. Real talk — most parents and teachers are handed printable cutting worksheets that look good but actually frustrate little hands. The problem isn't your child's fine motor skills. It's the worksheets themselves.
Here's the thing nobody tells you: most cutting practice materials are designed by graphic designers, not occupational therapists. They use overly complex shapes, cramped spacing, and paper that's either too flimsy or too thick. Your preschooler isn't failing at cutting — the worksheets are failing them. Right now, while you're reading this, there's a four-year-old somewhere giving up on scissors because a poorly designed star shape made them feel clumsy. That doesn't have to be your kid.
Look — I've been in early childhood education for over a decade, and I've seen what happens when you swap out generic cutting pages for ones built around developmental stages. The difference isn't subtle. Kids stop gripping scissors like they're trying to strangle them. They start cutting with confidence. By the time you finish this article, you'll know exactly which worksheet features matter — and which ones to throw in the recycling bin immediately. No fluff, no theory. Just the practical stuff that actually works.
Why Most Cutting Practice Fails Before It Starts
Here's what nobody tells you about teaching a child to use scissors: grip matters more than the paper. I've watched dozens of parents hand a toddler a pair of safety scissors and a random printout, only to wonder why the kid gets frustrated in thirty seconds. The problem isn't the child. It's the approach. The single biggest mistake is skipping the foundational hand-strengthening exercises that make cutting feel natural instead of like a wrestling match with paper.
When you start with printable cutting worksheets, you're asking a child to coordinate three complex skills simultaneously: holding the scissors correctly, opening and closing the blades with control, and steering the paper with their non-dominant hand. That's a lot. Most three-year-olds haven't even developed the hand separation needed to move their thumb independently from their fingers. So before you print anything, spend a week on simple tearing activities. Let them rip old magazines into strips. Play with play-dough, rolling it into snakes and snipping it with plastic scissors. Yes, this feels like wasting time — but it's the fastest shortcut to actual cutting success.
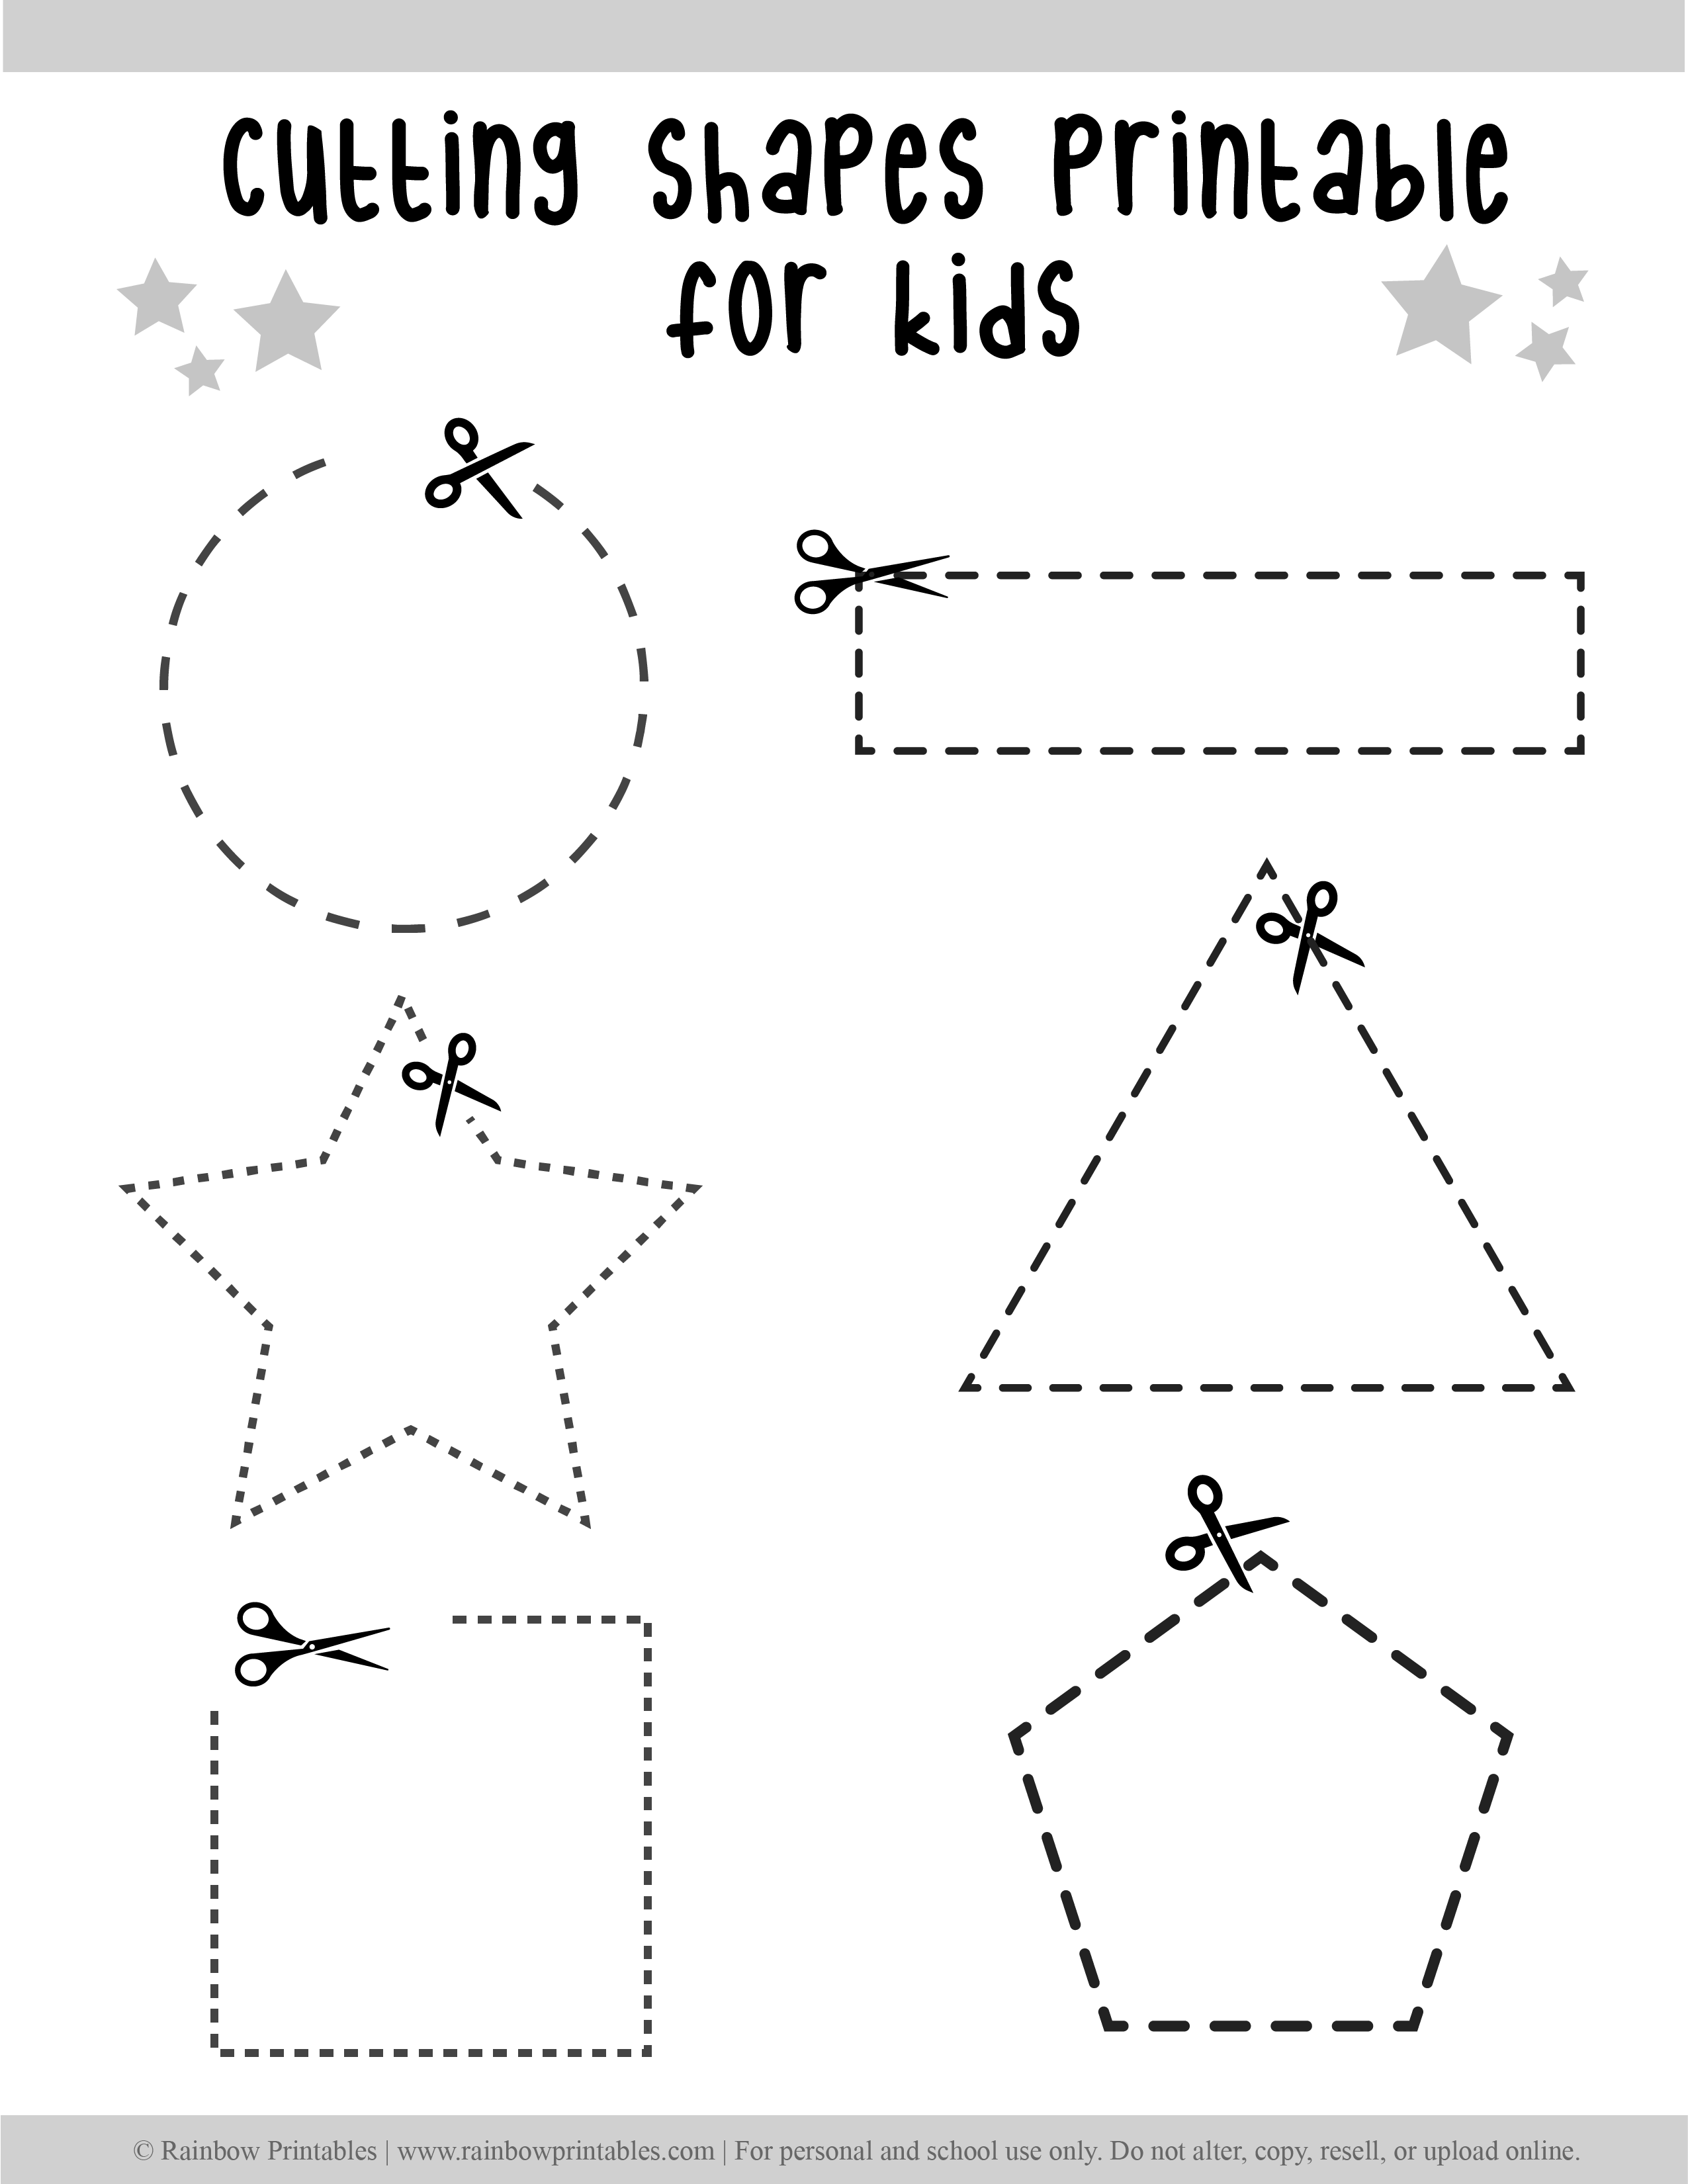
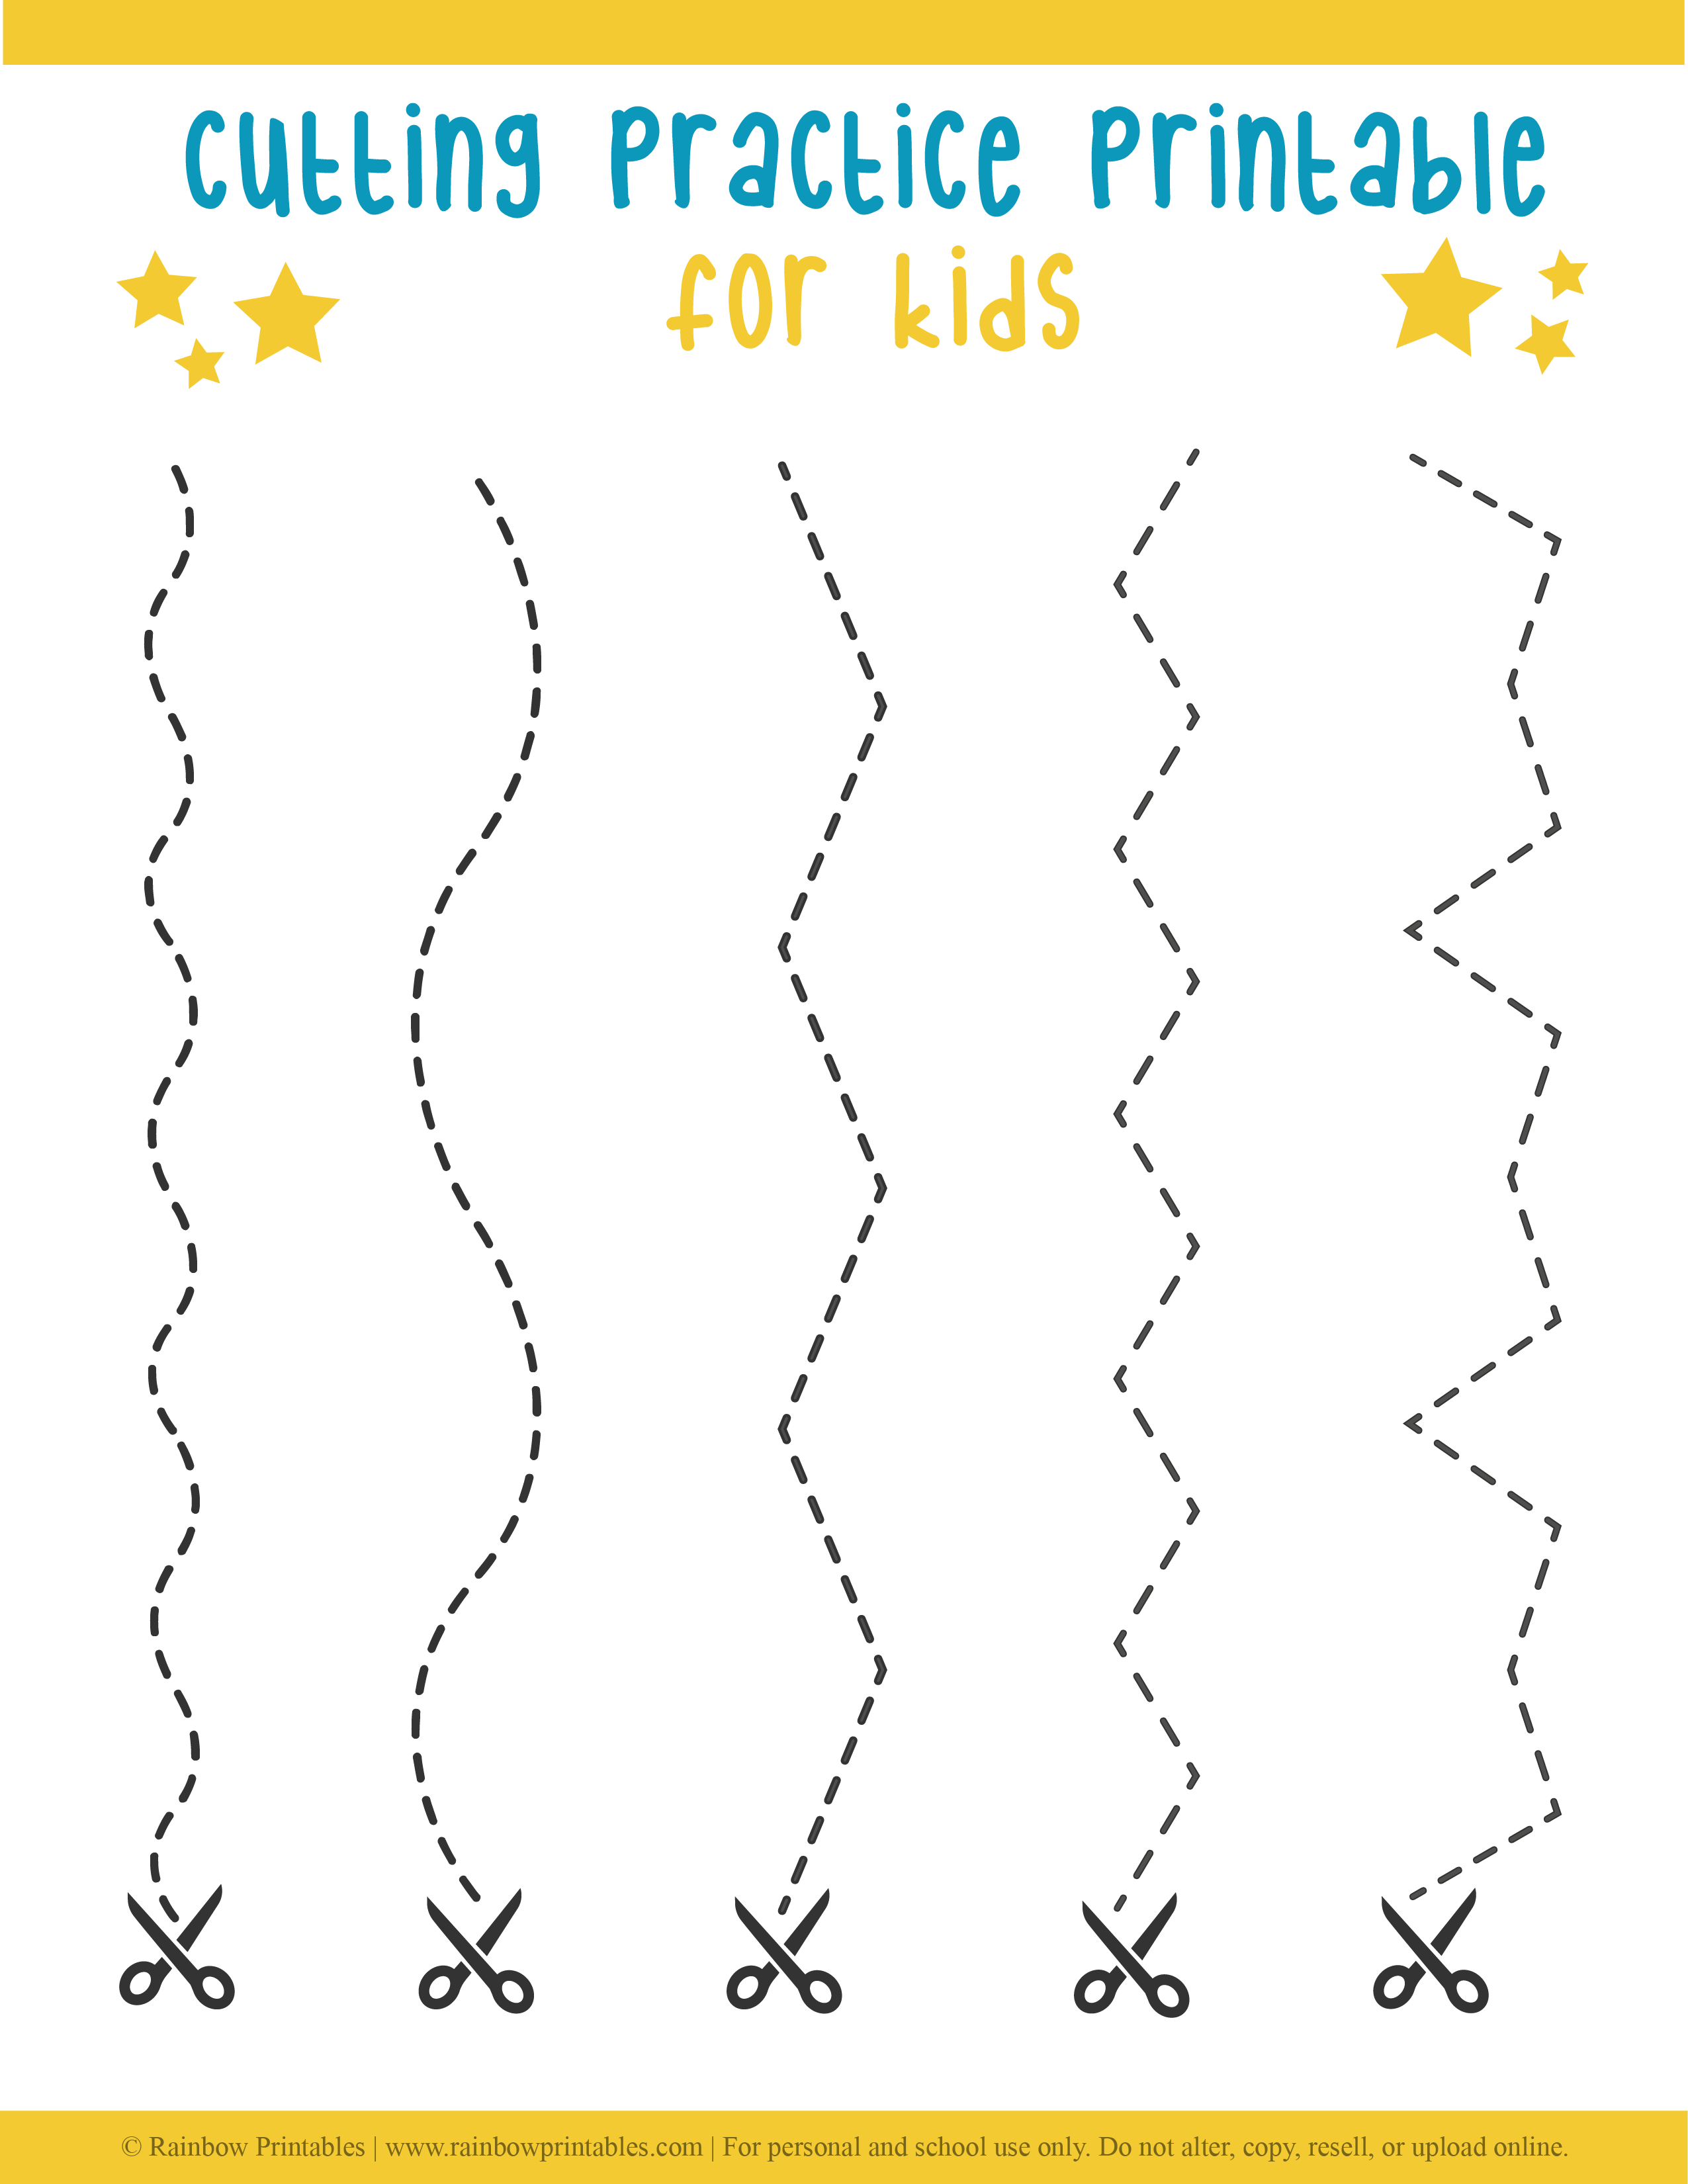
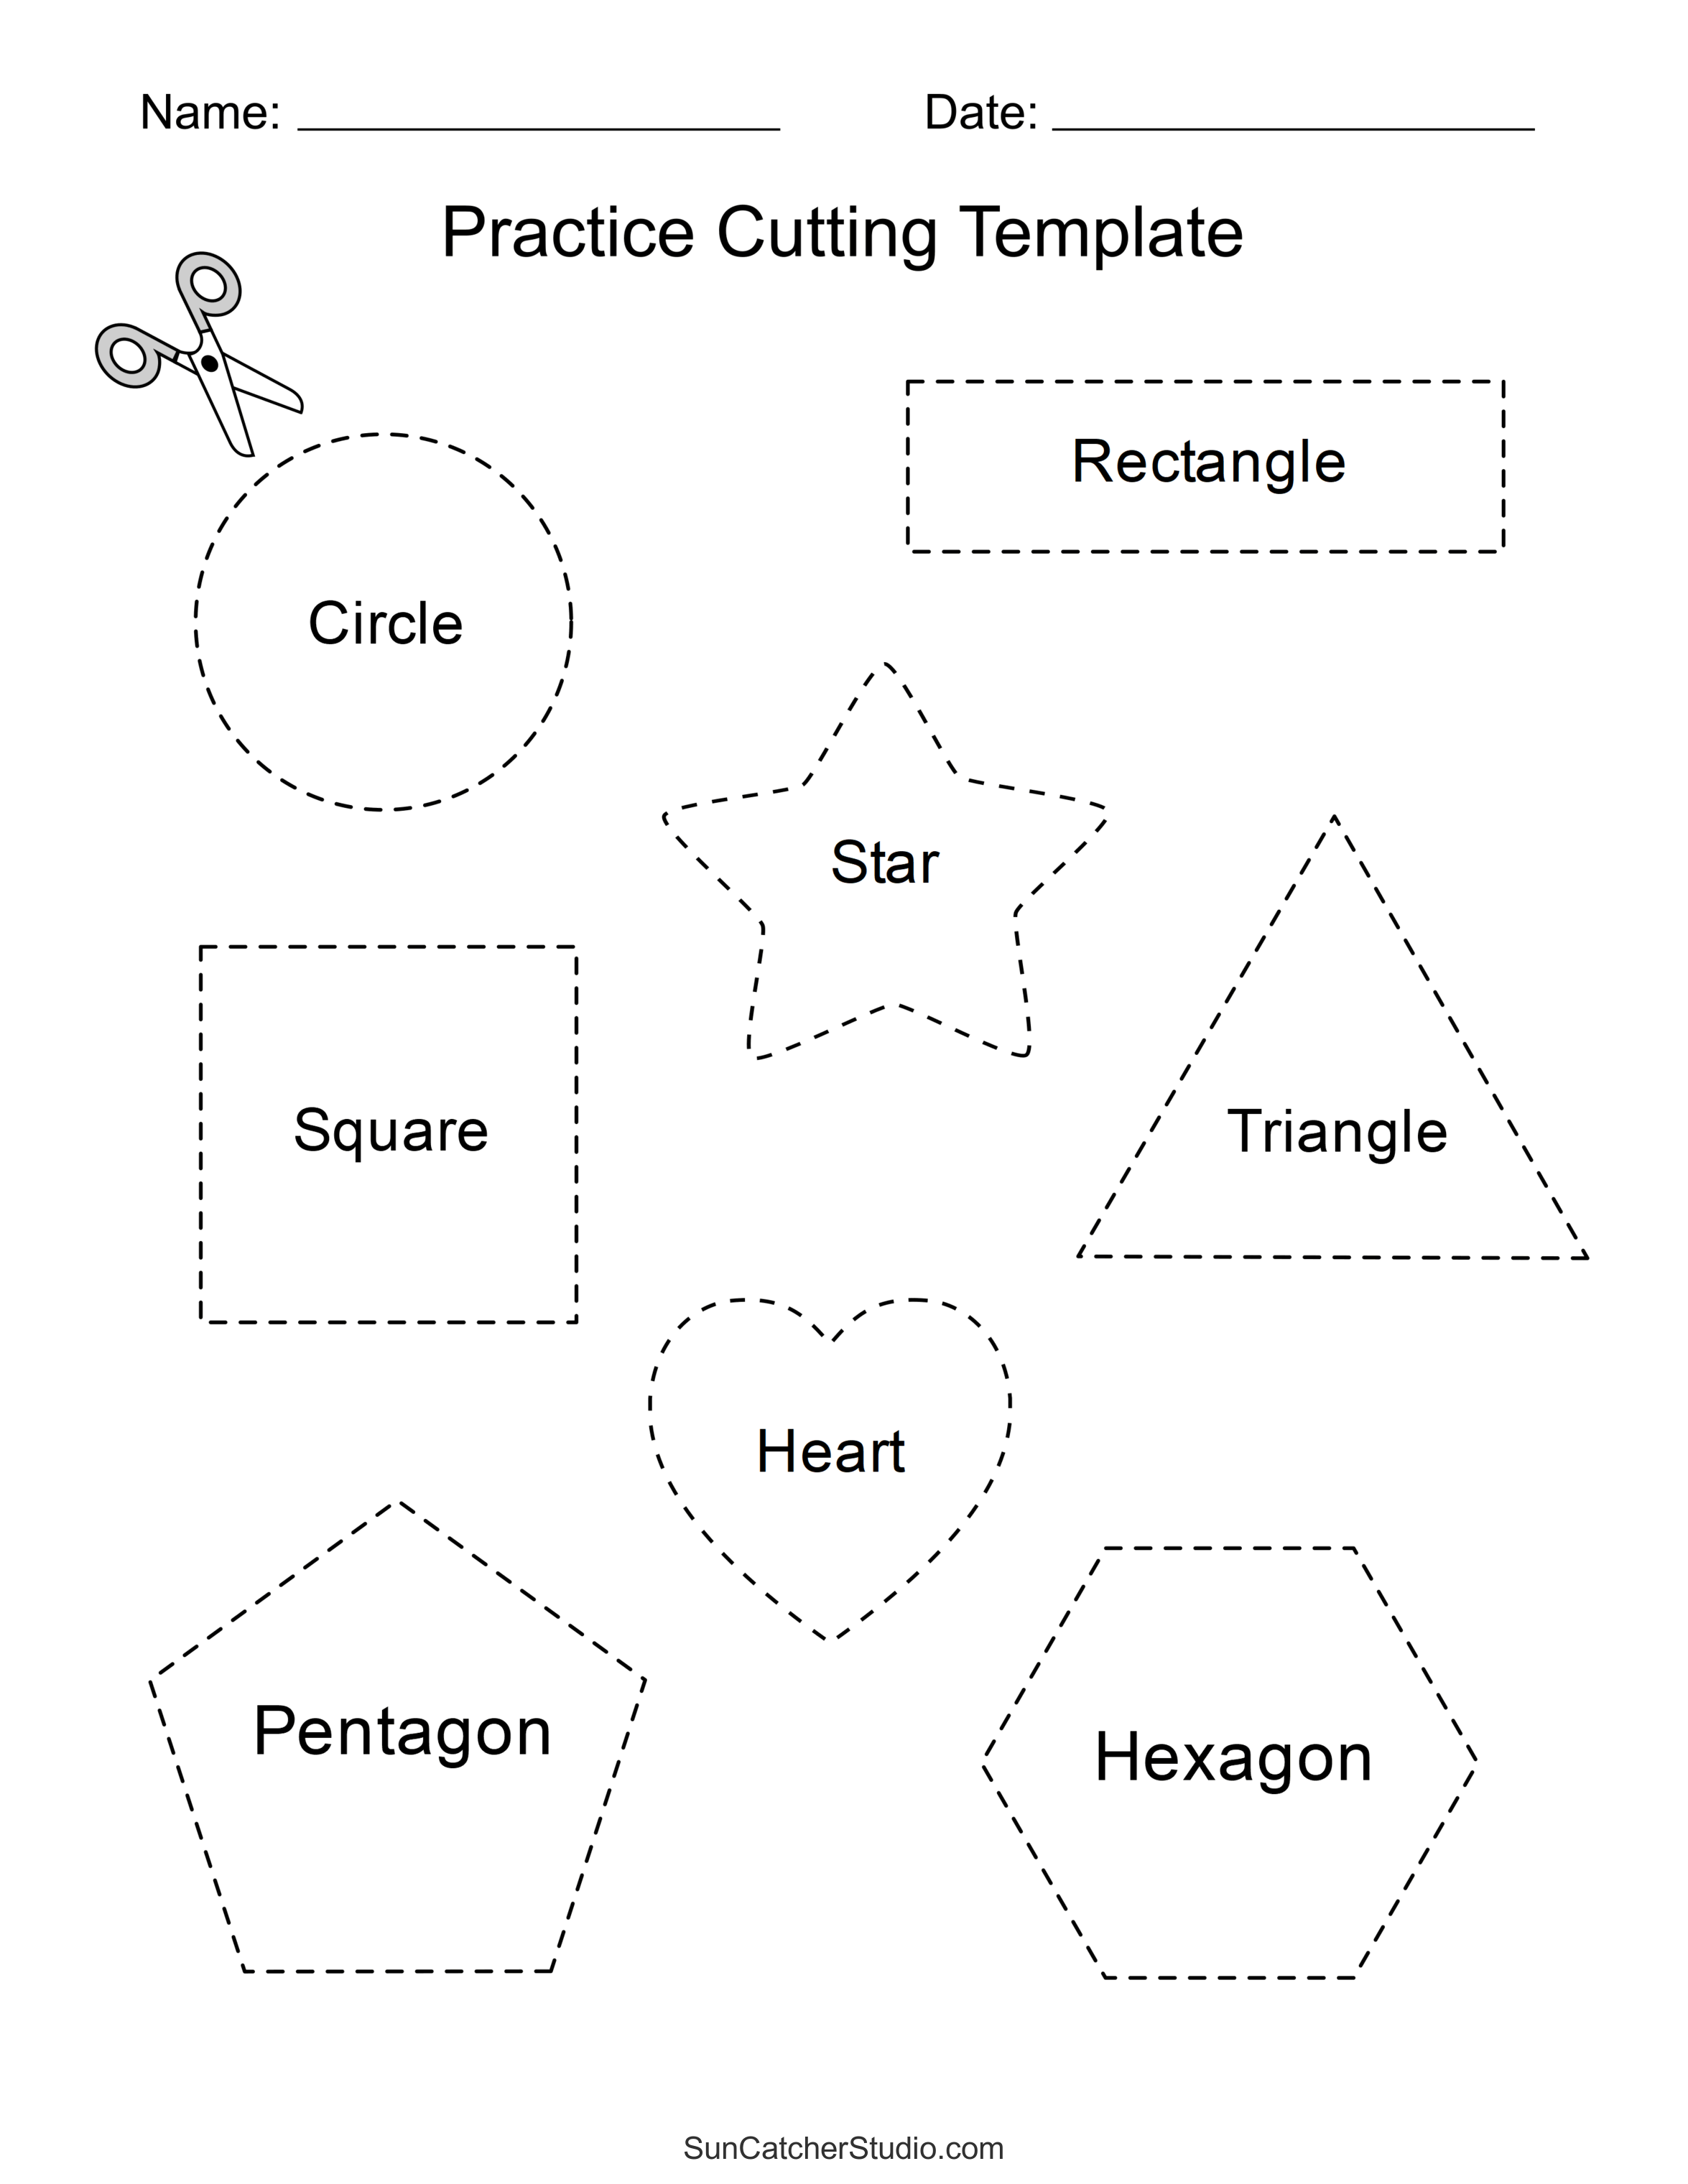
Once those foundational muscles are ready, the real work begins with straight lines before curves, and curves before complex shapes. I've seen too many workbooks jump straight to zigzag lines and star shapes, and that's where the tears start. A good set of cutting pages builds progression naturally. Start with thick, dark lines on uncluttered paper — no distracting cartoons or busy backgrounds. The child's brain should only process one task: following that single black line.
What to Look for in a Cutting Practice Set
Not all scissor skill pages are created equal. Some are essentially coloring sheets with a cutting line tacked on as an afterthought. Avoid those. Look for pages that offer clear visual cues — a stop sign icon at the end of a line, for example, or arrows showing cutting direction. The best sets also include a mix of line thicknesses, because a thin line demands more precision than a thick one, and children need to build up to that gradually.
Here's a quick breakdown of what different line types actually teach:
| Line Type | Skill Developed | Age Readiness |
|---|---|---|
| Thick straight lines (1/4 inch wide) | Basic motor control, bilateral coordination | 2.5 - 3 years |
| Thin straight lines (1/8 inch wide) | Precision, sustained attention | 3 - 4 years |
| Gentle curves and wavy lines | Wrist rotation, spatial awareness | 3.5 - 4.5 years |
| Sharp angles and zigzags | Stopping accuracy, directional changes | 4 - 5 years |
The Hidden Skill Nobody Talks About
Most parents obsess over whether the child can cut on the line. That's the wrong metric. The real milestone is whether the child can turn the paper, not the scissors. This is the secret to clean cutting, and it's almost never taught explicitly. Children naturally want to twist their wrist or rotate the entire scissor hand to follow a curve. That leads to jagged edges and frustration. Instead, demonstrate how the non-dominant hand does the steering. Hold the paper and rotate it while the scissor hand stays relatively still. It feels counterintuitive to a child, but once it clicks, everything changes.
One Specific Tip That Changes Everything
Try this tomorrow: draw a simple circle on a piece of construction paper, about the size of a coffee mug rim. Before you hand over the scissors, have the child trace the circle with their finger while you slowly rotate the paper. Do this five times. Then have them pretend to cut along the line with their finger while you rotate. Then, and only then, give them the scissors. I've seen this single three-step prep routine cut frustration in half for kids who previously gave up after ten seconds. The muscle memory of the paper-rotation motion needs to be established before the scissors enter the equation.
When to Push and When to Pause
Cutting practice should never last more than ten minutes for a preschooler. After that, hand fatigue sets in and habits get sloppy. Watch for the telltale signs: the scissors start opening too wide, the cutting line veers wildly, or the child's tongue sticks out in concentration (that one actually means they're working hard, but it's a sign they're near their limit). When you see these, stop. Even if they only cut two lines. Ending on a positive note matters more than finishing the page. A child who walks away feeling successful will ask for the scissors again tomorrow. A child who was pushed through tears will avoid them for weeks.
The Part Most People Skip
Here’s the truth most resources won’t tell you: the real value of a focused cutting activity isn’t just the scissor skill—it’s the quiet confidence a child builds when they master something that once felt impossible. Every snip, every crooked line they correct, every piece they hold up with pride—that’s not fine motor practice. That’s the foundation of I can do hard things. And that belief ripples into handwriting, into problem-solving, into the way they approach every new challenge. You aren’t just teaching a child to cut paper; you’re handing them a tool for resilience.
Maybe you’re thinking, “But my child gets frustrated easily. What if these worksheets just end up as crumpled tears?” That hesitation is completely normal—and it’s exactly why you’re the right person to guide them. The magic doesn’t happen in the perfect cut. It happens in the moment you say, “Let’s try again together.” Start with the easiest sheet, celebrate the wobbly lines, and let the mess be part of the process. You don’t need a perfect student—you need a willing one.
So before you close this tab, take one small step: bookmark this page, print a single printable cutting worksheets page, and leave it on the kitchen table for tomorrow morning. Or better yet, share this with a fellow parent or teacher who’s been looking for the same gentle starting point. These printable cutting worksheets aren’t going to change the world—but they might change one little grip, one little smile, one little “look what I did.” And that’s more than enough.