Look — if you’ve been scrolling past yet another “fun” letter worksheet that makes your preschooler cry, you’re not alone. The truth is, most printable activities for the preschool worksheets letter j are either painfully boring or way too advanced for little hands. I’ve seen it a hundred times: a page full of jellyfish and jam pictures that somehow still feels like busywork. But here’s the thing — the right worksheet doesn’t just teach a letter. It actually makes your kid want to pick up a crayon and try again. Honestly, that’s harder to find than you’d think.
You’re here because you need something that works right now. Maybe your child is starting to recognize letters but gets frustrated with tracing. Or maybe you’re a tired parent who just wants ten minutes of quiet without feeling guilty about screen time. I get it. The letter J is a tricky one — it’s not as common as A or B, so kids often forget it faster. That means the activities you choose matter more than you realize. A bad worksheet can kill their curiosity. A good one? It plants a seed for actual reading readiness.
What I’m about to share isn’t a list of generic printables you’ve seen a million times. It’s a curated set of approaches that work with real kids — the ones who lose focus after two minutes and the ones who want to color outside every line. By the time you finish reading, you’ll know exactly which type of worksheet your child actually needs, and how to spot the duds before you hit print. No fluff. No sugar-coating. Just what works.
Most parents and teachers make a critical mistake when introducing the letter J to little learners. They hand over a worksheet and expect magic. That is not how it works. The letter J is deceptively tricky because its sound can be subtle, and its shape—with that distinct hook—often gets flipped or reversed. If you have ever watched a child write a backwards J, you know exactly what I mean. The real trick is not just repetition; it is layering fine motor control with a solid understanding of the sound, and that is where a well-designed set of activities becomes worth its weight in gold.
Why Most Letter J Printables Miss the Mark (and How to Fix It)
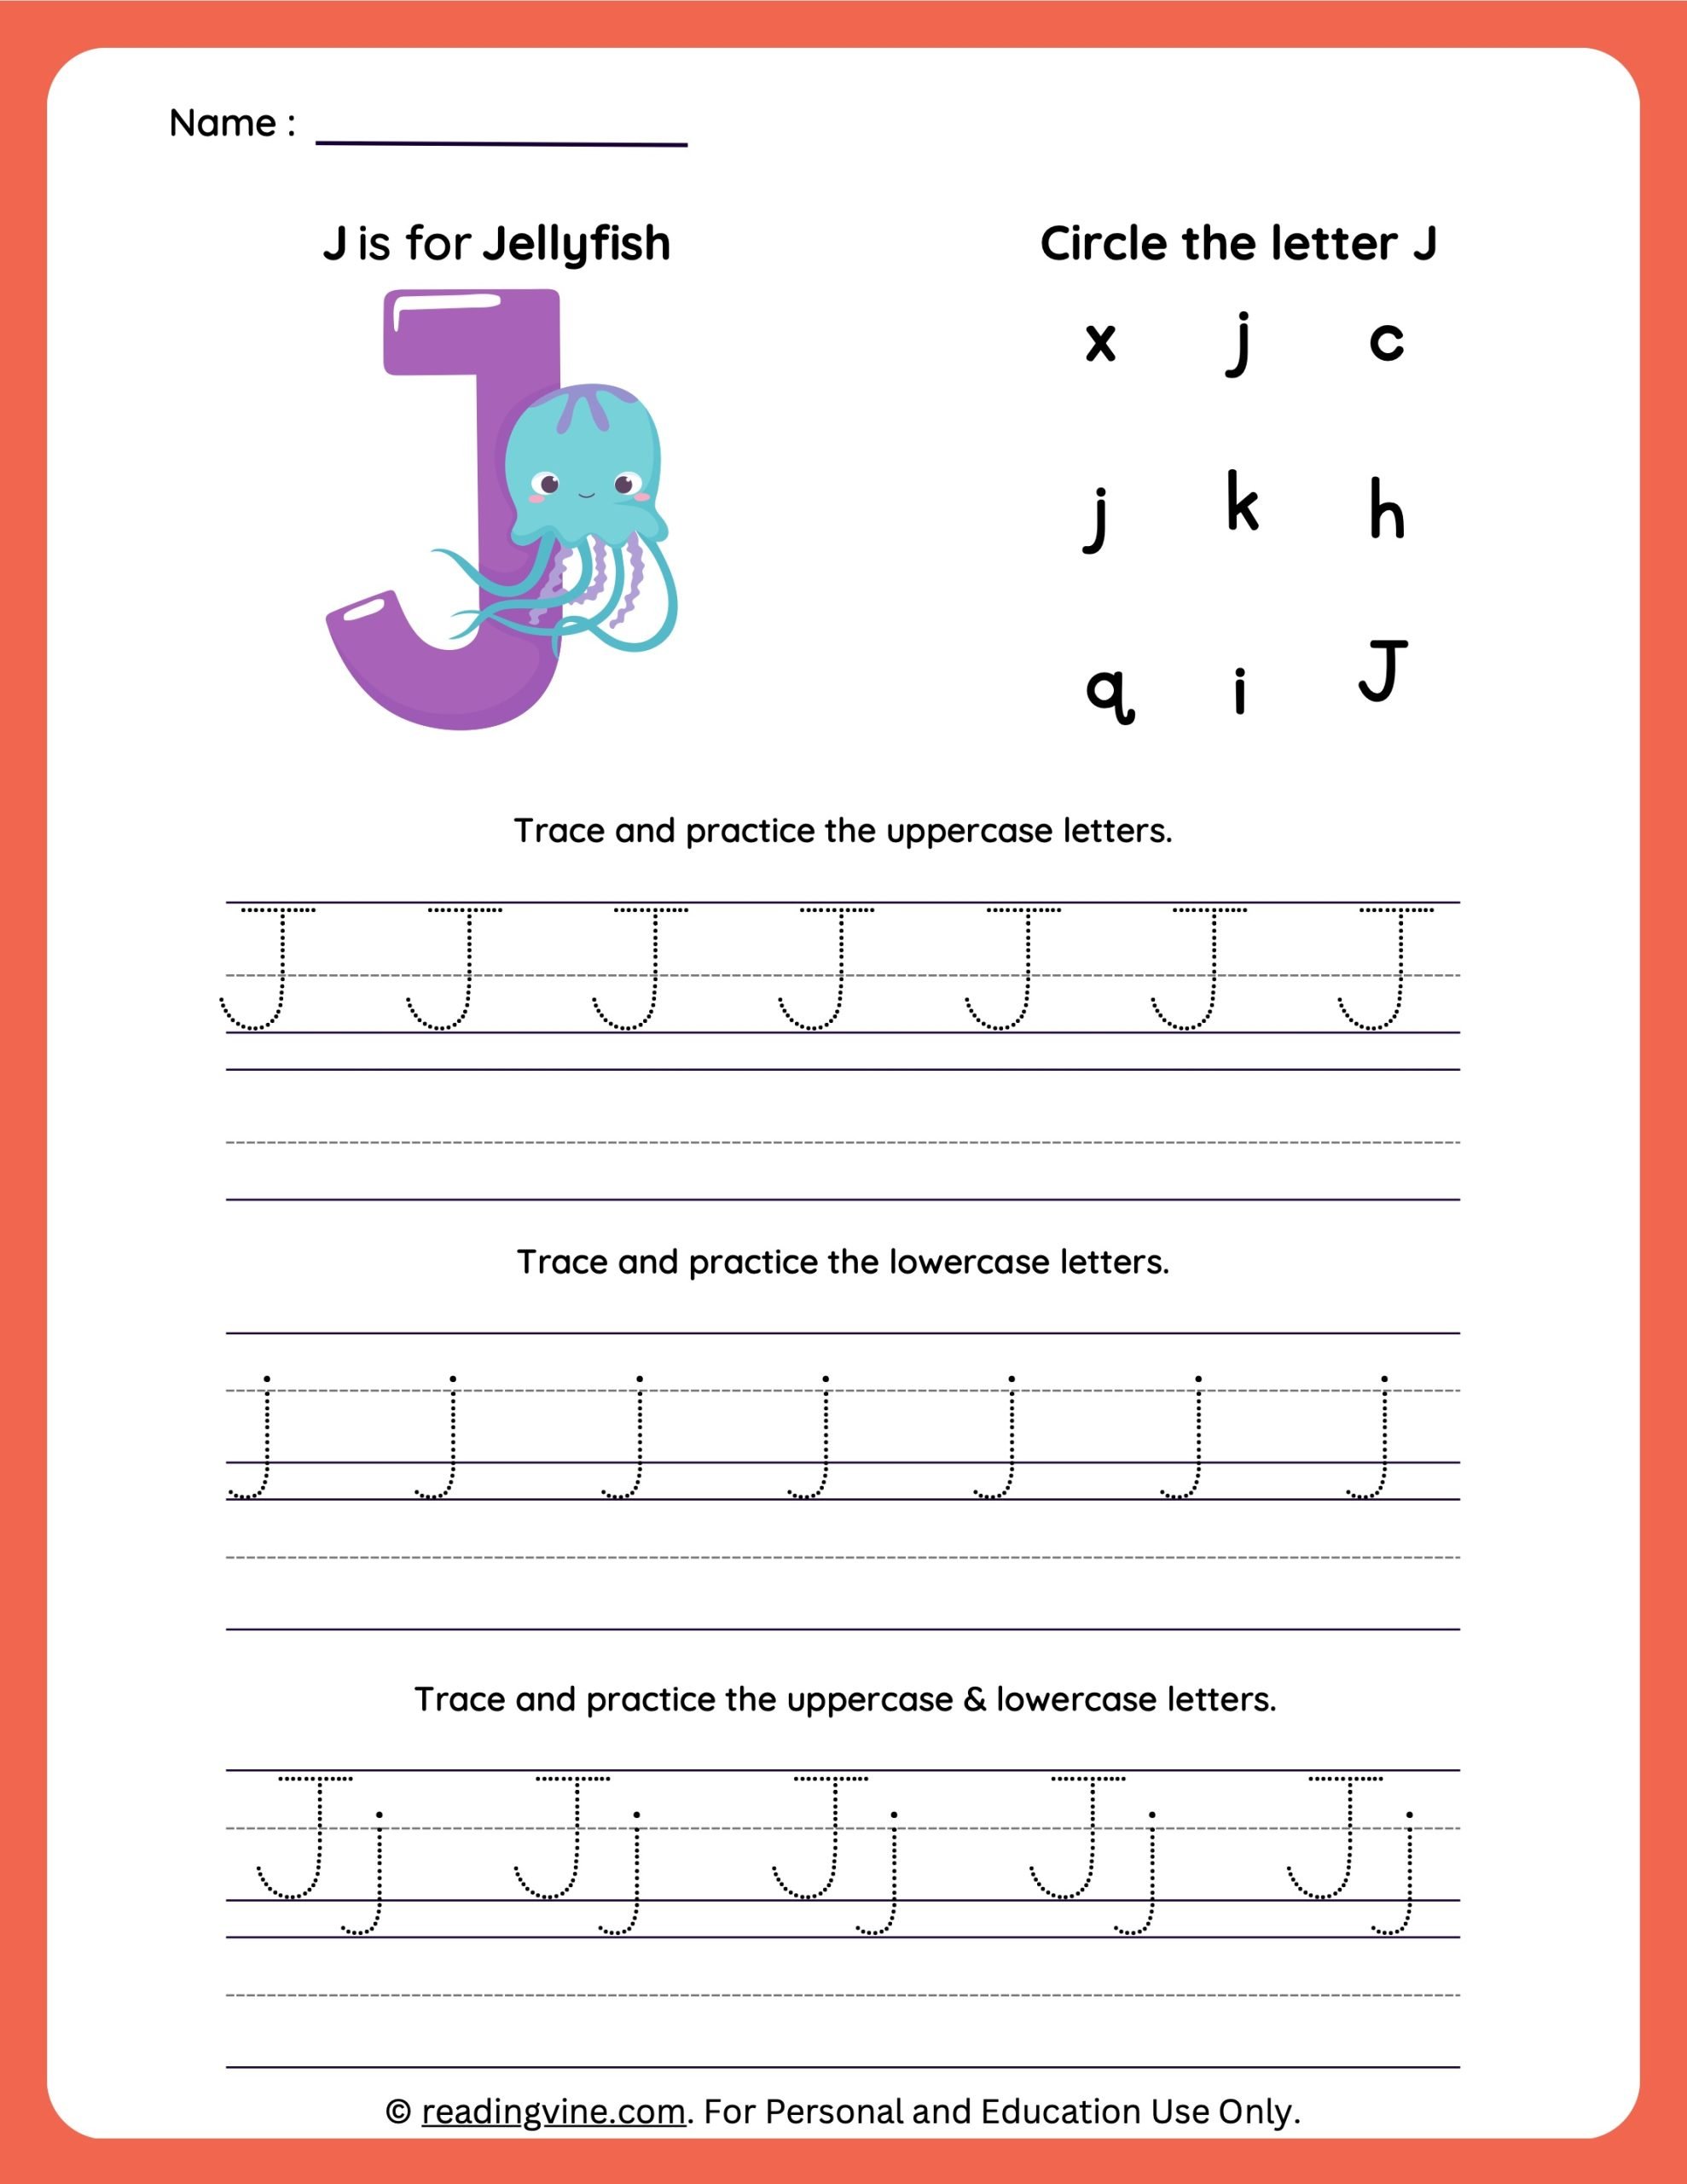
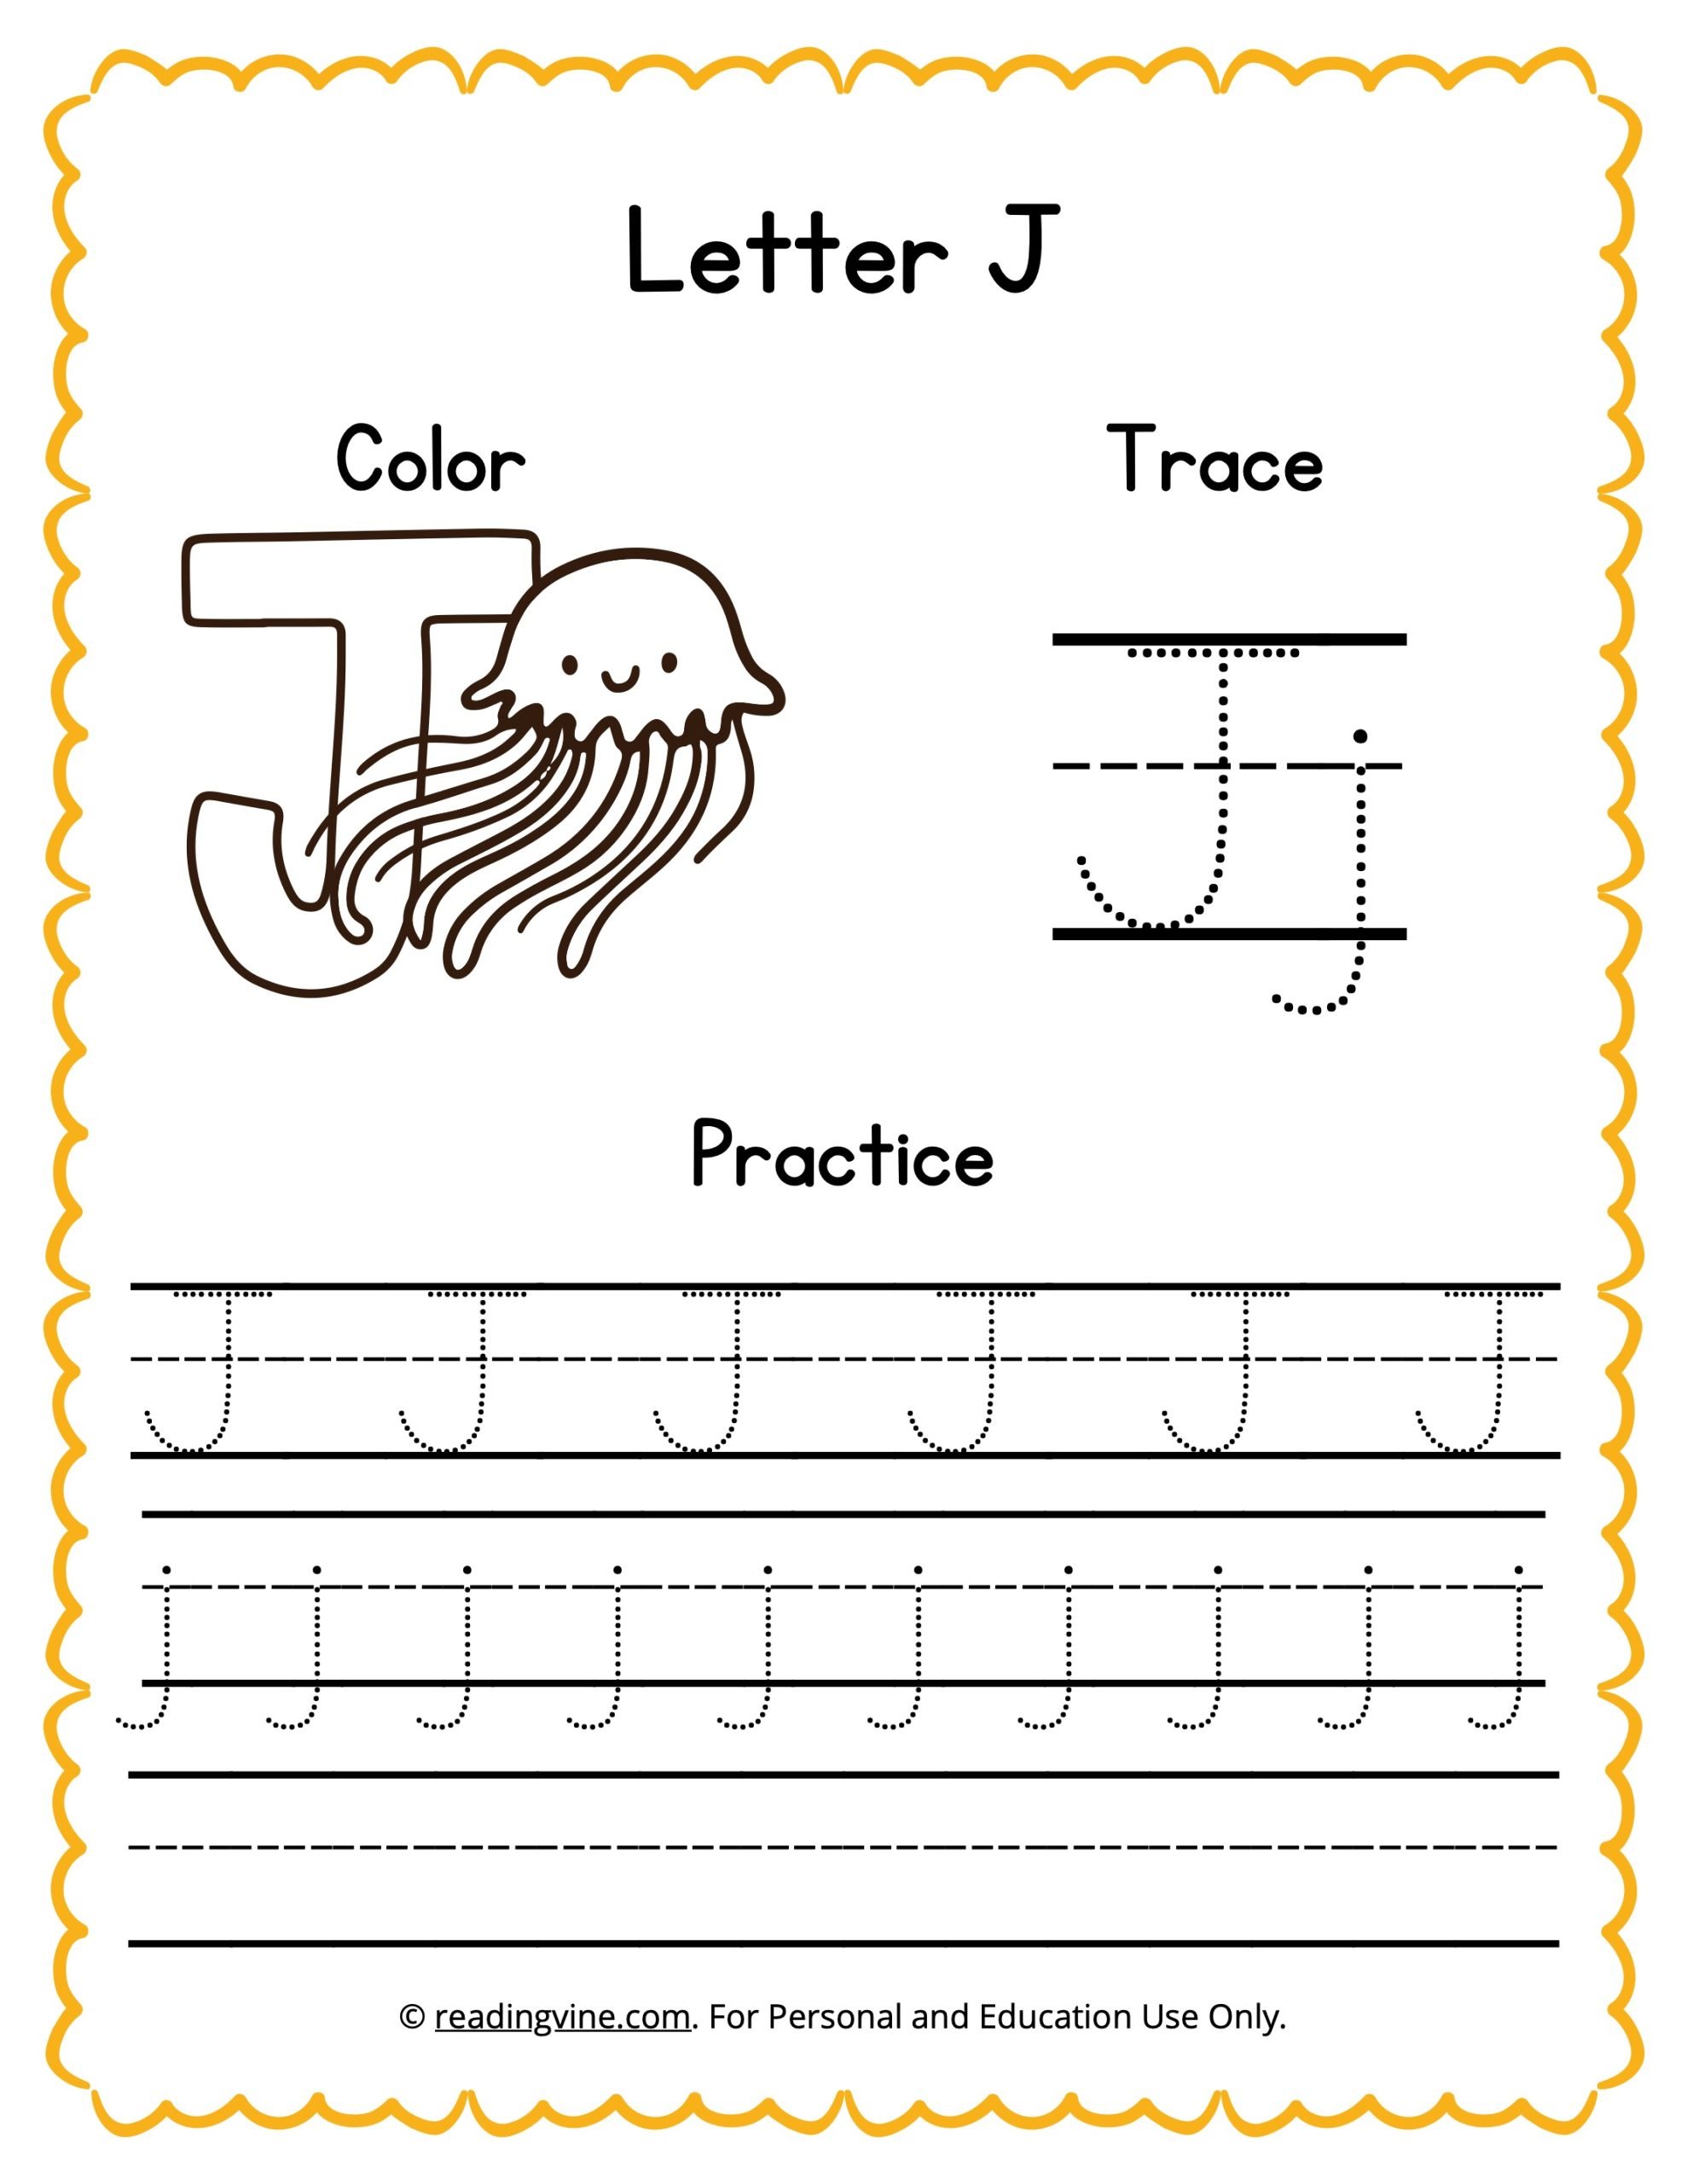
The biggest problem I see in countless free resources is a lack of intentional progression. They throw uppercase tracing, lowercase tracing, and a coloring section onto one page and call it a day. That is fine for review, but it skips the foundational steps. A child needs to first feel the shape of the J in a tactile way before picking up a pencil. Have them trace a giant sandpaper J. Let them form it out of Play-Doh snakes. Once their hand has built that muscle memory, then—and only then—does the pencil work start to click. I have seen this approach cut frustration in half within a single session. The sequence matters more than the quantity of worksheets.
The Sound Pitfall Nobody Warns You About
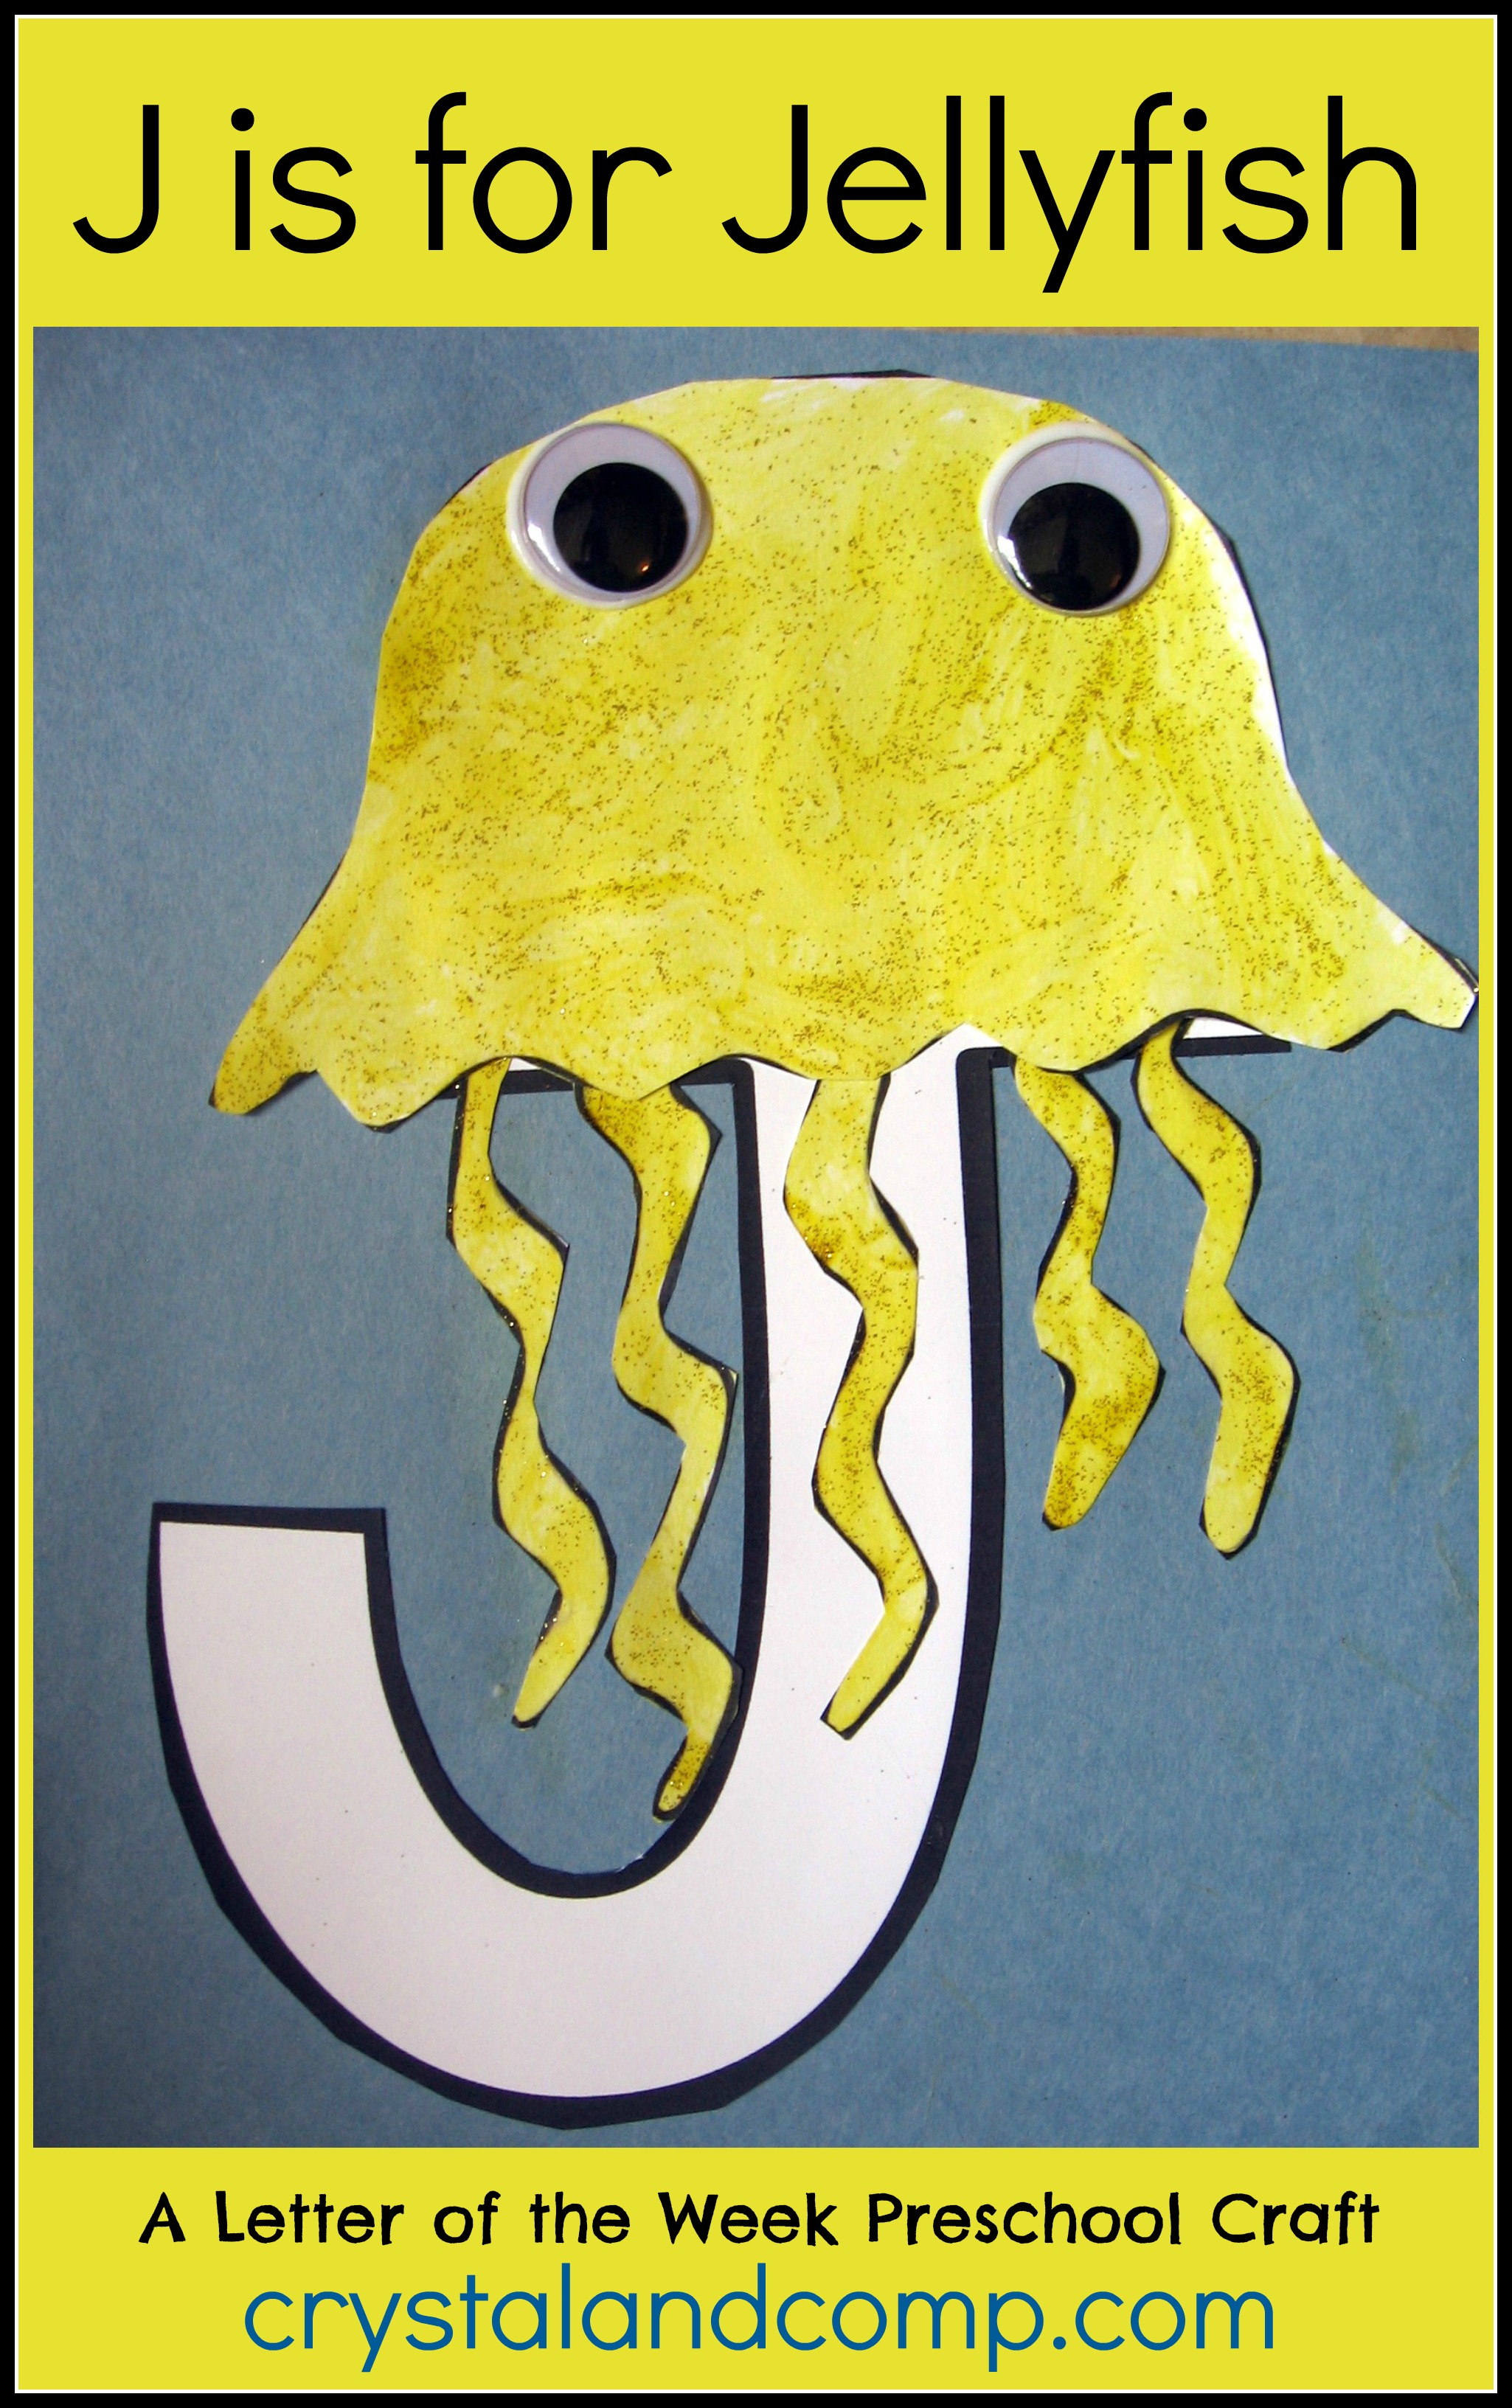
Here is what nobody tells you: many kids confuse the J sound with the G sound, especially the soft G like in "giraffe." This is not a failure of the child; it is a linguistic nuance. When you work on letter J recognition, pair it exclusively with hard J words like jump, jug, jet, and jam. Save "giraffe" and "gem" for later. Your printable activities should feature only these clear, punchy examples. If a worksheet shows a picture of a "giraffe" next to a J, you are accidentally muddying the water. Stick to concrete nouns. This one shift—choosing the right vocabulary—makes your practice far more effective.
Fine Motor Hacks That Actually Work
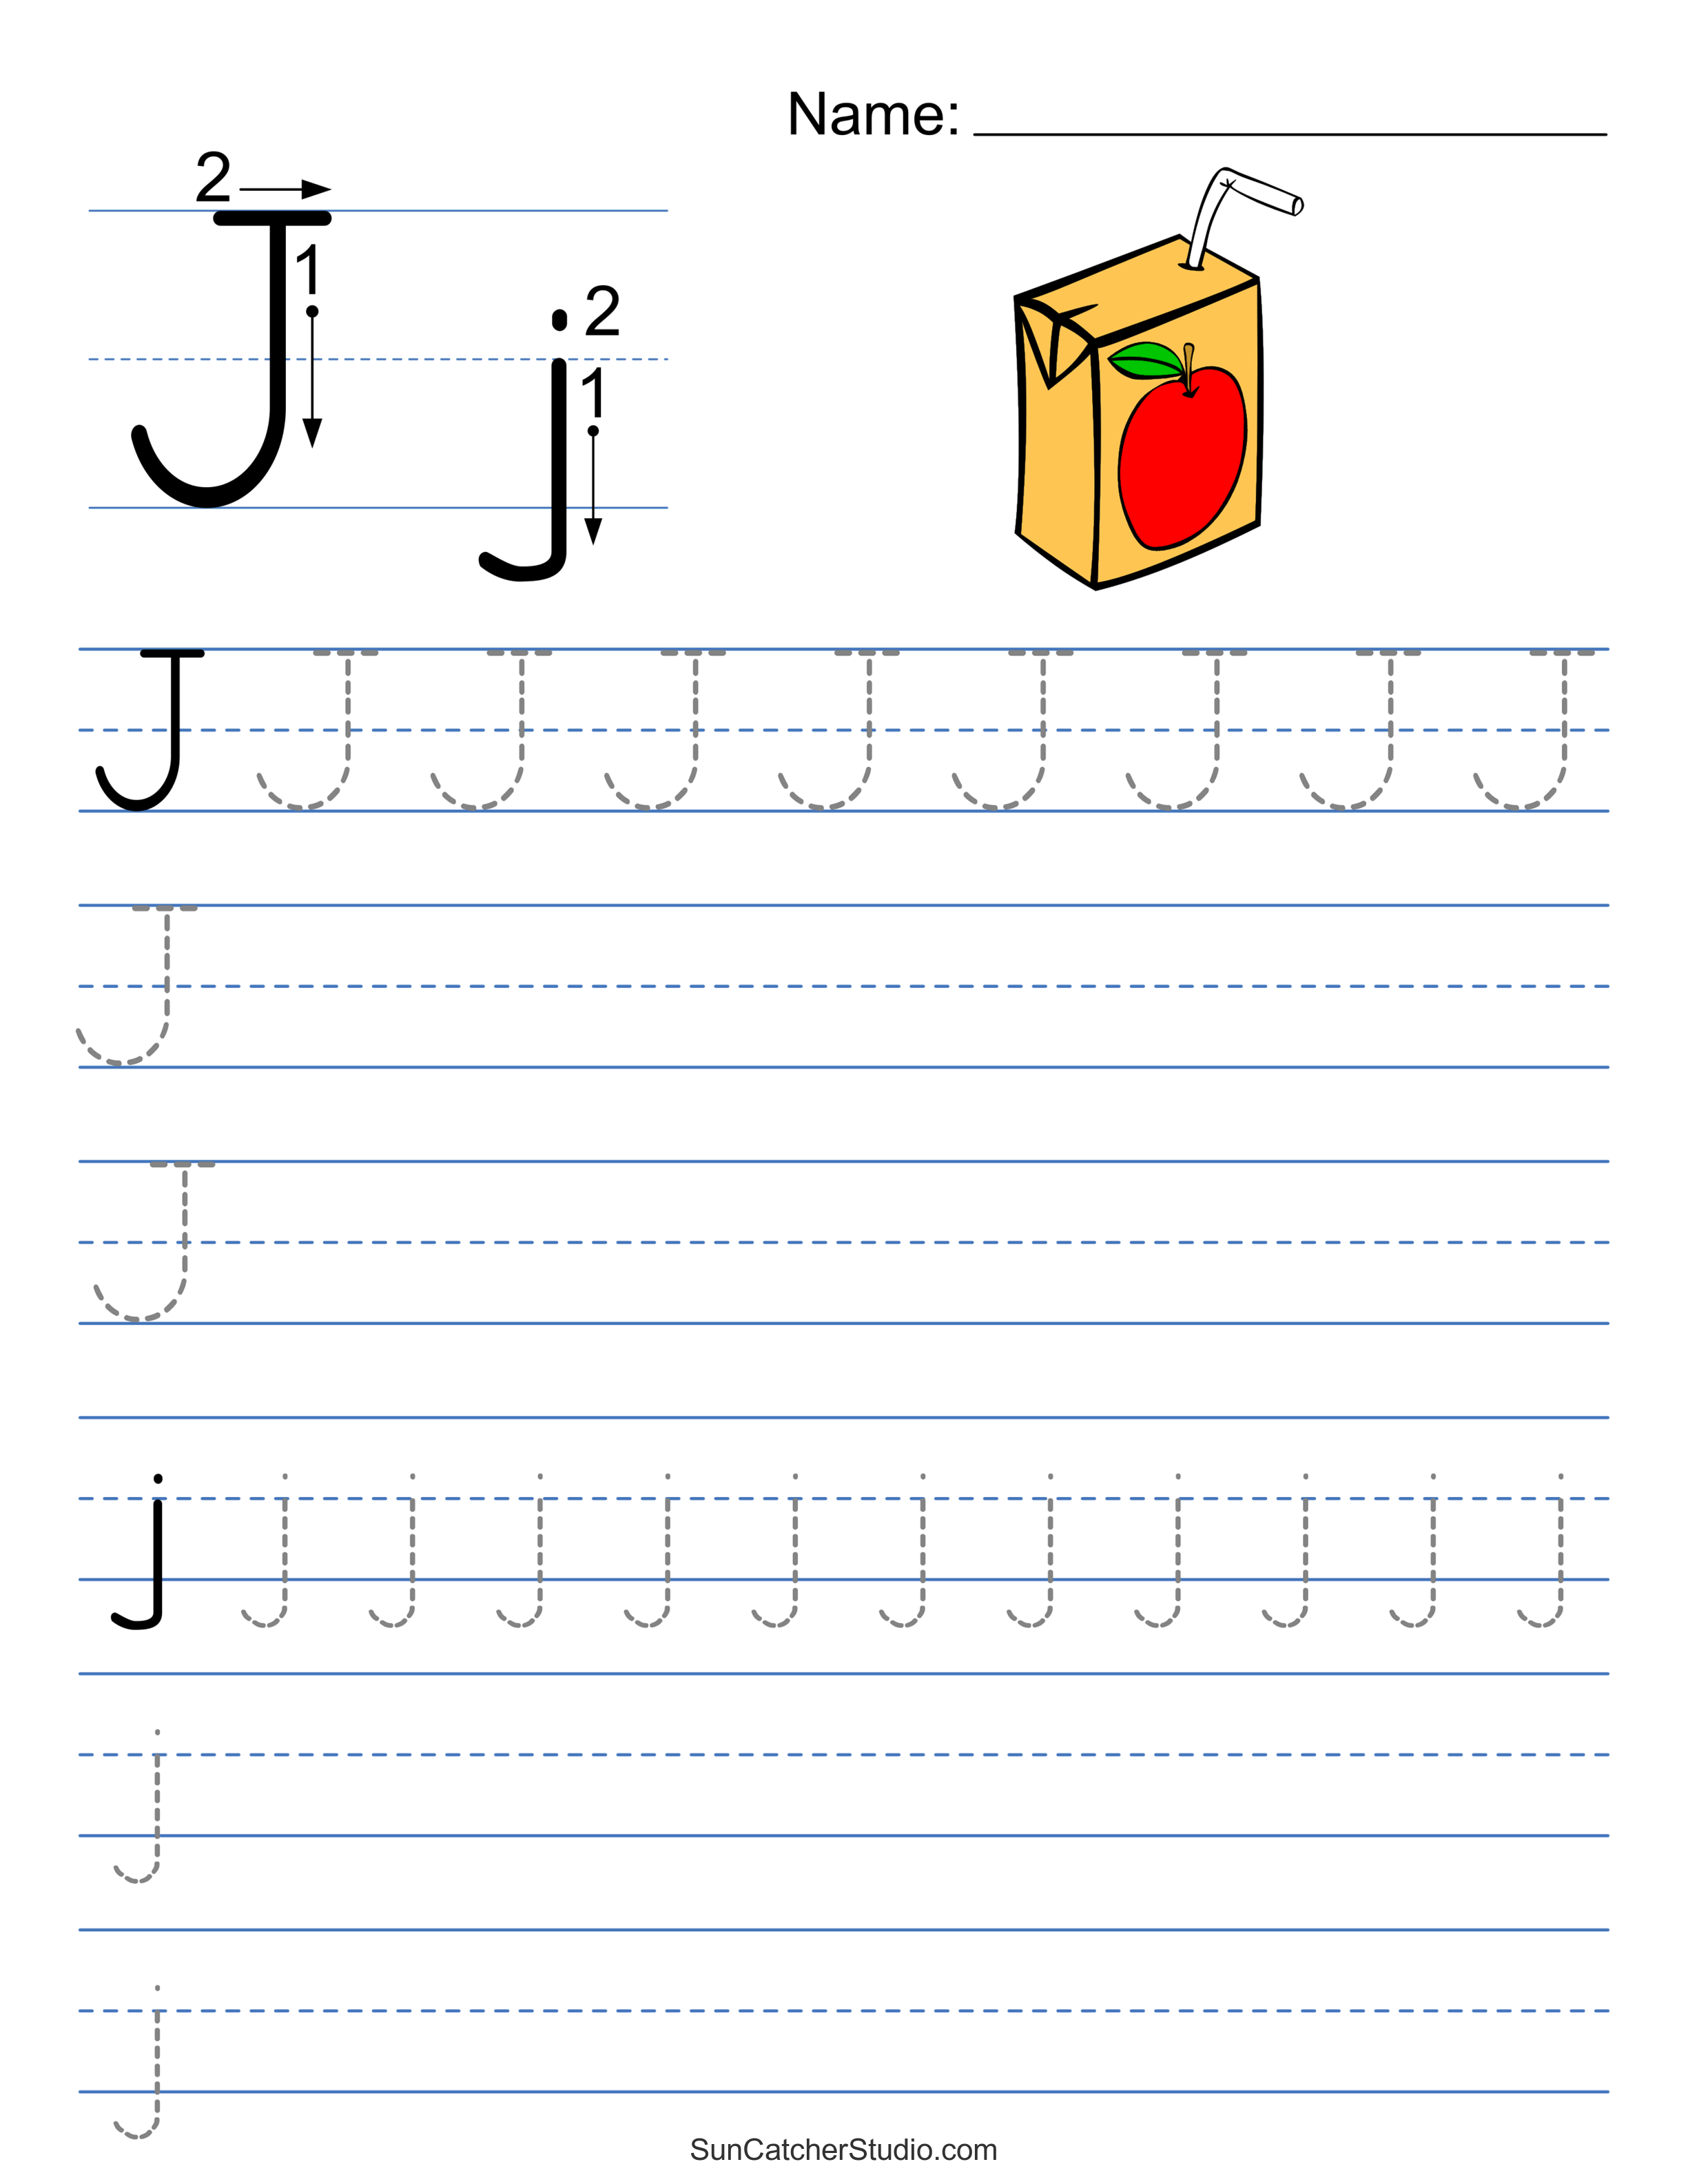
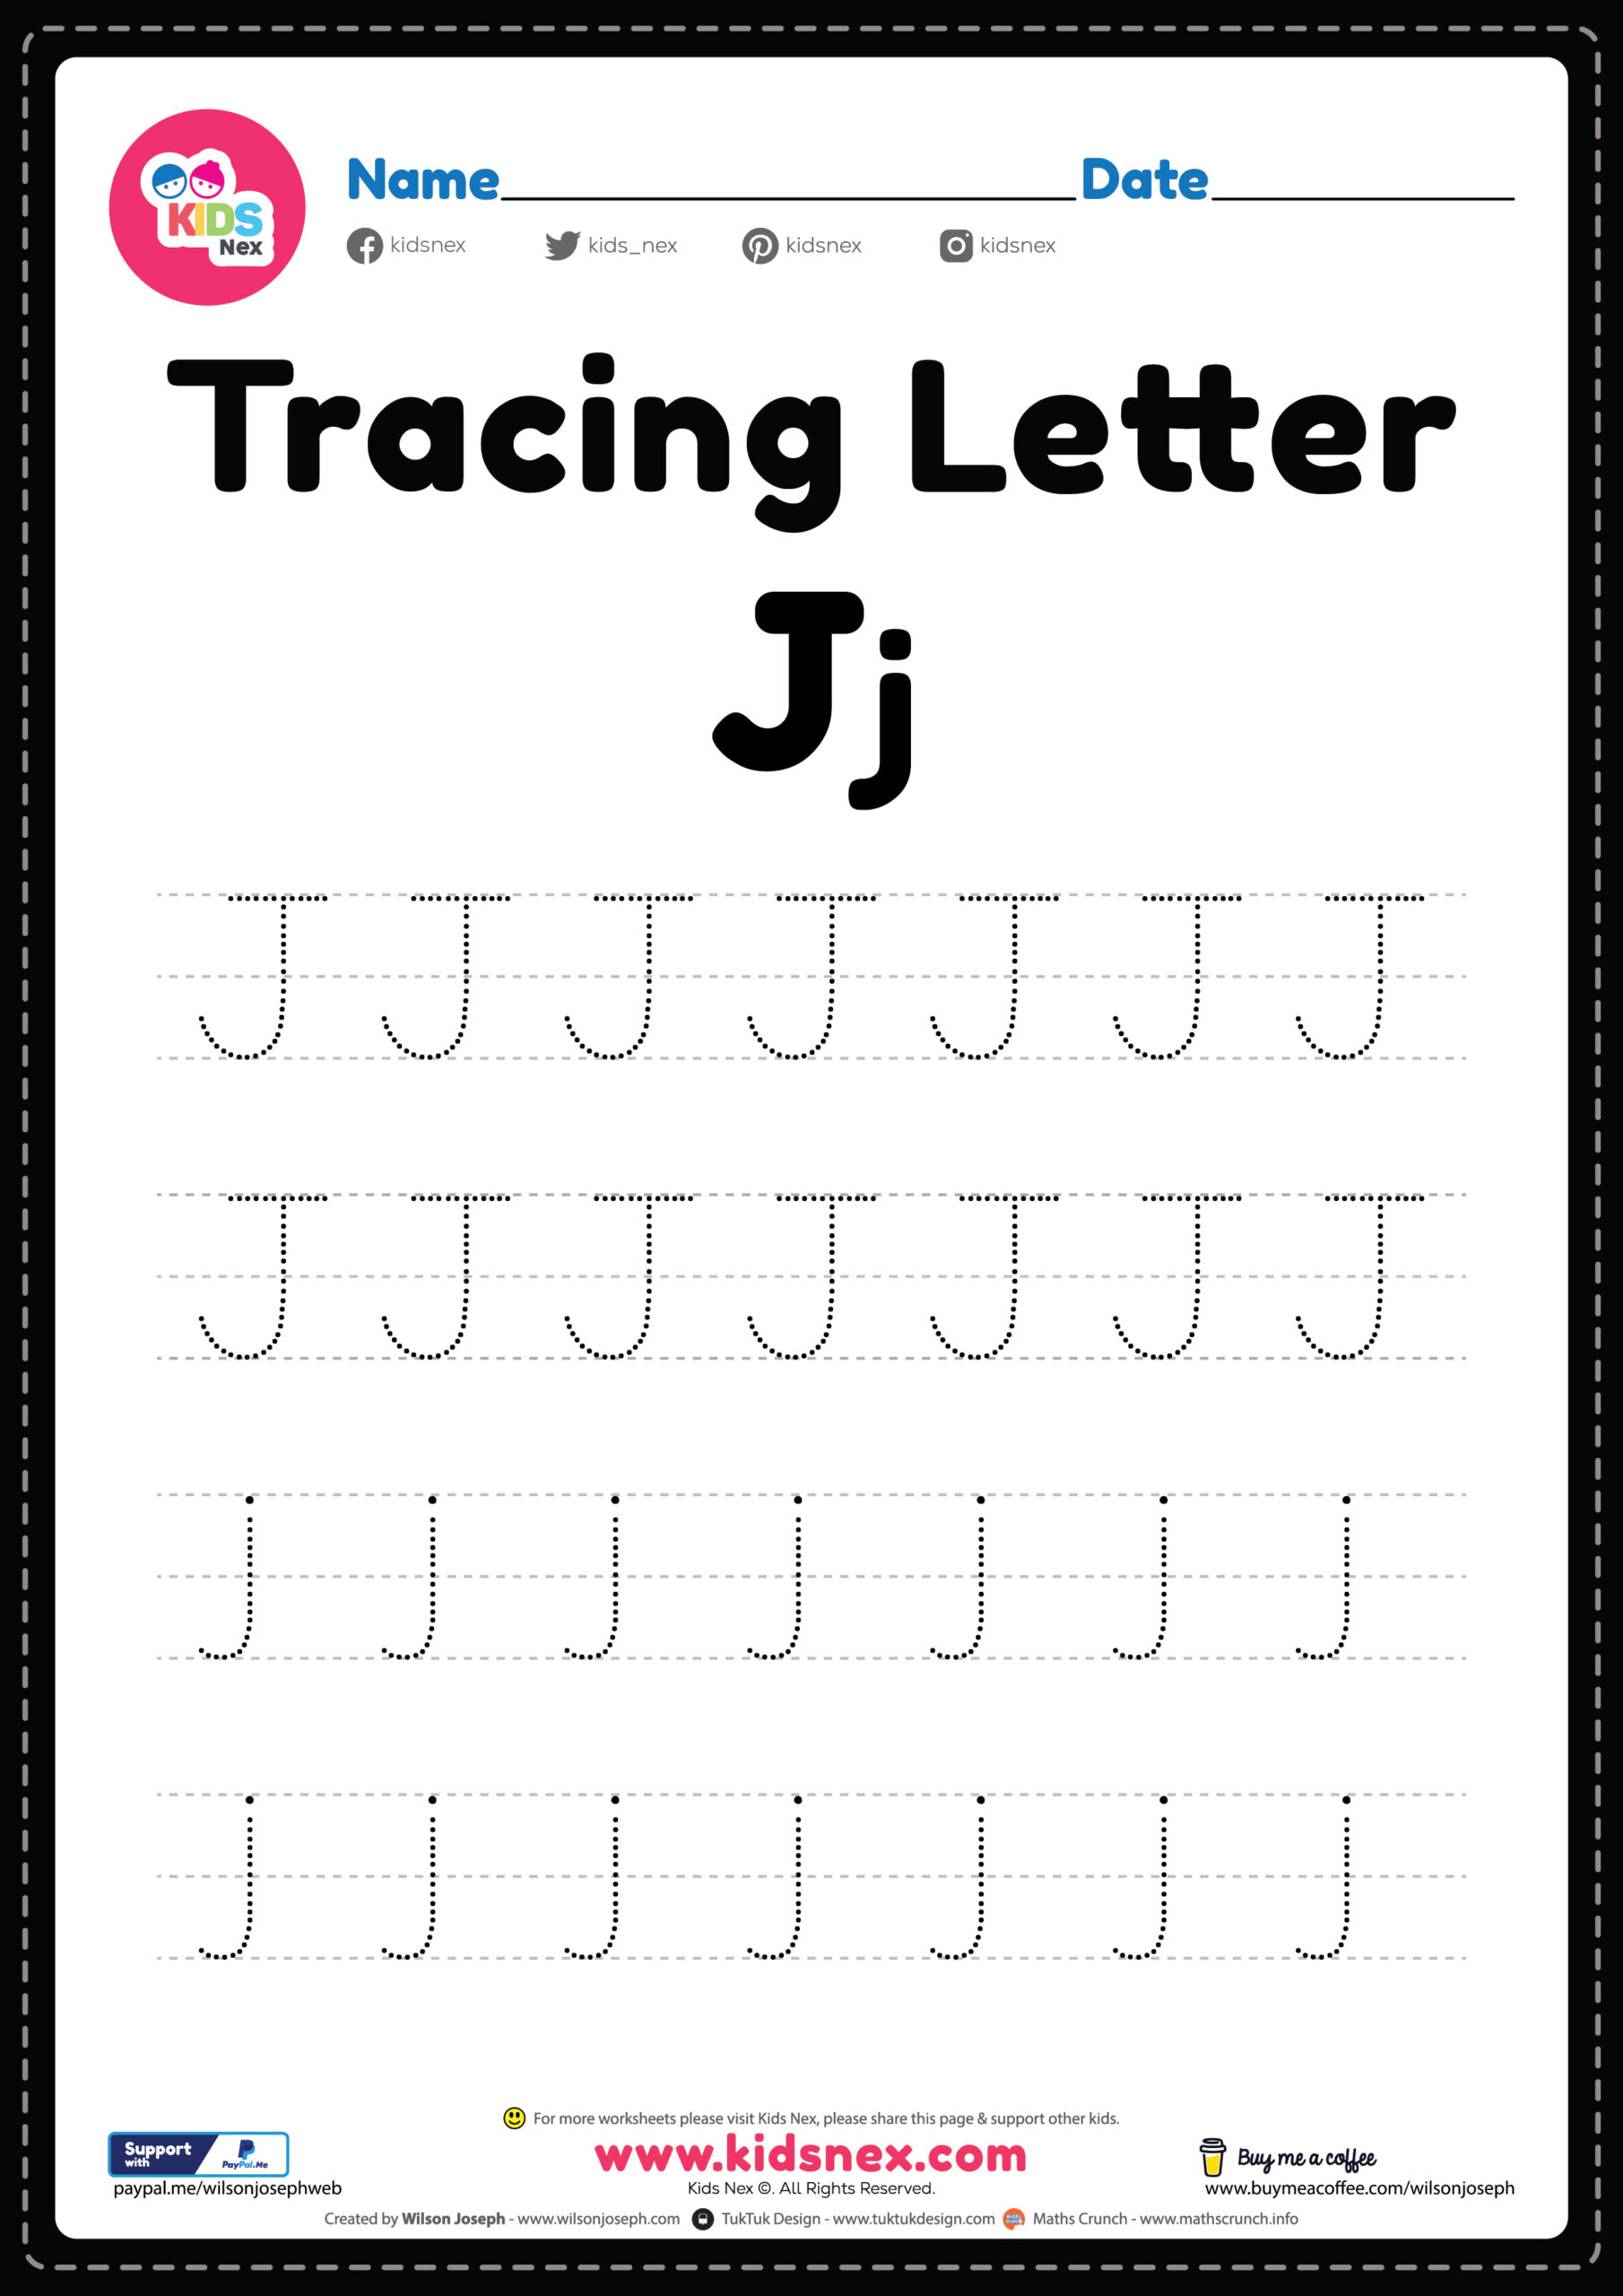
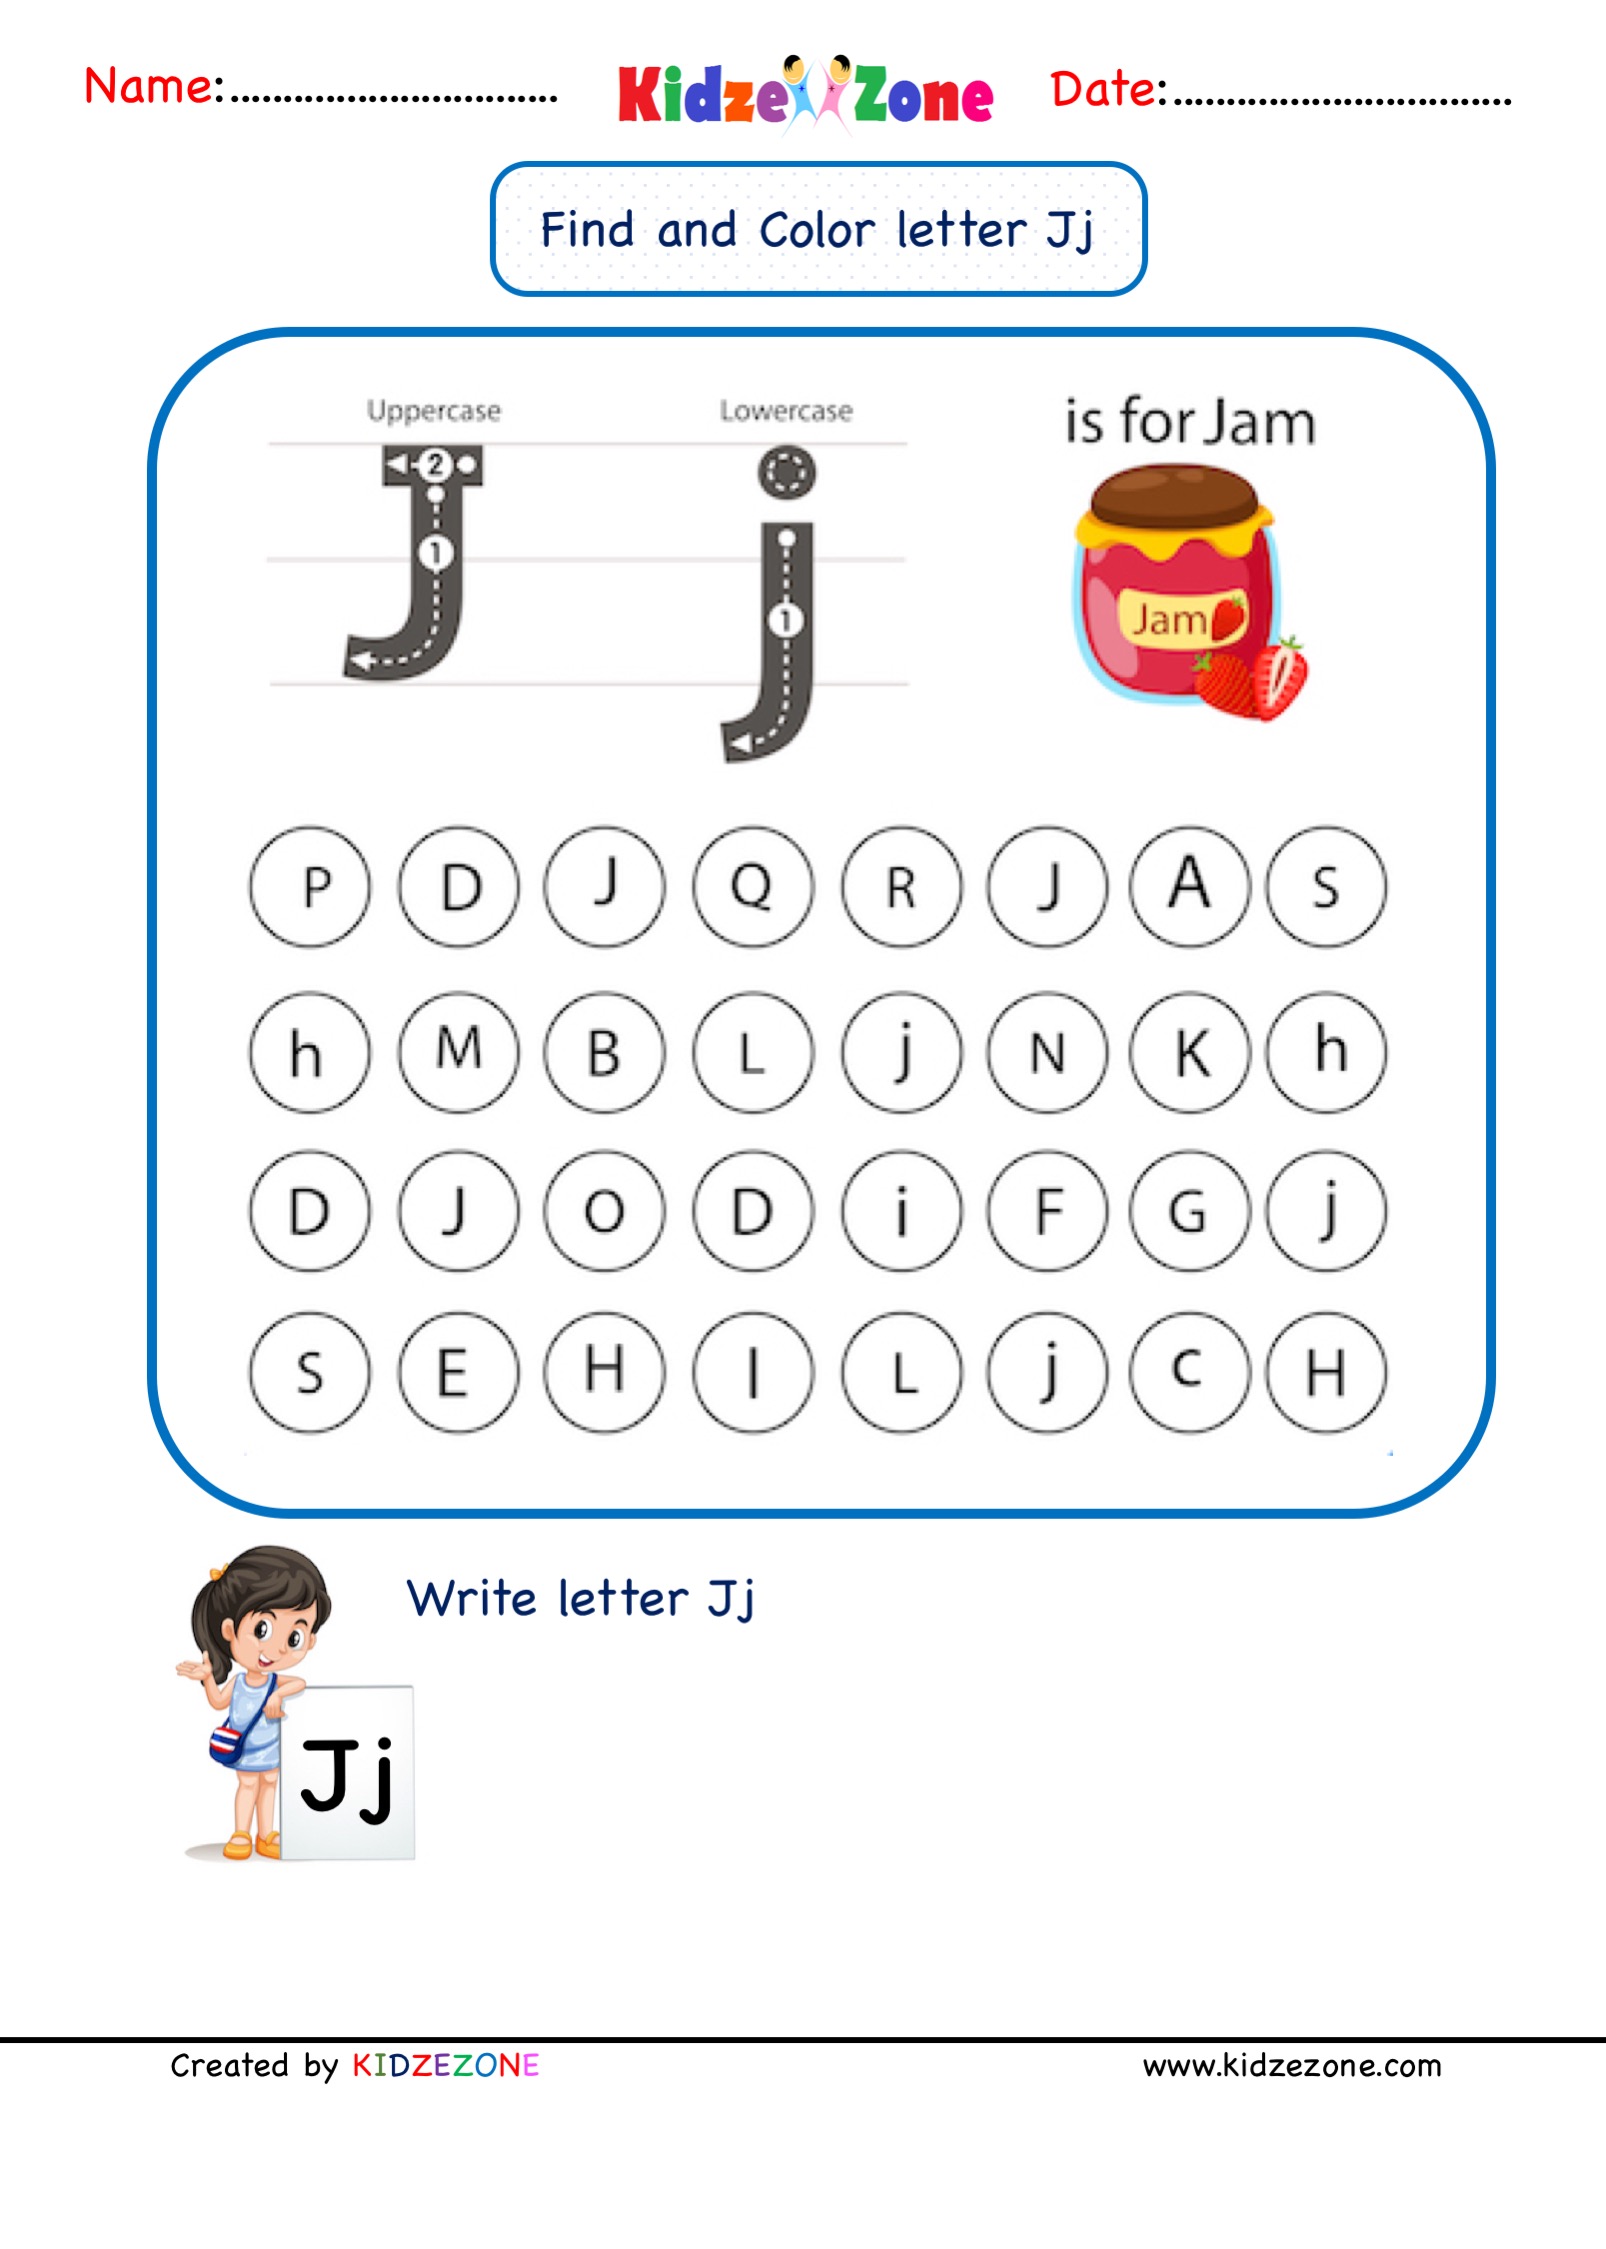
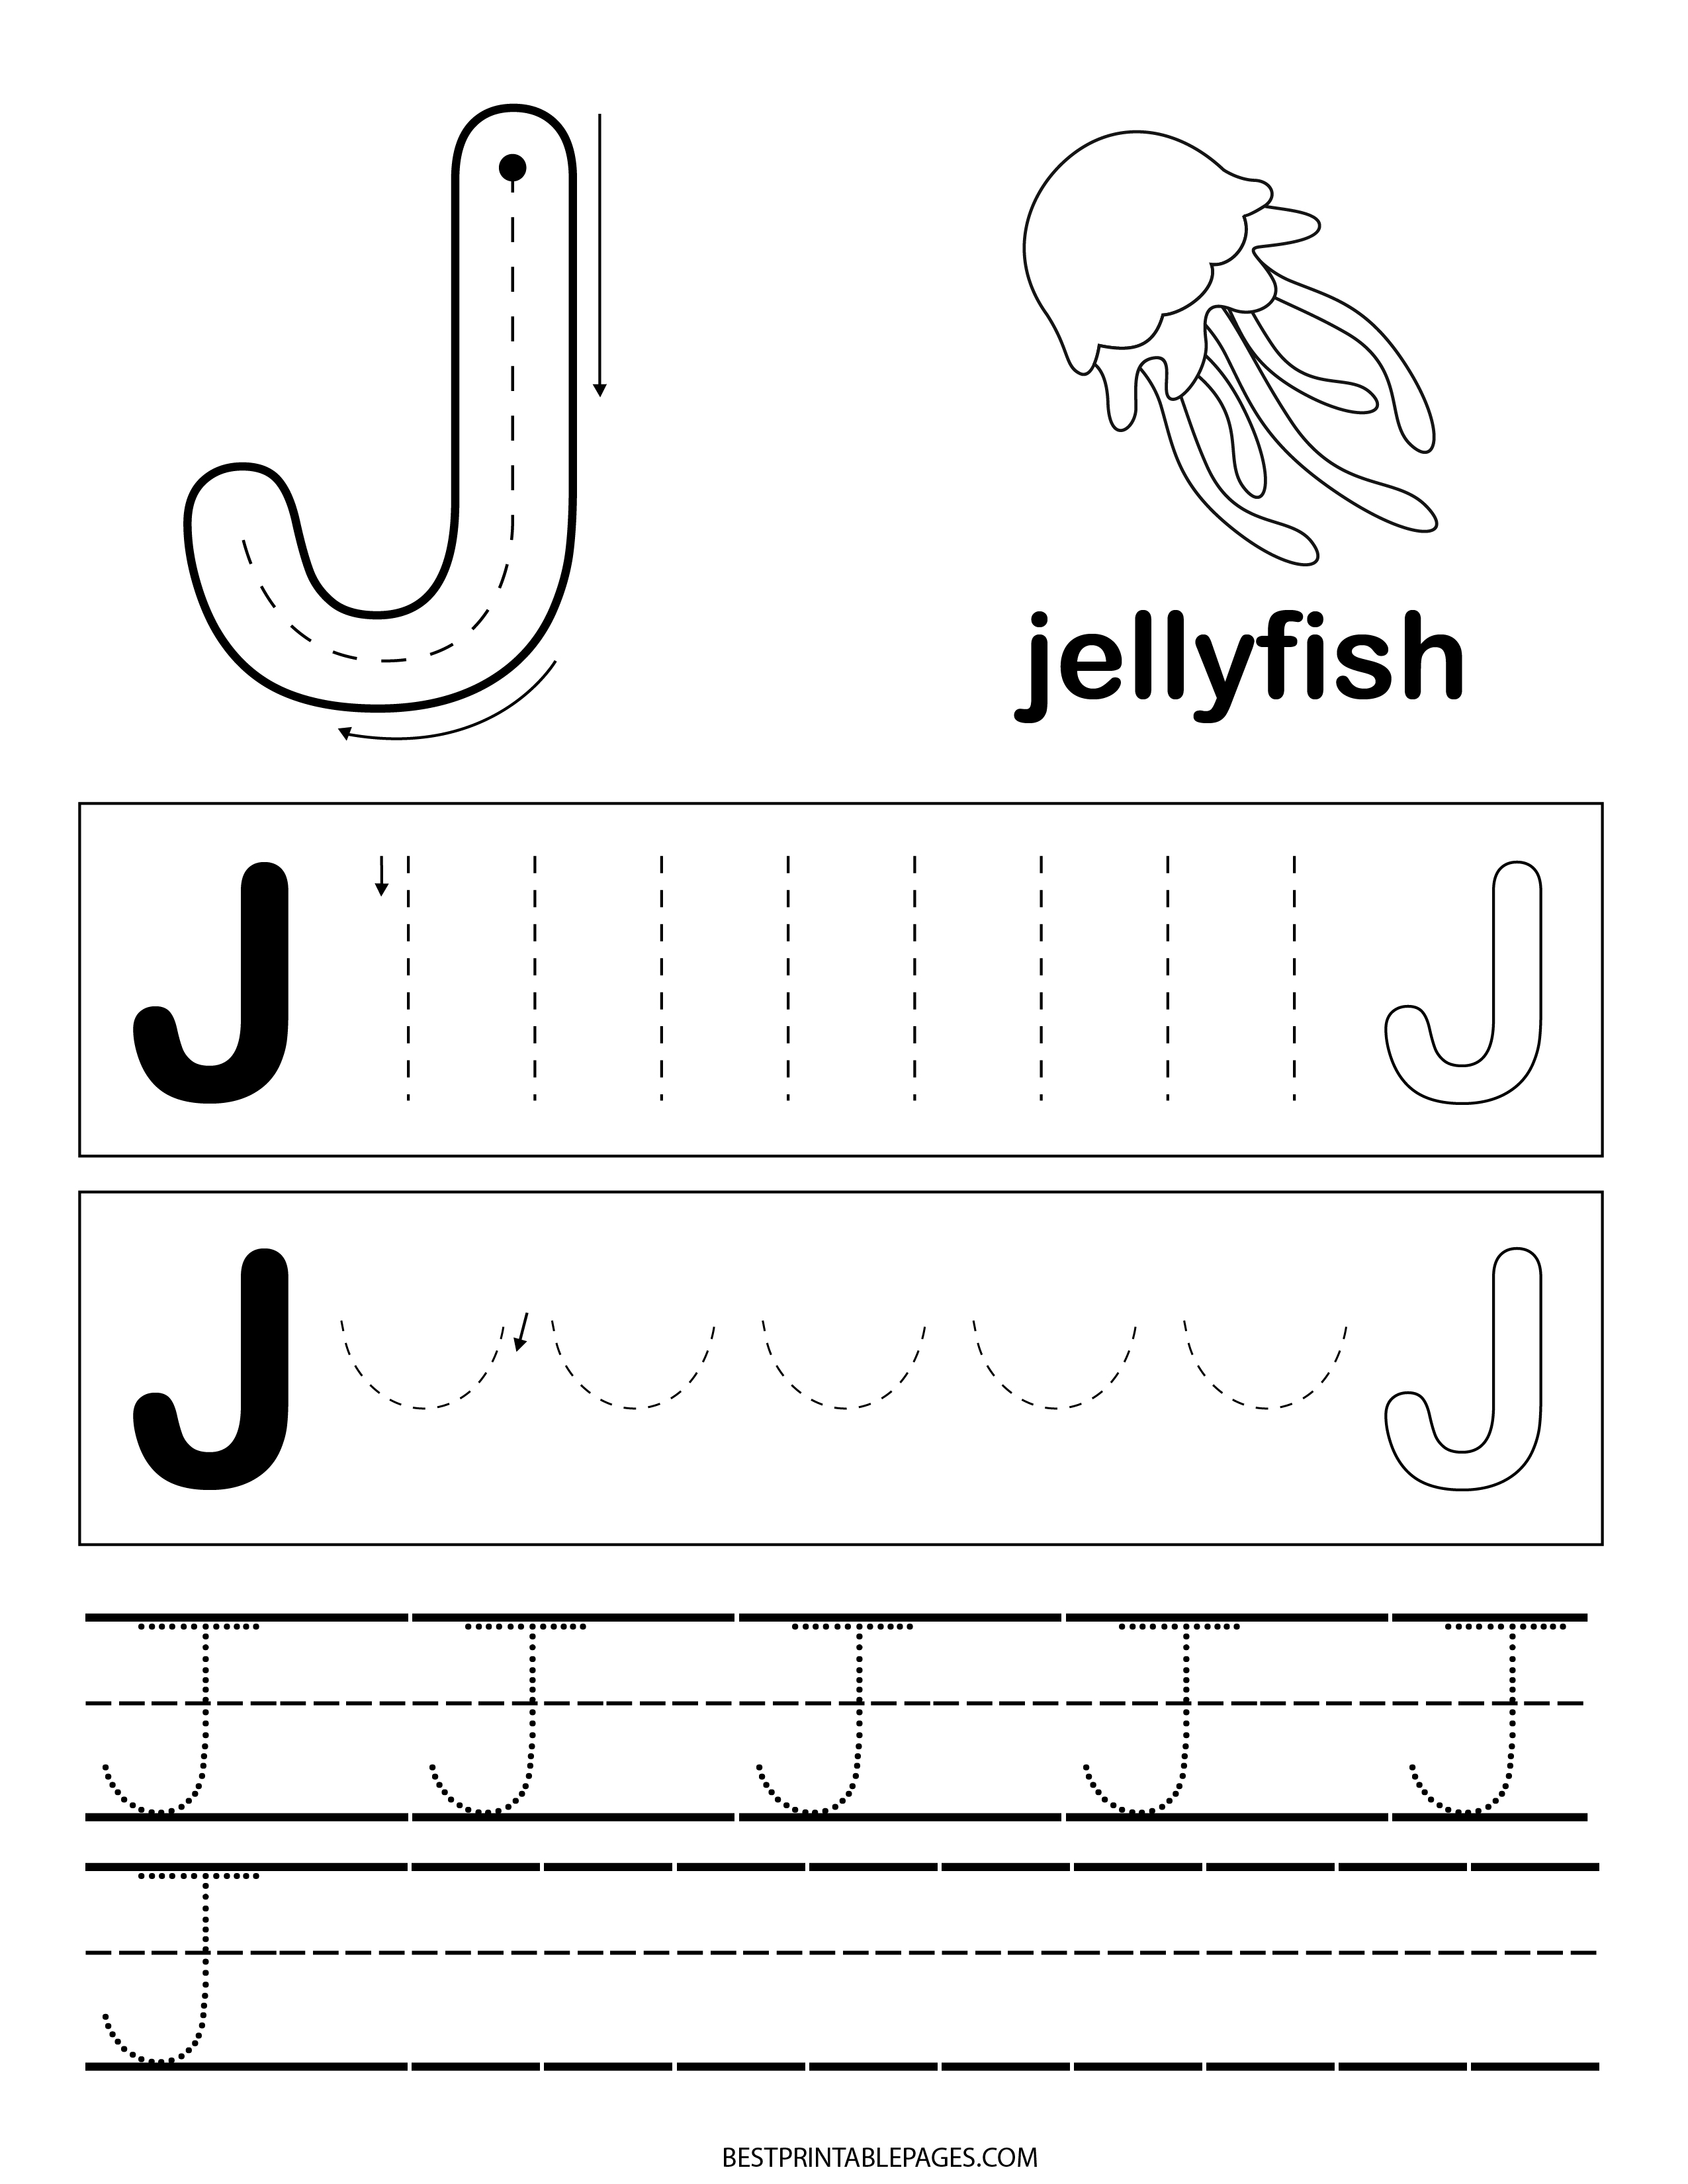
Standard tracing lines are boring. They do not challenge the child's grip or control in a meaningful way. Instead, look for path-of-motion tracing that starts with a dot and uses arrows. This teaches directionality from the very first stroke. Another trick: have the child trace the letter J with a dry-erase marker on a laminated sheet before using a crayon. The glide of the marker reduces resistance, letting them focus on the shape, not the friction. One actionable tip: after tracing, give them a small pom-pom and have them "drive" it along the letter path on the printed page. This reinforces the motion without any pencil pressure.
Mixing It Up Without Overwhelm
Variety is critical, but chaos is not. A solid set of materials should rotate between three distinct skill areas. Here is a realistic breakdown of what a balanced week of practice looks like:
| Skill Focus | Activity Type | Time (minutes) |
|---|---|---|
| Shape Recognition | Play-Doh mats, sand tracing, finger painting | 5-7 |
| Pencil Control | Path-of-motion tracing, dot-to-dot J shapes | 5-8 |
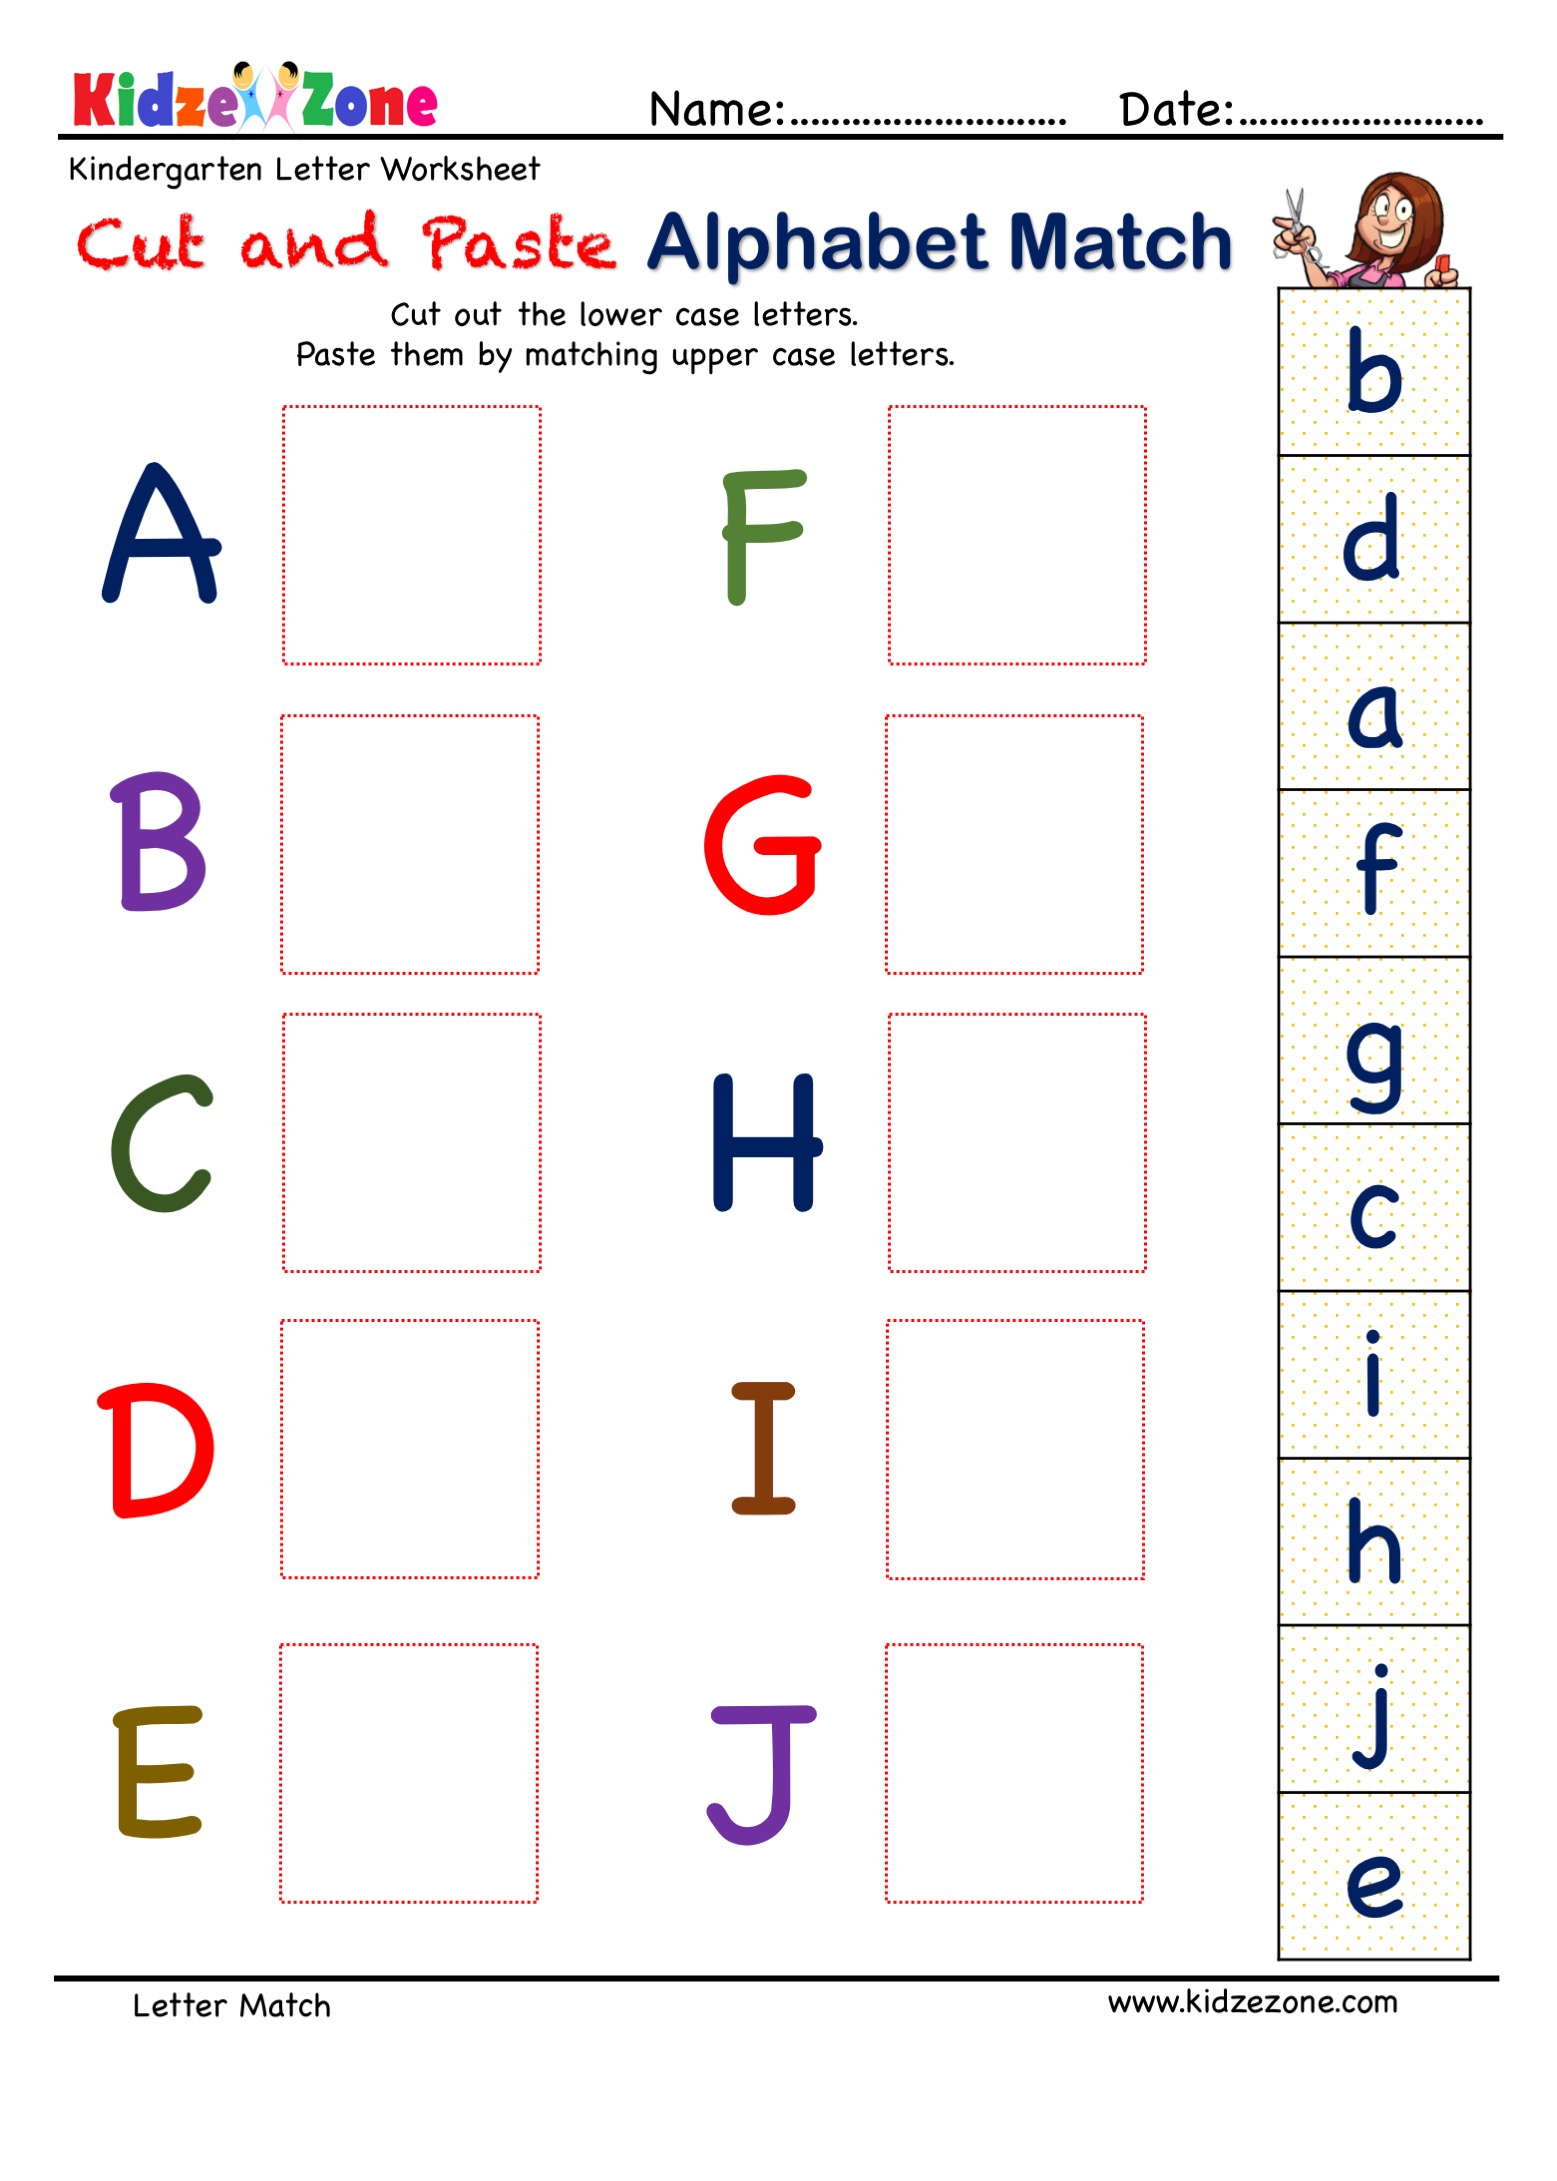
| Sound Identification | Sorting pictures (J vs. non-J), simple cut-and-paste | 4-6 |
Notice how each day only targets one core skill. You do not mix all three into a single worksheet. That is a recipe for tears. By rotating focus, you keep the brain engaged without overwhelming the short attention span of a preschooler. And yes, that actually matters more than cramming in extra pages.
The Forgotten Step: Environmental Print and Real-World Connection
Worksheets are a tool, not the lesson. The most effective way to cement the letter J is to point it out in the wild. On cereal boxes. On street signs. On the tag of their jacket. When a child sees a J in their everyday world, the abstract symbol suddenly becomes relevant. I always tell parents to spend one minute before a worksheet session doing a "J hunt" around the kitchen. Find the jam jar. Find the juice carton. Find the jeans you are folding. This simple act of connecting the symbol to their lived experience is what makes the letter stick. The worksheet reinforces what the real world has already introduced. Without that bridge, you are just drawing lines on paper.
When you select your preschool worksheets letter j, look for those that include a simple, clear image of a familiar object—a jug, a jet, a jar—at the top. That visual anchor is worth more than a dozen tracing lines. And if the page includes a sentence like "J is for jump" with a stick figure jumping? Even better. You want the child to associate the letter with an action or an object they already know. That is the secret to making the learning feel effortless. Most resources miss this by focusing purely on handwriting. Handwriting is the output. Understanding is the input. You need both, but you need to build the input first.
One Last Thing Before You Go
Every letter you help your child master is more than a squiggle on a page—it’s a tiny bridge to a world of words, stories, and self-expression. In a time when screens compete for their attention, sitting down together with a pencil and a playful task reminds them that learning is something you do together, not something done to them. That quiet moment of shared focus is where confidence quietly takes root, and it’s worth protecting.
Maybe you’re wondering if a single worksheet really makes a difference, or if your child is “ready” for this kind of work. Here’s the truth: they don’t need to be ready—they just need you to show up with a little patience and a little fun. The preschool worksheets letter j you’ve seen in this post are designed to meet kids exactly where they are: wobbly lines, mixed-up directions, and all. That hesitation you feel? It’s just your love for them wearing a disguise.
So before you close this tab, take one small step. Bookmark this page for the next rainy afternoon, or open the gallery and print the sheet that made you smile. Better yet, send the link to another parent or caregiver who might be searching for the same gentle nudge. The preschool worksheets letter j are waiting—and so is the joy of watching a little hand trace its way toward something new. Go ahead. Make that moment happen.